Call, Text or WhatsApp Us

Quick Summary
To install tacoma performance parts safely at home, first confirm the part fits your exact engine and model year, then gather tools, support the truck on rated jack stands, and follow the manual step by step. Finish with a careful first start, leak checks, and a re-torque after the first heat cycle.
- Confirm the kit matches your engine code and model year before ordering.
- Support the truck only on jack stands rated for at least 3 tons per pair.
- Never place a jack stand on pinch welds, rocker panels or control arms.
- Re-torque exhaust flange bolts and intake clamps after the first heat cycle.
- Boost kits require ECU tuning that matches the kit, or engine damage can follow.
Table of Contents
- What Counts as a Tacoma Performance Part and What It Changes
- Check Fitment and Engine Compatibility Before You Buy
- Tools, Safety Gear and Preparation Before You Start
- Safe Lifting, Support Points and Under-Vehicle Precautions
- Installing the Air Intake and Removing Factory Components
- Tacoma Exhaust Installation Guide: Steps, Torque and Hanger Checks
- Final Checks, ECU Tuning and Your First Start on Your Tacoma
- Booking Your Toyota Tacoma 3.5 Performance Upgrade With VT Superchargers
- Frequently Asked Questions
What Counts as a Tacoma Performance Part and What It Changes
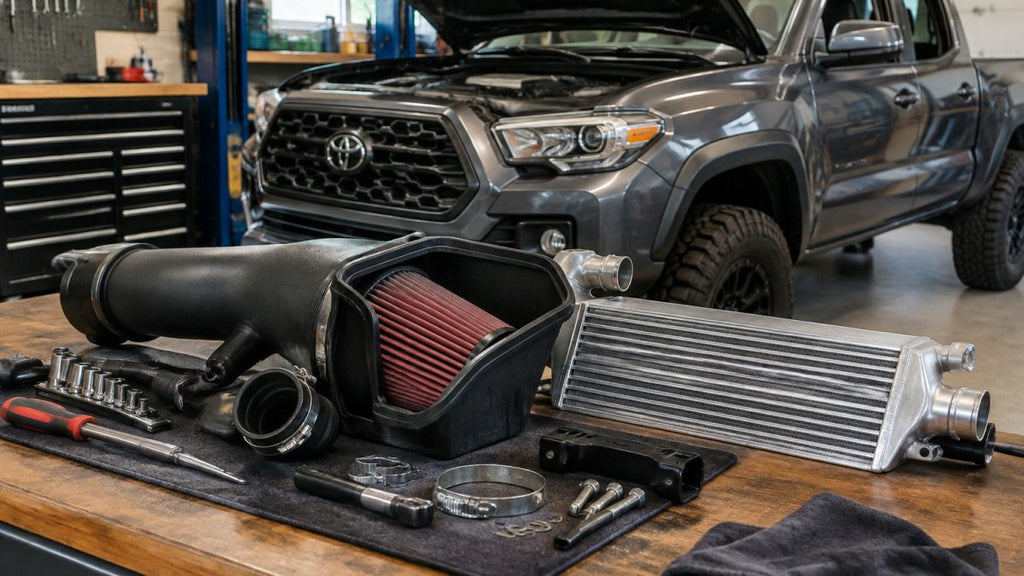
Tacoma performance parts cover many upgrades, from bolt-on intakes and exhaust systems to forced induction kits like superchargers.
Most bolt-on upgrades share the same goal: move more air through the engine, or let exhaust gases leave it more freely. Installed correctly, they can improve throttle response and free up some power.
Common performance part categories include:
- Air intakes and intake manifolds
- Performance exhaust systems, headers and high-flow mufflers
- Forced induction kits, such as superchargers
- ECU tuning and calibration files
- Suspension and drivetrain components
Forced induction kits deserve extra attention. They add heat, boost pressure and extra load on the belt system, so proper tuning and cooling matter just as much as the physical install.
Check Fitment and Engine Compatibility Before You Buy
Before buying any of these tacoma performance parts, confirm it matches your exact Tacoma. Toyota built the Tacoma with several engines across model years, and a part that fits one may not fit another.
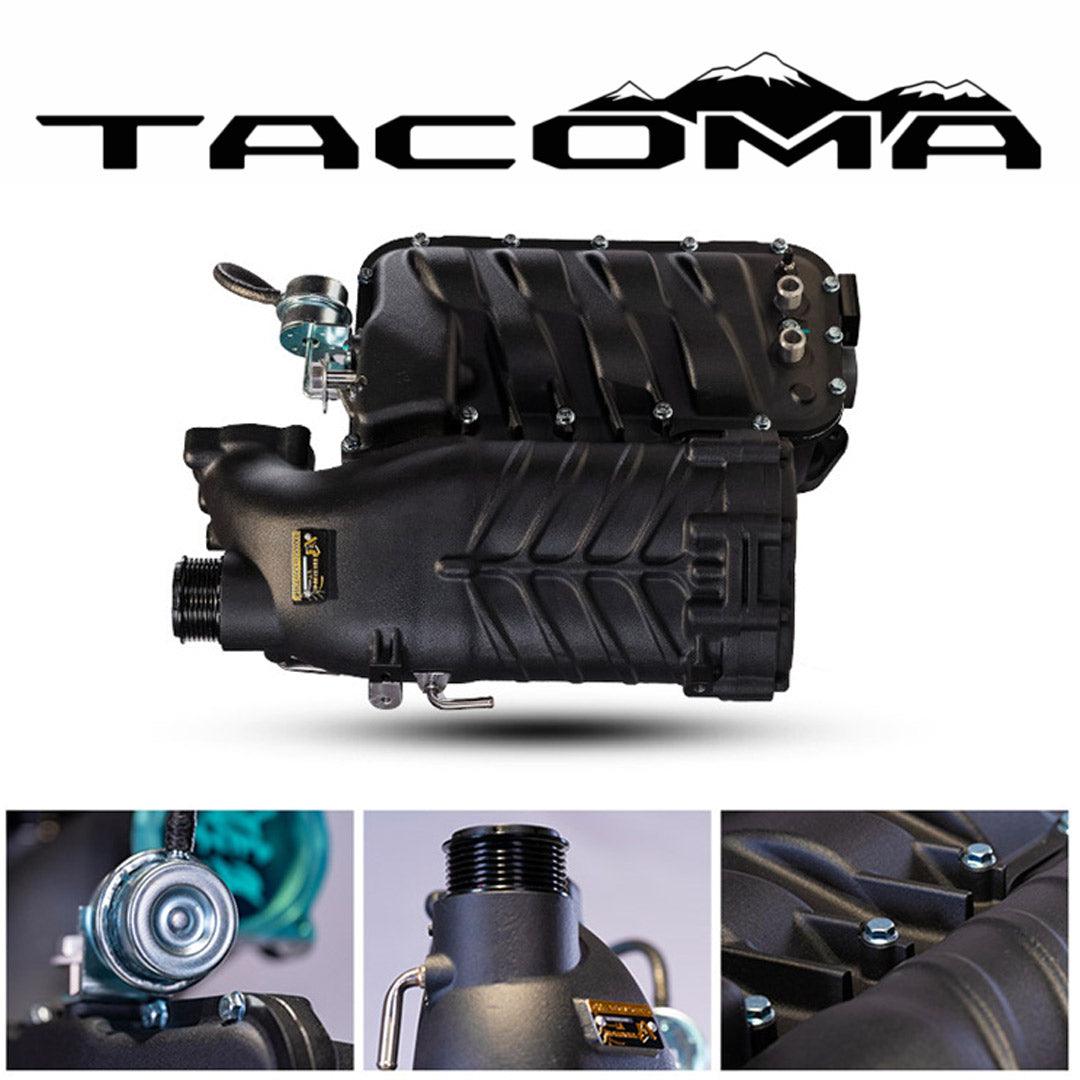
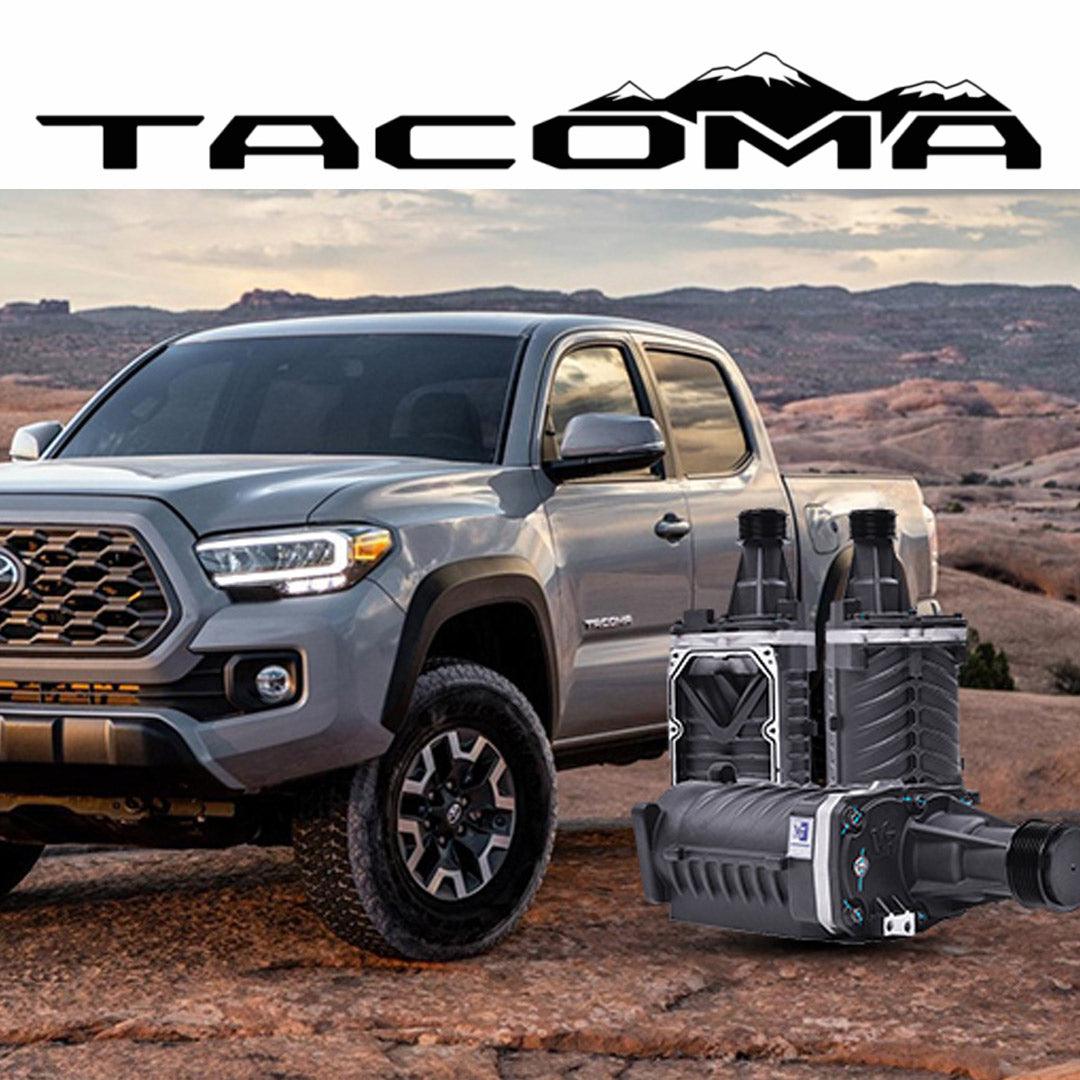
For example, VT Superchargers offers separate kits for different engines. The Toyota Tacoma 4.0L 1GR-FE Supercharger Kit is listed for Tacoma models with the 4.0L 1GR-FE V6, and the Toyota Tacoma 3.5L V6 2GR-FKS Supercharger Kit (2016+) is listed for the 2016-and-later 3.5L V6.
Keep these checks in mind:
- Look up your engine code on the door jamb sticker or in your VIN decoder
- Compare the part’s listed model years with your truck
- Ask whether the kit needs ECU tuning or is plug-and-play
- Check whether the kit requires premium fuel
- Confirm what the kit includes, such as brackets, belts, coolers and hardware
A common mistake is buying on price alone. A cheaper kit that needs extra brackets or a second tune can cost more in the end.
Engine and model-year fitment varies, so the article lists the kits it names and what to verify before ordering.
| Kit | Listed engine | Note |
|---|---|---|
| Toyota Tacoma 4.0L 1GR-FE Supercharger Kit | 4.0L 1GR-FE V6 | Confirm vehicle and model year |
| Toyota Tacoma 3.5L V6 2GR-FKS Supercharger Kit | 3.5L V6 2GR-FKS (2016+) | Confirm vehicle and model year |
| Toyota Tacoma 2.7L Supercharger Kit 2005-2023 | 2.7L 2TR-FE | Includes plug-and-play ECU module |
Tools, Safety Gear and Preparation Before You Start
Good preparation makes an install safer and faster. Gather everything before you touch the truck, so you are not hunting for a socket halfway through the job.
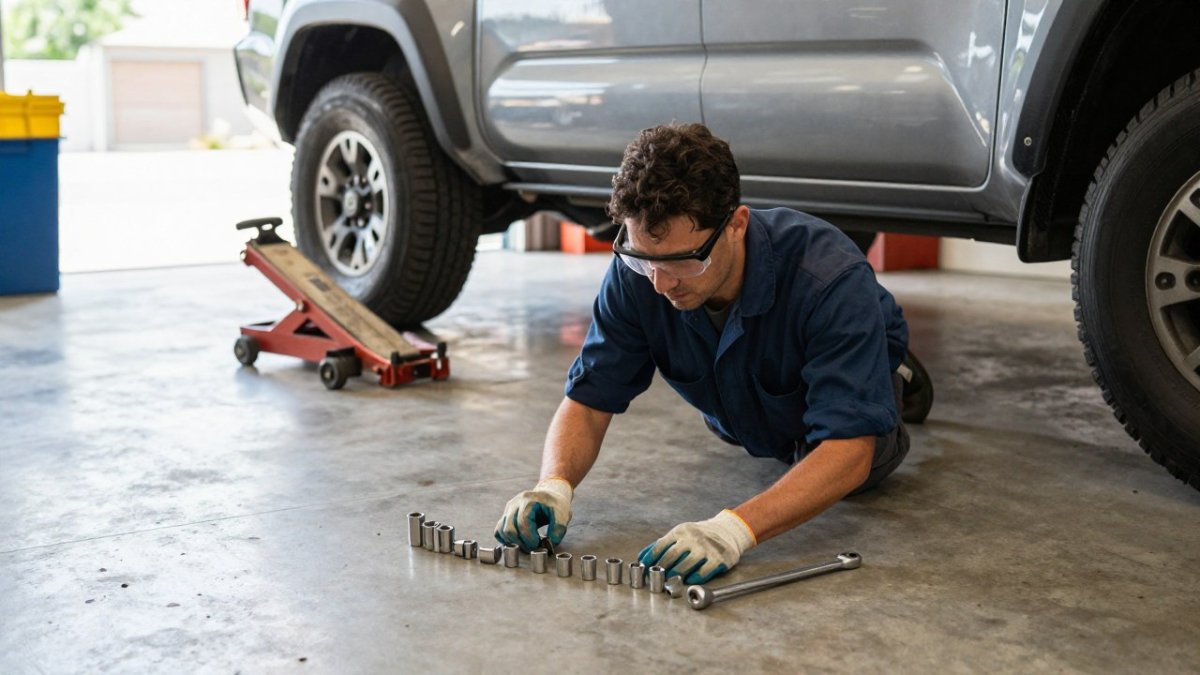
Basic tools you will likely need:
- Socket set and extensions (metric sizes are standard on Toyotas)
- Torque wrench for critical fasteners
- Screwdrivers and pliers
- Trim removal tools to avoid cracking plastic panels
- Drain pan and shop rags for fluids
- Work light and a flashlight
Safety gear to wear:
- Safety glasses at all times
- Mechanic gloves for handling sharp edges and hot parts
- Closed-toe shoes with good grip
Work on a flat, level, solid surface.
Read the installation manual from start to finish before you begin. For background on preparing the engine and maintaining it for performance work, see Tacoma Engine Maintenance for Performance.
Safe Lifting, Support Points and Under-Vehicle Precautions
Exhaust, header and some suspension installs put you directly under a body-on-frame truck, and that is where the most serious DIY injuries happen.
Match your equipment to the truck:
- Use a floor jack rated for at least 3 tons and jack stands rated for at least 3 tons per pair; a 6-ton pair gives a wider margin and a taller saddle for frame work
- Use wheel chocks on the wheels that stay on the ground, front and back of each tire
- Keep a pair of wheel ramps for jobs where you only need a few inches of rear clearance, such as muffler hanger work
Where the factory support points actually are:
- The main lifting points are the reinforced sections of the frame rail behind the front wheels and ahead of the rear wheels
- The rear axle tube is an acceptable jacking point for the differential area on most configurations, but never place a stand under the axle tube itself if you plan to drop the rear suspension
- The front crossmember is a common jacking point, but confirm it in your owner’s manual before using it
Watch out: Pinch welds, rocker panels, plastic splash shields, control arms, leaf springs and the fuel tank are not support points. A jack stand placed on a pinch weld will fold the metal and can let the truck shift.
The lift sequence that keeps the truck stable:
- Park on a flat, solid surface, concrete is best, and asphalt can soften under a jack stand in summer heat
- Chock the wheels that stay down
- Loosen lug nuts and any exhaust fasteners you can reach before lifting, while the truck still has full weight on its tires
- Jack at a factory lifting point, raise the truck, and set the stands under the frame rails at the same end
- Lower the jack slowly until the truck rests fully on both stands, then remove the jack
- Shake the truck firmly from the bumper before going under it; if it moves at all, reset the stands
Under-vehicle rules that are not optional:
- Never work under a vehicle held up only by a hydraulic jack; a seal can fail without warning
- Use two stands at minimum, and place them so the frame sits in the saddle, not on the edge
- Route the jack handle and any cords away from where you will be lying
- Keep a phone within reach and tell someone you are under the truck
- Let the exhaust cool completely; a catalytic converter and piping can stay hot long after the engine is off
- Wear safety glasses even under the truck, because rust and debris fall
If you need to raise only one corner for a quick check, use a ramp instead of a jack and stand.
Installing the Air Intake and Removing Factory Components
Start with the parts you need to remove.
Mass airflow sensors are sensitive. Handle them by the housing, not the wires, and do not blow compressed air into them.
Once the factory parts are out, fit the new intake piece by piece.
For more tips on the bolt-on process, see this DIY Supercharger Installation Tips: Bolt-On Guide. Read it before you start removing factory components so you know the order of operations.
Tacoma Exhaust Installation Guide: Steps, Torque and Hanger Checks
Exhaust work is where many DIY installs go wrong.
Follow these steps for a typical exhaust install:
- Support the vehicle safely on jack stands
- Let the old exhaust cool completely
- Spray rusted bolts with penetrating oil and wait before removing them
- Remove the old muffler and pipe sections in order
- Test-fit the new pipes before tightening anything
- Attach the rubber hangers to the frame mounts
- Install gaskets and tighten flange bolts evenly
- Check clearance around the fuel tank, driveshaft and body mounts
Torque specifications vary by fastener, so check the parts instructions or the factory service manual.
Hanger checks matter too. Rubber hangers should hold the pipes without stretching or pulling. Make sure the exhaust clears the frame, the rear axle and any heat-sensitive lines.
Watch out: Overtightening exhaust flange bolts can strip threads or crack a flange. Snug them evenly and do not force a gasket that does not sit flat.
Final Checks, ECU Tuning and Your First Start on Your Tacoma
A clean first start is the real proof that the install went right. Work through this in order rather than jumping straight to the key.
Pre-start inspection (engine off, battery reconnected):
- Recheck every clamp, flange bolt and hose connection you touched; a clamp that felt tight cold can still weep once it heat-cycles
- Confirm no tools, rags, sockets or hardware sit on the intake, exhaust or frame rails
- Verify all electrical connectors click into place, especially the mass airflow sensor and any throttle-body or MAP sensor plugs
- Check that wiring and vacuum lines are routed at least a couple of inches from exhaust manifolds, headers and any heat source
- Top off coolant if the install opened a cooling loop, and check oil level
- Confirm the battery terminals are clean and tight
First start, step by step:
- Start the engine and let it idle; do not rev it
- Watch the dashboard for a check engine light, and note any that stay on rather than flash briefly
- Listen for exhaust leaks, a ticking or hissing near a flange usually means a gasket is not seated or a bolt is loose
- Look under the hood and under the truck for coolant, oil or fuel drips
- Let the engine reach normal operating temperature, then shut it off and let it cool
- Recheck coolant level after it cools, since trapped air works its way out on the first heat cycle
Post-install re-torque and inspection:
- Re-torque exhaust flange bolts and intake clamps after the first heat cycle, because gaskets compress and fasteners settle
- Recheck hanger alignment once the exhaust is hot; pipes expand and can contact the frame or fuel tank shield when warm even if they cleared cold
- Look for rubbed wiring or hoses near moving parts after a short idle
- Scan for stored codes with an OBD-II reader even if no light is on
Tuning is part of the safety check, not an afterthought. For a supercharger or any kit that adds boost, the calibration has to match the kit.
First drive:
- Keep the first few miles gentle and stay close to home
- Watch coolant temperature and any warning lights
- Listen for new noises under acceleration and deceleration
- Recheck fluid levels and look for leaks when you park
Watch out: A flashing check engine light means stop driving and diagnose it; a steady light after an install usually points to a disconnected sensor or a vacuum leak, but a flashing light can indicate a misfire that will damage the catalytic converter.
Booking Your Toyota Tacoma 3.5 Performance Upgrade With VT Superchargers
If you want the upgrade done by experienced hands, VT Superchargers can help. We design bolt-on supercharger kits with OEM-style fitment for a range of vehicles, including Toyota models, and every kit we ship carries a 24-month warranty.
Ready to start? Register with VT Superchargers to get your Tacoma fitment confirmed and your kit on its way.
Frequently Asked Questions
What should you check before installing Tacoma performance parts?
Confirm the part is listed for your exact Tacoma model year and engine before you order. For the 3.5L V6 2GR-FKS, VT Superchargers recommends confirming the vehicle, engine and model year directly with the company. Then check that your truck has no conflicting modifications, that you have the ECU tuning the kit requires, and that you have the fuel the manufacturer specifies. Reviewing the installation manual before buying tools prevents surprises mid-job.
Can you install Tacoma performance parts at home?
Many bolt-on parts can be installed in a home garage with basic hand tools, a torque wrench, a floor jack and rated jack stands. Supercharger kits with plumbing, cooling loops and an ECU module take more time and skill. VT Superchargers’ 3.5L kit states that professional installation is recommended, and the ECU tuning is required for safe operation. If you have not worked on engine-bay plumbing before, a shop may be the safer choice.
Should you disconnect the battery before installing Tacoma performance parts?
Yes. Disconnecting the negative battery terminal before working on electrical connections, sensors or the ECU reduces the risk of short circuits and accidental airbag or sensor faults. Reconnect the battery only after the installation is complete and all connectors are seated. Keep the work area dry and avoid dropping metal tools across the battery terminals.
When should a Tacoma performance upgrade be installed by a professional?
Consider a professional installer if the kit requires ECU tuning, fuel-system changes or any cutting or welding, if you lack a safe lifting setup, or if you are unsure about torque values and fastener routing. Professional installation is recommended for the 3.5L V6 supercharger kit. Even when you install the parts yourself, a tuner or shop can verify the tune and first-start checks.