DIY Supercharger Installation Tips: Bolt-On Guide
Table of Contents
- DIY Supercharger Installation: What the Job Actually Involves
- Preparation and Safety Before You Touch a Bolt
- Supercharger Installation Tools List: What to Have on the Bench
- Step-by-Step: Removing Factory Intake Components and Mounting the Blower
- Routing Belts, Plumbing Coolant, and Priming the Intercooler System
- ECU Tuning After Supercharger Install: Why You Cannot Skip It
- Supercharger Installation Time Estimate: Realistic Hours by Kit Type
- Common Mistakes, Emissions Compliance, and Boost-Leak Diagnostics
- Frequently Asked Questions
Last Updated: October 3, 2026
DIY Supercharger Installation: What the Job Actually Involves
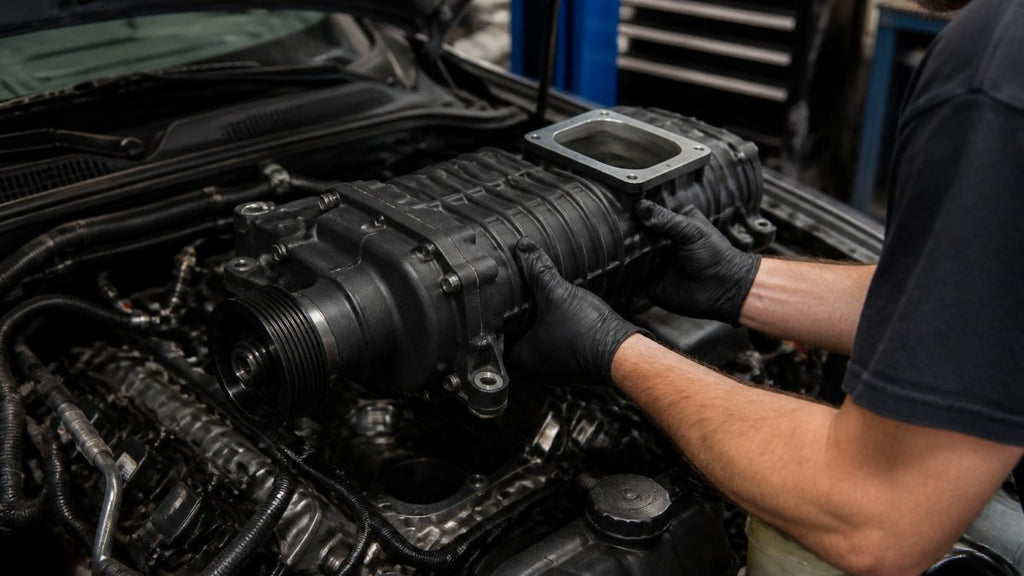
DIY supercharger installation means bolting a forced induction kit onto your engine yourself with hand tools and a manual instead of paying a shop, a weekend-sized job for a patient home mechanic.
This guide from VT Superchargers covers what the work really involves, from prep to first start. We build bolt-on kits for trucks and SUVs, so we know where first-timers get stuck.
The bolting is the easy part. Tuning, belt alignment, and cooling are where installs go wrong.
Preparation and Safety Before You Touch a Bolt
Preparation decides whether the install goes smoothly. Before you open the box:
- Disconnect the battery. Negative terminal first. This protects the ECU and your knuckles.
- Let the engine cool completely. Exhaust and coolant stay hot for hours.
- Photograph everything. Shoot the engine bay from three angles before you remove a single part.
- Label every connector and vacuum line. Masking tape and a marker cost almost nothing.
- Check your kit against the parts list. Missing hardware mid-install kills momentum.
Set aside a full weekend for your first install. Rushing causes stripped bolts and crossed vacuum lines.
Watch Out
Never work under a car supported only by a jack. Use rated jack stands on level ground. A supercharger install involves reaching deep into the engine bay with force, and a slipping jack is how people get hurt.
Supercharger Installation Tools List: What to Have on the Bench
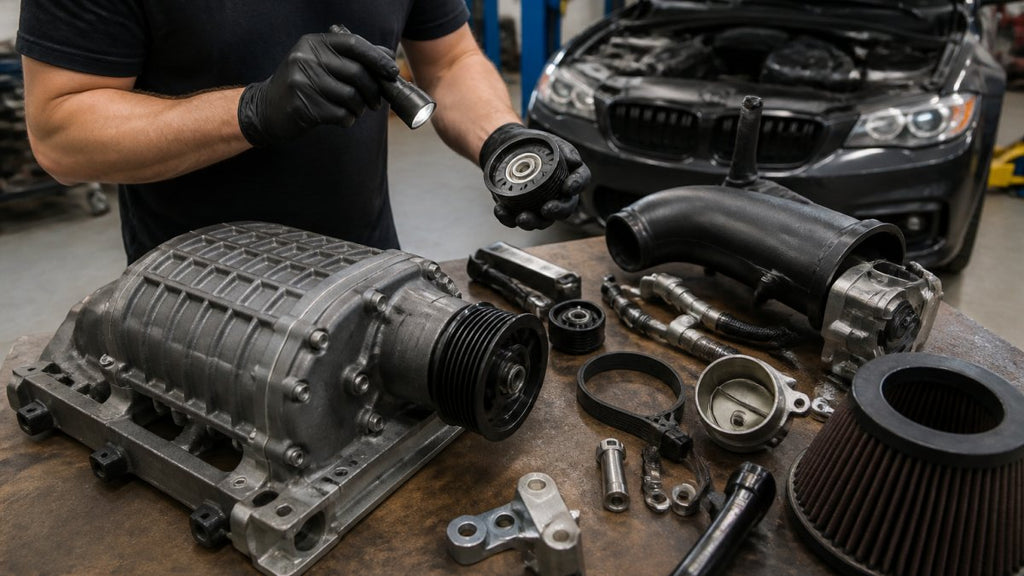
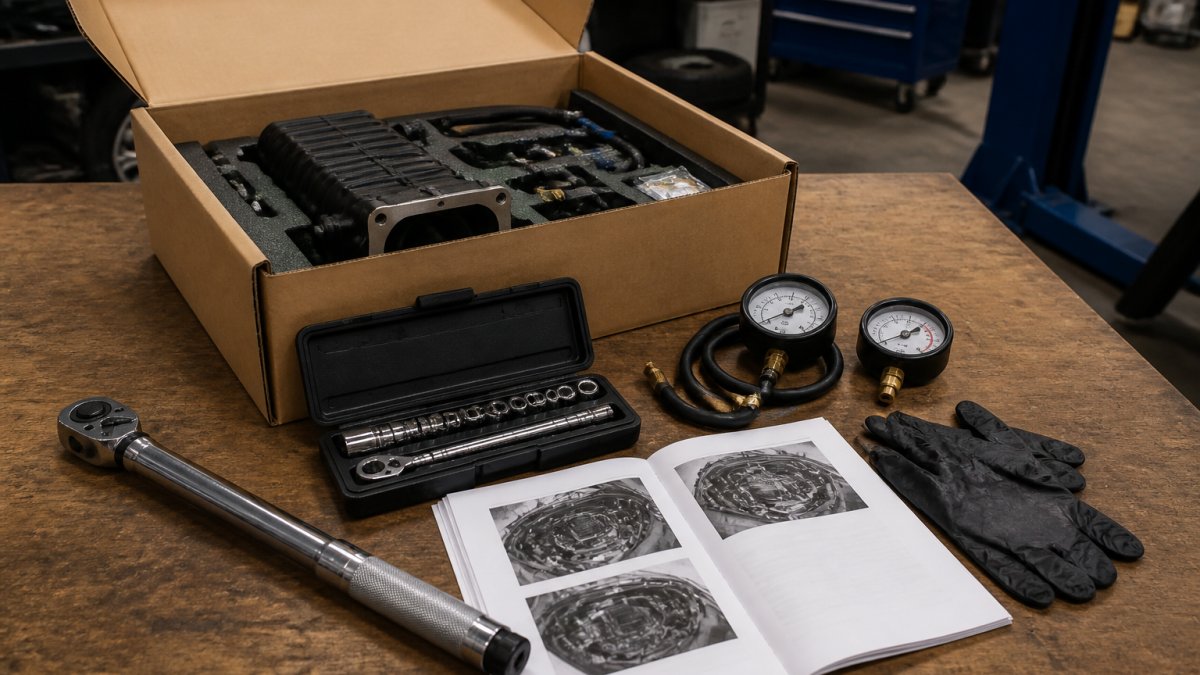
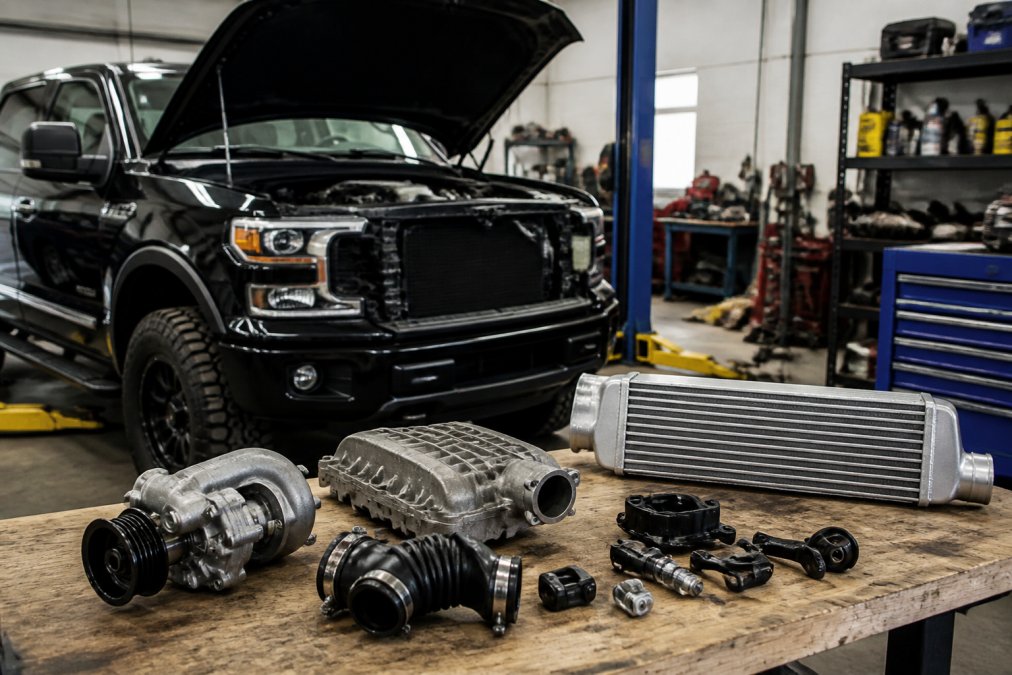
A complete supercharger installation tools list covers hand tools, fasteners, and specialty instruments. Gather everything first; a mid-job parts run breaks your focus and torque sequence.
Hand Tools and Fasteners You Cannot Skip
- Socket set, 8mm to 19mm, in both shallow and deep
- Combination wrenches in the same range
- Ratchet extensions and a universal joint
Specialty Items: Torque Wrench, Fuel Pressure Gauge, Vacuum Pump
A torque wrench is non-negotiable. Intake manifold bolts and brackets have torque specs, and guessing causes leaks or stripped threads.
A fuel pressure gauge confirms the system holds pressure after you touch the fuel rails, and is required if you upgrade injectors.
A vacuum pump or hand-held gauge tests lines and confirms the bypass valve holds. Boost leaks hide in vacuum lines, and this finds them fast.
Pro Tip
Buy a second torque wrench in the small range for valve cover and bracket bolts. Using one big wrench for every fastener means you cannot feel the click accurately on low-torque specs.
Step-by-Step: Removing Factory Intake Components and Mounting the Blower
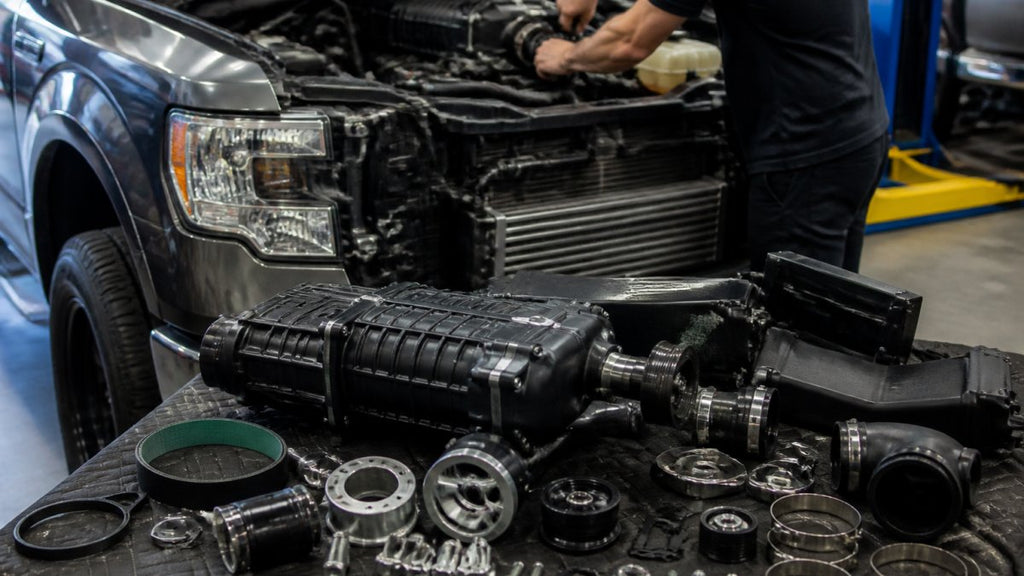
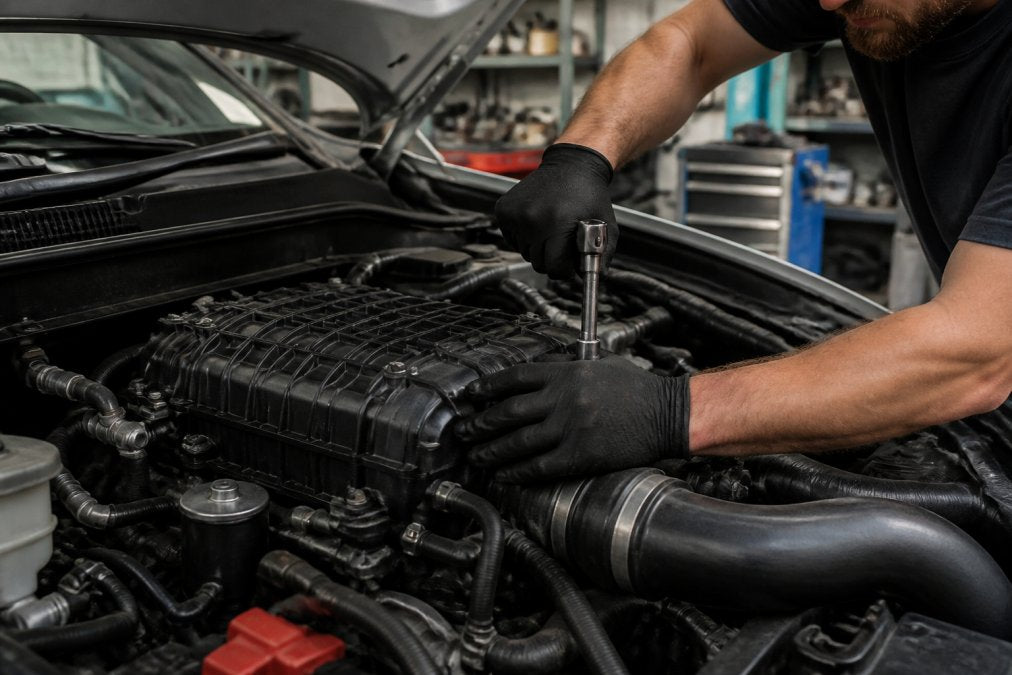
Removal and mounting is the core of the job. Work slowly and follow the manual's sequence.
Step 3: Prep the mounting surface. Clean the gasket surface; leftover gasket material causes a vacuum leak.
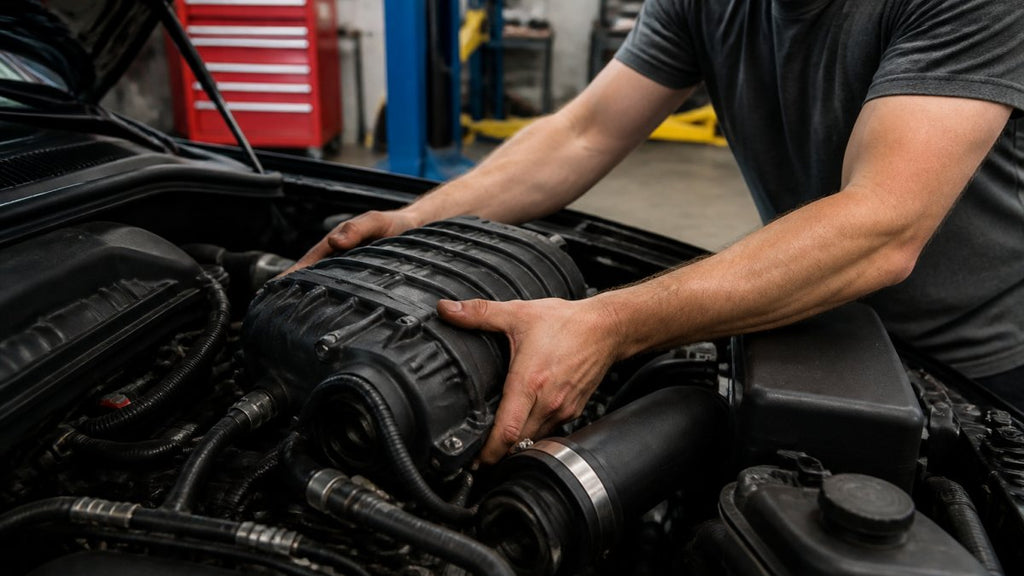
Step 5: Lower the blower assembly. Two people help on V8 kits.
Step 6: Torque in sequence. Follow the manual's pattern and torque specifications.
Expected result: the blower sits flush, all gaskets are seated, and no bolts are finger-tight.
Key Takeaway
The blower assembly sits on the intake manifold, and that joint is the most common leak point on any build. Torque it in the correct sequence and re-check it after the first heat cycle.
Routing Belts, Plumbing Coolant, and Priming the Intercooler System
Belt routing and cooling come next, and this is where DIY supercharger installation tips matter most. Get the belt wrong and it shreds; skip priming and the intercooler pump runs dry.
Drive Belt Routing and Tensioner Setup
Route the drive belt around the crank pulley, supercharger pulley, and tensioner exactly as the diagram shows, then verify three things:
- Rib count. Every rib must sit in a groove on every pulley. A belt riding one rib off will walk off the edge under boost and take the accessory drive with it.
- Tensioner travel. The tensioner should sit mid-range, not pinned at either stop. Pinned loose means the belt is too long; pinned tight means it is too short and will stretch or snap.
- Pulley alignment. Lay a straightedge across the crank and supercharger pulley faces. Any visible offset means a misaligned bracket or a missing shim. Fix it before the belt chews itself.
Spin the tensioner by hand through two full rotations and watch the belt track. If it drifts toward one edge, stop and re-check alignment.
Pro Tip
Buy a spare belt in the correct length before you start. If you shred one during alignment checks, you are not waiting a week for a replacement.
Coolant Plumbing for the Intercooler Loop
For cooling, work front to back:
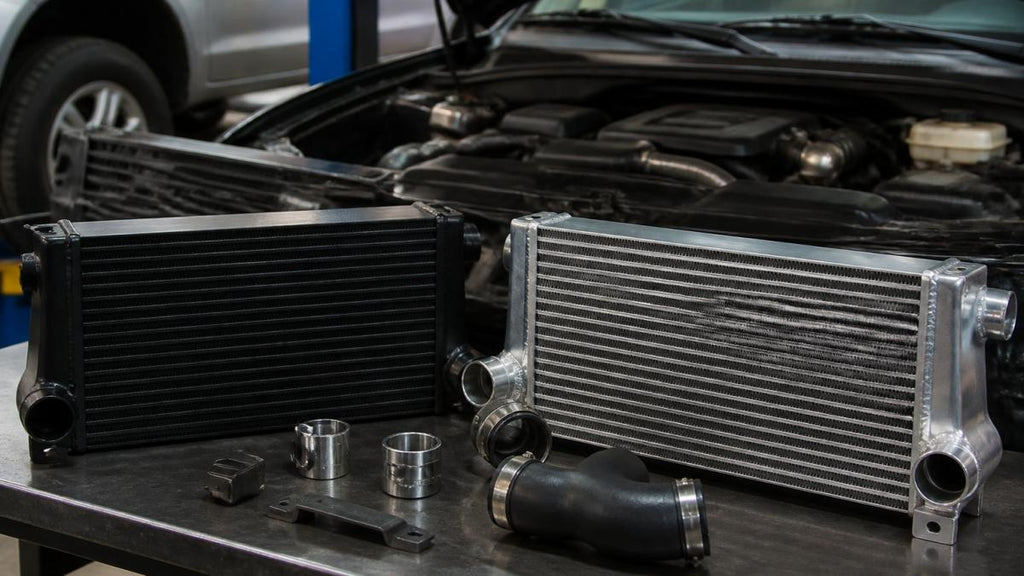
- Mount the heat exchanger in front of the radiator, with clear airflow and no interference with the hood latch or bumper support.
- Run coolant lines from the intercooler to the pump and reservoir, routing them away from exhaust manifolds and sharp edges, using the kit's clamps.
- Fill the reservoir with the coolant the manual specifies, usually a 50/50 mix of distilled water and coolant, though some kits specify a brand or water-wetter additive.
Priming the Intercooler Pump Without Air Pockets
Priming is not just filling the reservoir. Air trapped in the intercooler core or pump inlet cavitates the pump and causes heat soak within minutes. Here is the procedure for most kits:
- Fill the reservoir to the cold-fill line.
- Open the bleed screw or the highest point in the loop, if the kit has one.
- Run the pump with the engine off, using a jumper or the kit's test mode, until coolant circulates with no bubbles at the reservoir.
- Top off the reservoir, close the bleed screw, and run the pump again for two minutes.
- Re-check the level after the first heat cycle; it will drop as trapped air works its way out.
If the pump runs dry or grinds, shut it off immediately. Intercooler pumps are not self-priming, and running one dry burns the impeller.
Check every connection for weeping before buttoning up the front end. A slow drip at a hose clamp becomes a puddle after a heat cycle.
Key Takeaway
The belt and the coolant loop are the two systems most likely to fail on first start. Verify rib count, tensioner travel, and pulley alignment on the belt. Bleed the intercooler loop until no bubbles return. Do both, and the first start is boring, which is exactly what you want.
ECU Tuning After Supercharger Install: Why You Cannot Skip It
ECU tuning after supercharger install is mandatory. A stock calibration does not know the engine sees boost, so it runs lean, and lean under boost causes detonation.
Forced induction pushes more air into the cylinder, and the ECU must add fuel to match.
Toyota Tundra 5.7L 3UR-FE Supercharger Kit | VT Superchargers →
Your options:
| Tune Type | Best For | What It Involves |
|---|---|---|
| Piggyback ECU module | Bolt-on kits with plug-and-play support | Pre-configured module, no standalone tuning |
| Custom dyno tune | Built engines, custom setups | Tuner writes a calibration on a dyno |
| Remote tune | DIY installers without a local tuner | Data logs sent to a tuner for revision |
Some VT Superchargers kits include a plug-and-play piggyback ECU module pre-configured for the platform, removing the standalone tuning step; others require a tune.
Watch Out
Driving on a stock tune after installing a supercharger can cause detonation within minutes under load. Detonation damages pistons and bearings. Load the tune before your first full-throttle pull.
Supercharger Installation Time Estimate: Realistic Hours by Kit Type
A realistic supercharger installation time estimate is 6 to 12 hours for a first-time DIY install across a weekend, driven by kit type and engine layout.
| Kit Type | First-Time DIY | Experienced DIY | Notes |
|---|---|---|---|
| V6 bolt-on kit | 6-9 hours | 4-6 hours | More room in the bay |
| V8 bolt-on kit | 8-12 hours | 5-8 hours | Heavier blower, two people help |
| Kit with plug-and-play ECU | Add 1 hour | Add 30 minutes | No standalone tuning step |
| Kit needing custom tune | Add 2-4 hours | Add 1-2 hours | Dyno or remote tune time |
Add time for fluid changes, belt alignment checks, and a test drive. First-timers should plan on the long end of each range.
The job is not hard, just long. Break it into two days: removal and mounting on day one, plumbing and tuning on day two.
Common Mistakes, Emissions Compliance, and Boost-Leak Diagnostics
Most failed installs trace back to a short list of mistakes, plus two topics most guides skip: emissions compliance and boost-leak diagnostics.
The Mistakes That Cost Weekends
- Skipping the tune. Still the number one cause of damage.
- Reusing old gaskets. New kit, old gasket, guaranteed leak.
- Guessing torque. Use the manual's specs on every critical fastener, in stages.
Emissions and Legal Compliance: What to Check Before You Buy
Federal law prohibits tampering with emissions control devices on covered vehicles. Removing or disabling a catalytic converter, EGR system, or evaporative emissions component can be a violation regardless of state rules, enforced by the U.S.
Many states also run inspection programs.
Before you order a kit:
- Confirm whether your state runs an emissions inspection.
- If it does, check whether the kit or its tuning solution carries an EO number for your model year.
- Keep your factory parts, paperwork, and any EO documentation in a folder.
- If the kit requires a custom tune, ask the tuner whether the calibration keeps emissions monitors functional.
A kit that keeps factory emissions components intact is easier at inspection time; one that deletes them may be fine now but a problem the day you move or sell.
U.S. EPA vehicle emissions information
SEMA guidance on aftermarket parts and emissions
Boost-Leak Diagnostic Checklist
A boost leak shows up as lost power, rough idle, a whistle under load, or positive fuel trims, and can look like a bad tune. Run this checklist before blaming the calibration.
Static checks (engine off):
- Inspect all charge pipes and couplers for tight clamps and seated beads
- Look for chafed or cracked couplers, especially at the throttle body and intercooler inlet
- Confirm the intake manifold gasket joint is seated and bolts are at spec
Running checks (engine idling):
- Spray soapy water on every joint, coupler, and vacuum line and look for bubbles
- Listen for a hiss at the intake manifold joint and the bypass valve
- Watch fuel trims on a scan tool, positive long-term trims under idle suggest a vacuum leak
Pressurized checks (if you have a boost leak tester):
- Cap the intake at the filter and pressurize the system to a few PSI
- Listen for air escaping at couplers, the manifold joint, and the bypass valve
- Fix every leak before you chase more power
A boost leak makes a good tune look bad. Fix the leaks first, then re-log the tune.
Maintenance for Forced Induction
A supercharger adds heat and load, so maintenance matters more.
- Change oil on the shorter end of the interval, using the viscosity the manual specifies for boosted use
- Check the drive belt and tensioner at every oil change
- Inspect the intercooler reservoir monthly and top off with the same mix
Keep a log. Small issues caught early stay small.
VT Superchargers kits are built as non-destructive bolt-on installs with OEM-style fitment, and each kit ships with a 24-month warranty. If you want a kit that fits your specific vehicle and comes with real support, NHTSA vehicle safety and recall information is a good place to confirm your model details before ordering.

Frequently Asked Questions
Does installing a supercharger require a tune?
Yes. Every VT Superchargers kit requires an ECU or engine tune after installation for safe operation. The Toyota Tundra 5.7L 3UR-FE, Nissan Titan/Armada 5.6L VK56VD, and Ford Explorer 3.5L V6 kits all list a required tune, while the Tacoma 2.7L kit ships with a plug-and-play piggyback ECU module pre-configured for the 2TR-FE platform. Skipping the tune risks detonation, lean air-fuel ratios, and engine damage under boost pressure.
What tools are required for a DIY supercharger installation?
A complete supercharger installation tools list includes a calibrated torque wrench, metric socket set, ratchet extensions, torque specifications chart, fuel pressure gauge, vacuum pump and gauge set, coolant drain pan, hose clamp pliers, and nitrile gloves. A lift or tall jack stands help with belt routing and heat exchanger plumbing. VT Superchargers kits ship with mounting brackets, gaskets, and hardware, so you mainly supply the hand tools and measuring equipment.
How long does it typically take to install a supercharger kit?
A supercharger installation time estimate for a bolt-on kit runs 8 to 12 hours for a first-timer working in a home garage, spread across a weekend. The Tacoma 2.7L plug-and-play kit is on the shorter end because the piggyback ECU removes standalone tuning time. Kits requiring a full ECU calibration, like the Nissan Titan/Armada 5.6L twin screw, add tuning and data-logging hours on top of the mechanical install.
Will a bolt-on supercharger void my factory warranty or cause engine problems?
VT Superchargers kits are non-destructive bolt-on installs that leave original components intact, and each kit carries a 24-month warranty covering defects in materials and workmanship under normal use. That warranty covers the VT kit itself. Your vehicle's factory warranty is a separate agreement with the automaker, so check its terms before installing. Running the required ECU tune and staying at the kit's rated boost pressure keeps the engine operating within safe limits.
Related post

RECENT POSTS