
How to Install a Supercharger on a Dodge Challenger 3.6L Pentastar
Unlock the Full Potential of Your Challenger 3.6L
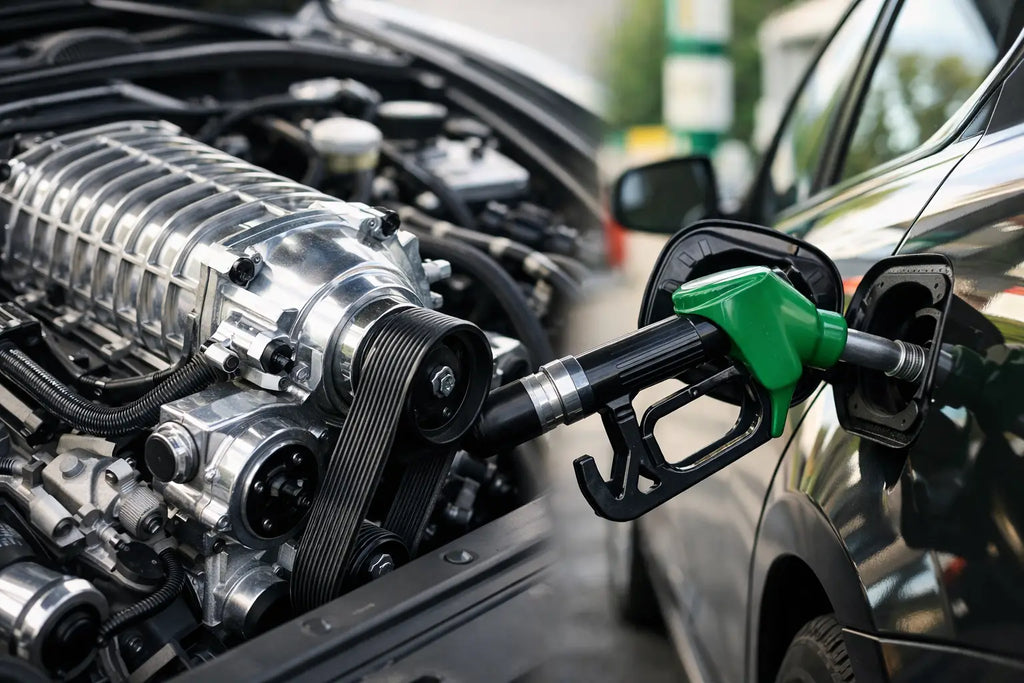
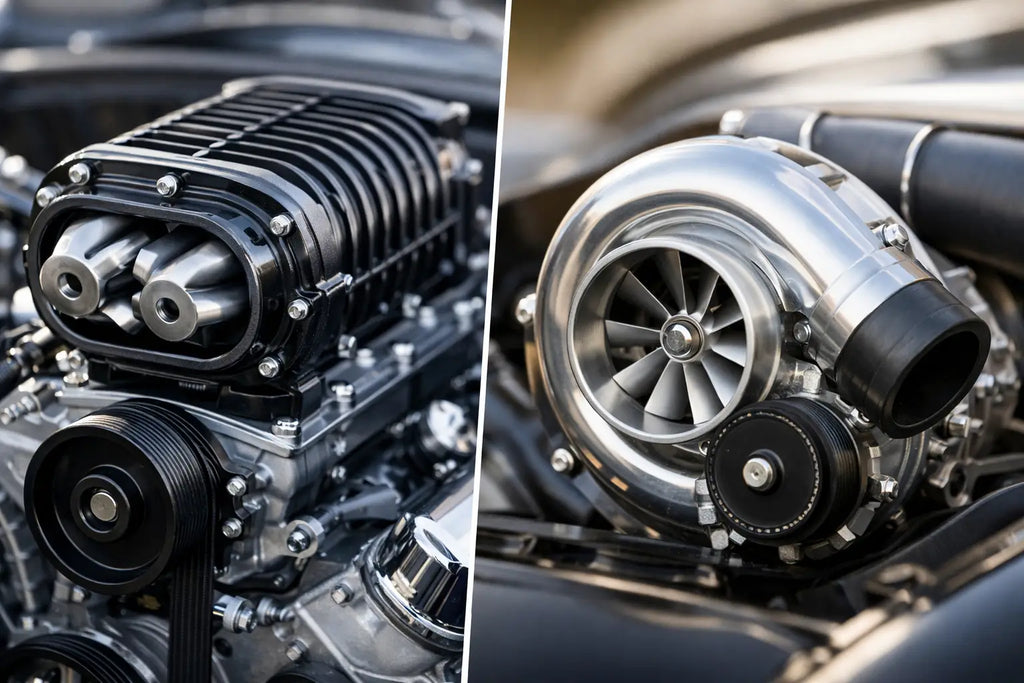
The Dodge Challenger 3.6L Pentastar V6 is a capable engine straight from the factory — but with a supercharger kit, you can push power output significantly beyond stock levels. This guide walks you through the installation process step by step, so you can get your Challenger making the power it deserves.
What You'll Need
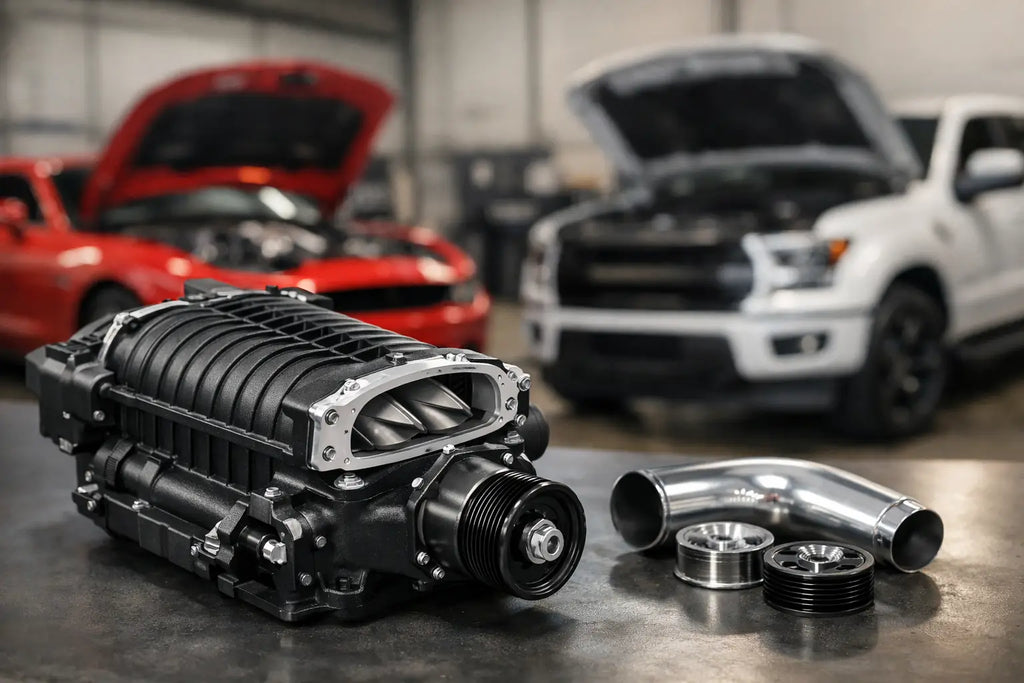
- VTSuperchargers supercharger kit for Dodge Challenger 3.6L Pentastar
- Basic hand tools (metric and standard socket sets)
- Torque wrench
- Serpentine belt tool
- Thread locker (medium strength)
- Clean shop rags
- Jack stands (if accessing from underneath)
- Estimated install time: 4–6 hours
Step 1: Preparation
Before you begin, make sure the engine is completely cool. Disconnect the negative battery terminal to prevent any accidental electrical shorts. Lay out all components from the kit and verify everything is included using the parts checklist in your kit documentation.
Step 2: Remove the Stock Intake and Accessories
Remove the factory air intake assembly, including the air box and intake tube. Depending on your specific kit, you may also need to remove the stock throttle body inlet and any accessories that sit in the supercharger's mounting path. Label or photograph all connectors and vacuum lines before disconnecting them.
Step 3: Install the Supercharger Bracket and Idler Pulleys
Mount the supercharger bracket to the engine block using the provided hardware. Torque all bolts to spec as listed in your kit instructions. Install the idler pulleys and tensioner — apply medium-strength thread locker to the bolts to prevent loosening from vibration.
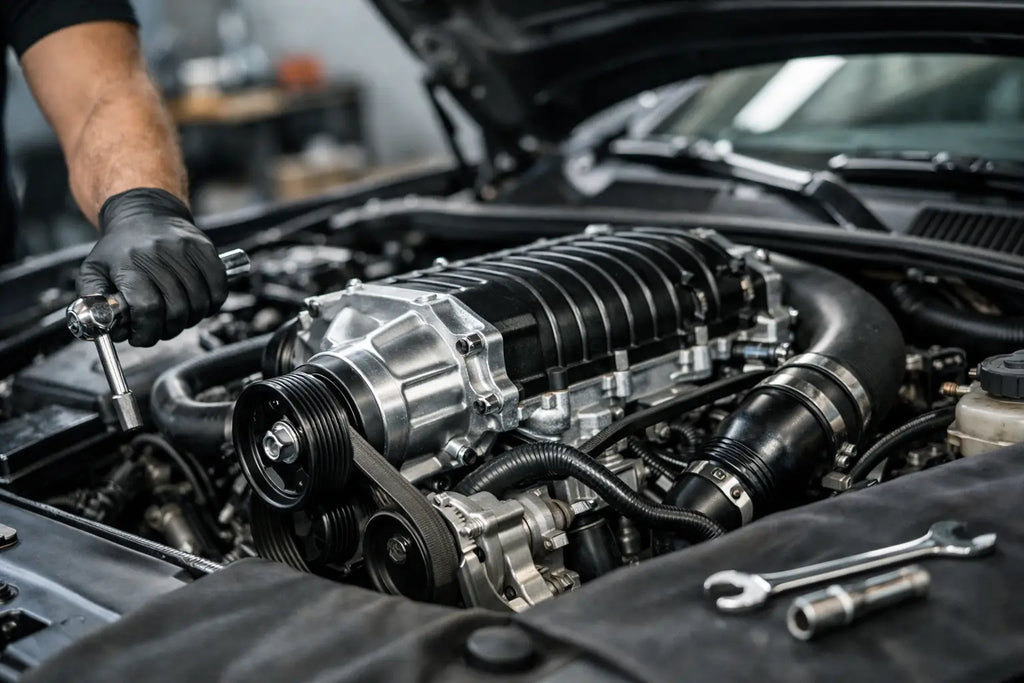
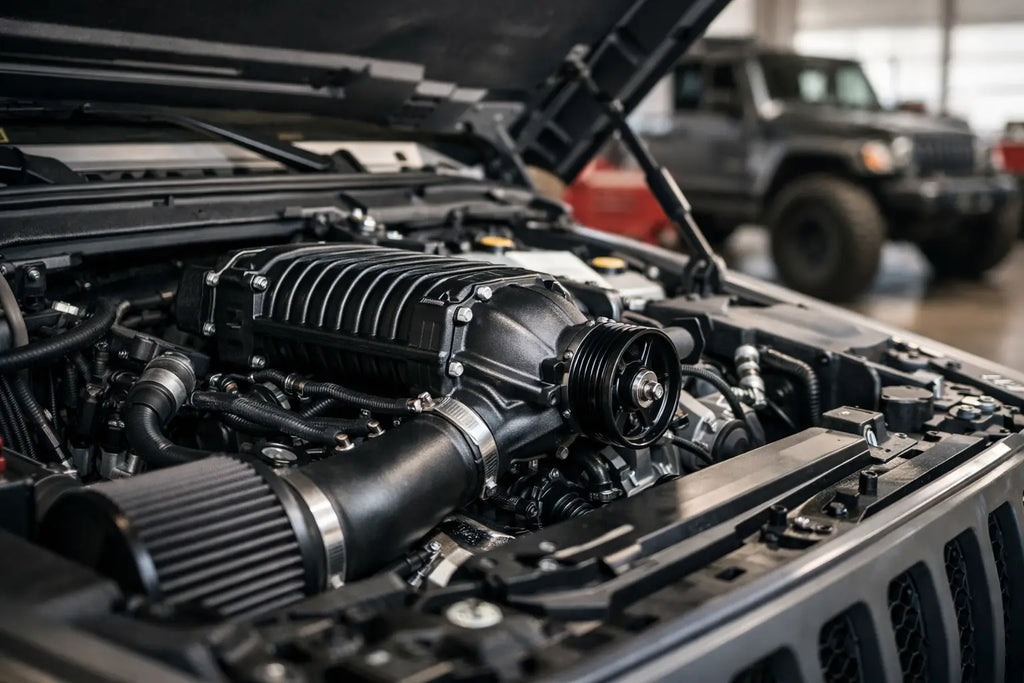
Step 4: Mount the Supercharger
Carefully position the supercharger onto the bracket. Thread in the mounting bolts by hand first to ensure proper alignment, then torque to spec. Connect the supercharger inlet to the throttle body using the provided coupler and clamps.
Step 5: Route and Install the Drive Belt
Route the new supercharger drive belt according to the belt routing diagram included in your kit. Use a serpentine belt tool to relieve tension on the tensioner while seating the belt. Double-check the belt is properly seated on all pulleys before releasing tension.
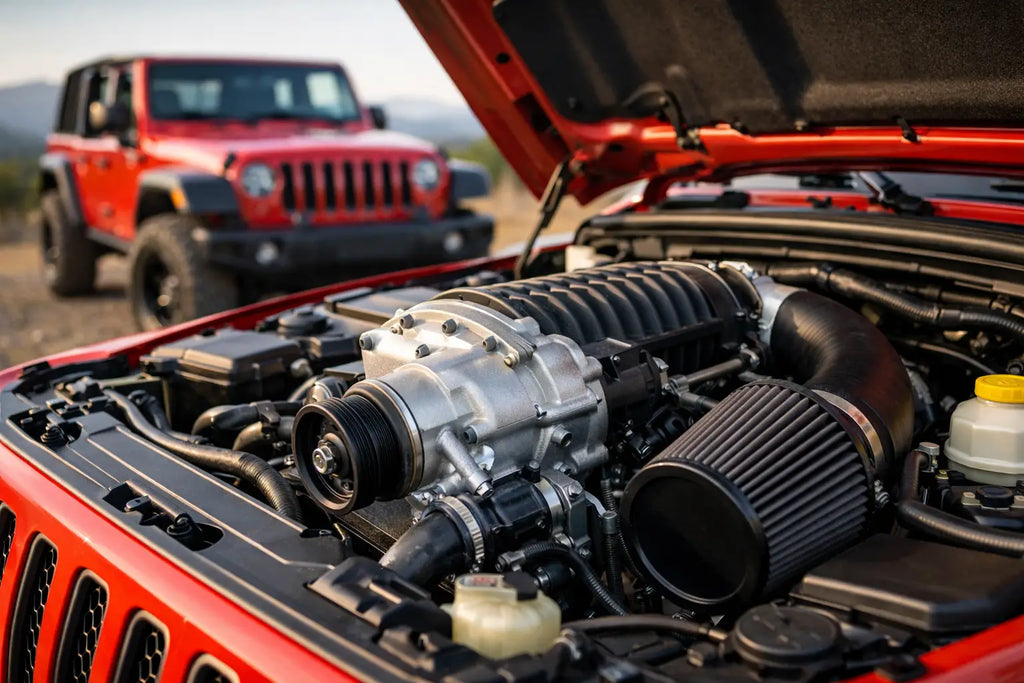
Step 6: Reconnect Intake, Vacuum Lines, and Electronics
Reinstall the intake system components as directed by your kit instructions. Reconnect all vacuum lines, PCV connections, and any electrical connectors that were removed. Ensure all clamps are tight and no lines are kinked or pinched.
Step 7: Reconnect Battery and Start the Engine
Reconnect the negative battery terminal. Start the engine and let it idle for a few minutes. Listen for any unusual noises and check for boost leaks around all couplers and connections. Monitor coolant temperature and oil pressure to confirm everything is operating normally.
Step 8: Break-In and Tuning
A tune is strongly recommended after supercharger installation to maximize power and protect your engine. Drive conservatively for the first 50–100 miles while the system settles in. Avoid full-throttle pulls until a proper tune has been applied.
Warranty
This kit is backed by our 24-month / 24,000-mile warranty. For warranty claims or technical support, contact our team directly.
Need Help?
If you run into any issues during installation, our technical support team is here to help. Reach out via our contact page or check our installation video above for a visual walkthrough of the process.
Related post
19
Jul

17
Jul
15
Jul
13
Jul

11
Jul

10
Jul
07
Jul
05
Jul
03
Jul
01
Jul
29
Jun

27
Jun
RECENT POSTS


