DIY Supercharger Installation: Difficulty Level & Step-by-Step Guide
Table of Contents
- Assessing Your Mechanical Aptitude for Supercharger Installation Difficulty
- Essential Tools for Supercharger Install
- Supercharger Installation Time Estimate: What to Expect
- Step-by-Step Installation Overview
- DIY Supercharger Tuning Requirements and ECU Reflash
- Safety Precautions and Legal Compliance
- Diagnostic Troubleshooting for Failed Installations
- DIY vs. Professional Installation: Cost and Risk Analysis
Last Updated: August 8, 2026
Assessing Your Mechanical Aptitude for Supercharger Installation Difficulty
Supercharger installation difficulty depends on your mechanical experience, not the kit itself. VT Superchargers kits are engineered for OEM-style fitment, but "bolt-on" means fewer modifications than traditional supercharging, not zero modifications. You need to understand your engine's architecture, how forced induction affects fuel delivery, and why ECU calibration matters for reliability.
The Skills You Actually Need
Successful installation requires three core competencies: mechanical aptitude with hand tools, understanding of automotive electrical systems, and diagnostic thinking when problems arise.
You should have installed exhaust systems or replaced intake manifolds. Supercharger installation involves removing factory components, routing vacuum lines, integrating fuel injectors, and ensuring proper throttle body alignment. Electrical knowledge matters because modern kits integrate with your engine management system, you need to understand how a manifold absolute pressure sensor communicates with your ECU and why boost pressure affects air-fuel ratio calculations.
Diagnostic thinking separates successful installations from expensive failures. When something doesn't work as expected, you need to systematically identify the cause: Is the intercooler mounting causing heat soak? Did you miss a vacuum line connection? Is the crankshaft pulley torque specification causing belt slippage?
Pro Tip
Before committing to DIY installation, remove your intake manifold and inspect the bolt pattern. If you struggle with this basic removal, supercharger installation will overwhelm you.
Common Mistakes That Cost Time and Money
The biggest mistake is rushing preparation. Many installers jump straight to bolting components without understanding their vehicle's specific layout. The second costly error is skipping torque specifications, automotive fasteners aren't tightened by feel. A torque wrench costs thirty dollars and prevents thousands in damage.
Heat soak management gets ignored until it causes drivability issues. Poor intercooler mounting means your engine pulls timing when boost spikes, reducing power and creating hesitation. Fuel injector integration without proper air-fuel ratio tuning creates reliability problems, you can't bolt a supercharger on and expect your factory fuel map to work.
Watch Out
Installing [a supercharger without](https://ecae6f-2.myshopify.com/blogs/news/forced-induction-void-warranty-does-forced-induction-void-vehicle-warranty) ECU reflash or professional tuning voids your 24-month VT Superchargers warranty and risks catastrophic engine damage. Lean detonation can destroy pistons in minutes.
Essential Tools for Supercharger Install
You need two categories of tools: basic hand tools and specialized equipment.
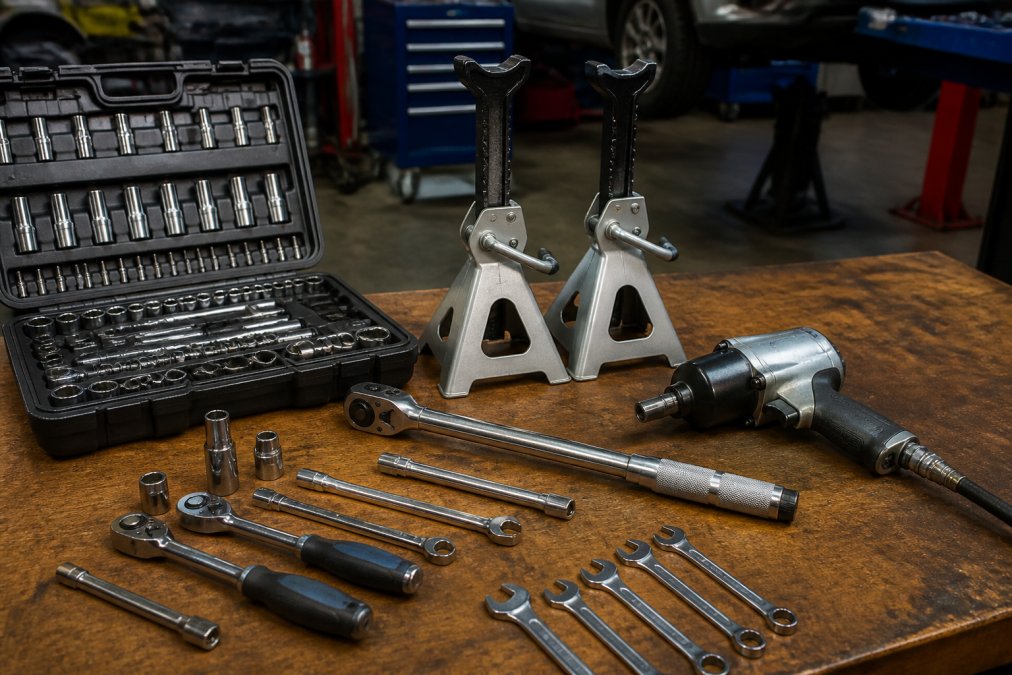
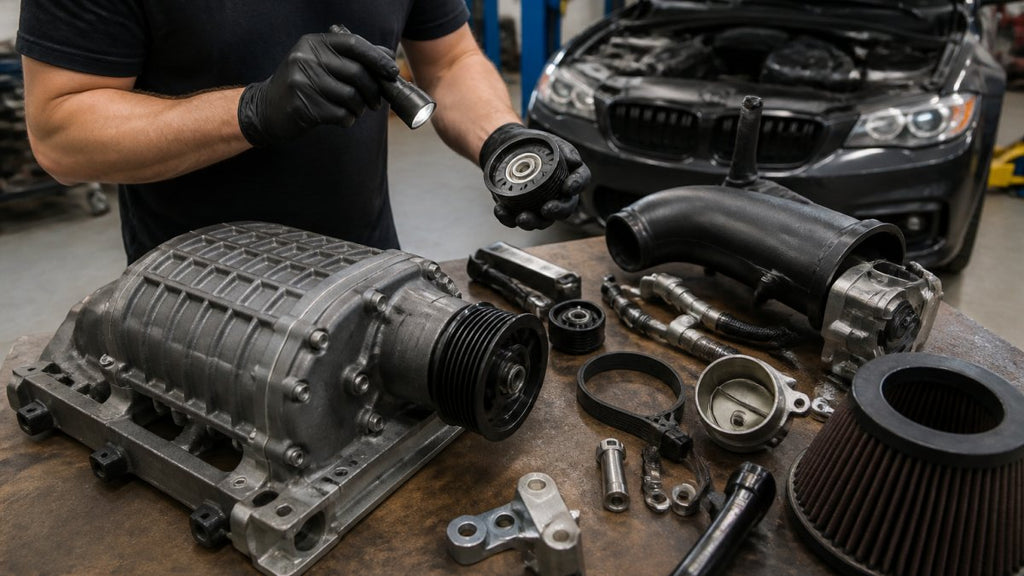
Hand tools form your foundation: a complete socket set (metric and SAE), combination wrenches, screwdrivers, a torque wrench, and pliers cover ninety percent of fastener work. The torque wrench is non-negotiable. Add a gasket scraper, wire brush, and jack stands.
Pneumatic tools transform installation time from frustrating to manageable. An impact wrench removes stuck bolts in seconds; an air ratchet speeds up repetitive fastening. These require an air compressor; a basic five-horsepower unit rents for fifteen to twenty dollars per day. A lift or jack stands are mandatory for safety and access, you cannot install a supercharger from underneath your vehicle on jack stands alone.
Hand Tools vs. Pneumatic Tools: What You Actually Need
Hand tools are sufficient if you have patience and reasonable bolt-removal experience. Everything on a supercharger kit can be installed with wrenches and screwdrivers. The trade-off is time, expect installation to take twice as long without pneumatic assistance.
Pneumatic tools cut installation time roughly in half. Most DIY installers use a hybrid approach: hand tools for precision work where you control torque specification, pneumatic tools for removal and repetitive fastening. This combination keeps installation time under eight hours for experienced mechanics.
Tool Rental vs. Purchase Strategy
Purchasing all tools costs four hundred to seven hundred dollars. Renting pneumatic equipment costs thirty to fifty dollars per day. For a single installation, renting makes sense. If you plan multiple modifications, purchasing builds long-term value.
Supercharger Installation Time Estimate: What to Expect
Total installation time ranges from six to twenty hours depending on your experience level, vehicle configuration, and kit complexity. An experienced mechanic with proper tools completes installation in six to eight hours. A competent DIY mechanic completes installation in ten to fourteen hours. A novice mechanic should allocate eighteen to twenty hours.
Key Takeaway
Break installation into multiple sessions rather than one marathon effort. Fatigue causes mistakes. A six-hour installation spread across two weekends is safer and more thorough than one twelve-hour push.
Timeline by Vehicle Type and Kit Complexity
Toyota Tundra and Sequoia 5.7L installations typically take ten to twelve hours. The engine bay is spacious and bolt patterns are straightforward. Toyota 4Runner and Tacoma 4.0L installations run slightly faster at nine to eleven hours. Ford F-150 installations vary significantly based on generation and engine size; budget twelve to sixteen hours for modern trucks. Jeep installations depend heavily on existing modifications, stock Jeeps follow standard timelines, while Jeeps with custom engine work require diagnostic troubleshooting that extends installation by four to eight hours.

Step-by-Step Installation Overview
Supercharger installation follows a logical sequence: prepare your workspace and vehicle, remove factory components, install the supercharger assembly, integrate fuel and vacuum systems, then calibrate engine management.
Preparation and Workspace Setup
Disconnect your battery's negative terminal to prevent electrical shorts. Drain your coolant system completely, you'll be removing the intake manifold and routing new coolant lines through the intercooler. Remove the serpentine belt by rotating the belt tensioner and take a photo of the belt routing before removal.
Lift your vehicle safely using jack stands rated for its weight. Never work under a vehicle supported only by a hydraulic jack. Clean your engine bay with a degreaser and allow it to dry completely to prevent dirt from contaminating fuel injectors and vacuum line connections.
Pulley Alignment and Serpentine Belt Routing
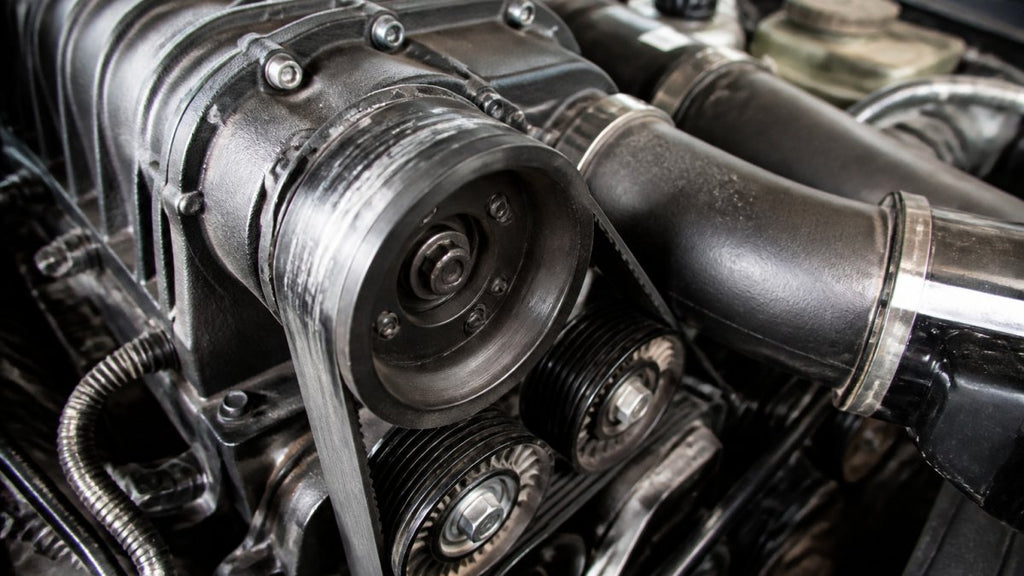
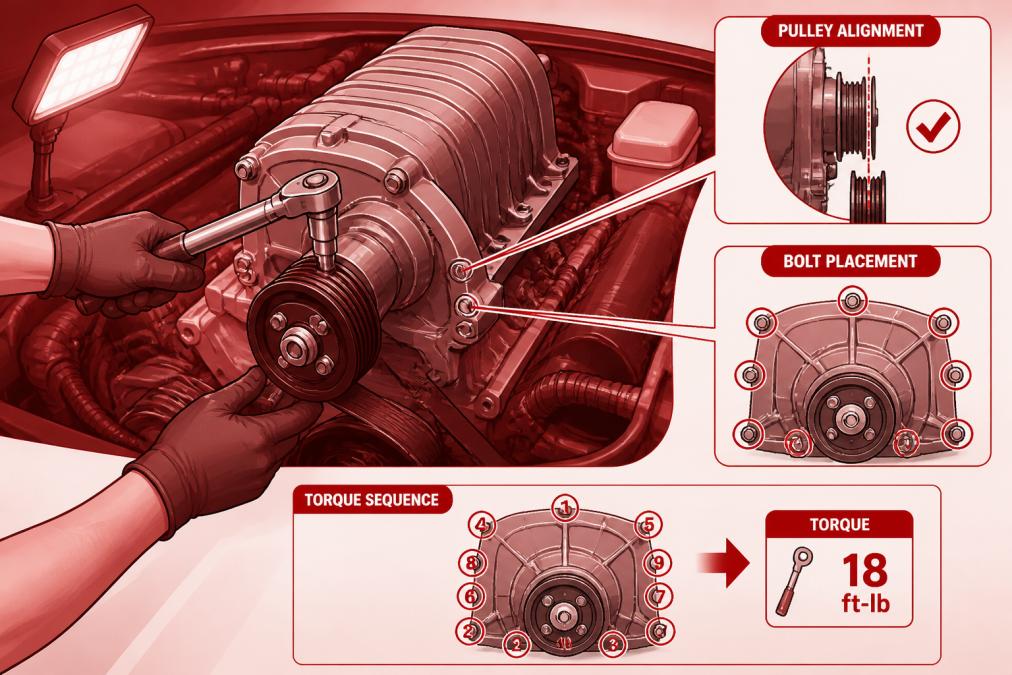
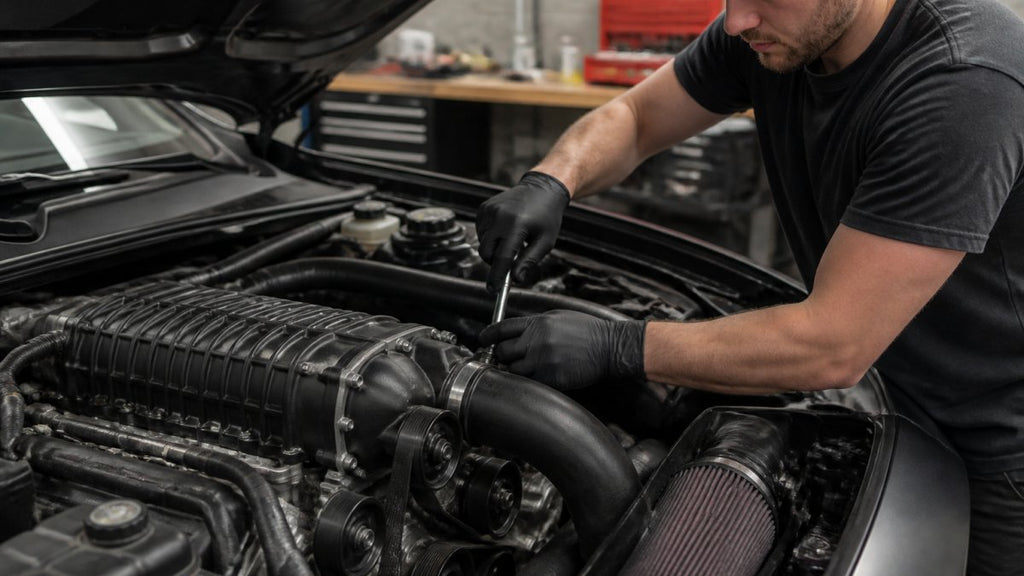
The crankshaft pulley must align perfectly with the supercharger pulley. Misalignment causes the serpentine belt to slip, reducing boost pressure. Remove the factory crankshaft pulley using a pulley puller, never strike it with a hammer. Install the supercharger pulley and verify it sits in the same plane as the crankshaft pulley using a straightedge. Route the new serpentine belt following the diagram provided in your kit.
Intercooler Mounting and Coolant System Bleeding
Mount your intercooler as close to the engine as practical without restricting airflow. Poor positioning causes heat soak that degrades performance under sustained boost. Route coolant lines from the supercharger to the intercooler following the path specified in your kit and secure lines with provided clamps at six-inch intervals.
Bleed the coolant system by running the engine at idle with the heater set to maximum temperature. Open any bleed screws or high-point vents on the intercooler and lines, then check coolant level after the system runs for ten minutes.
Fuel Injectors, Throttle Body, and Intake Manifold Integration
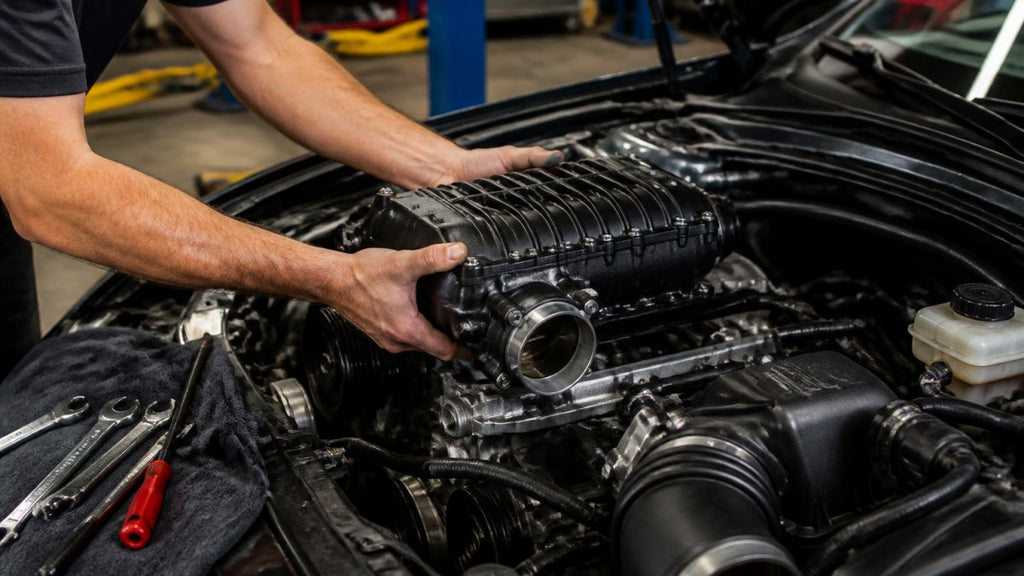
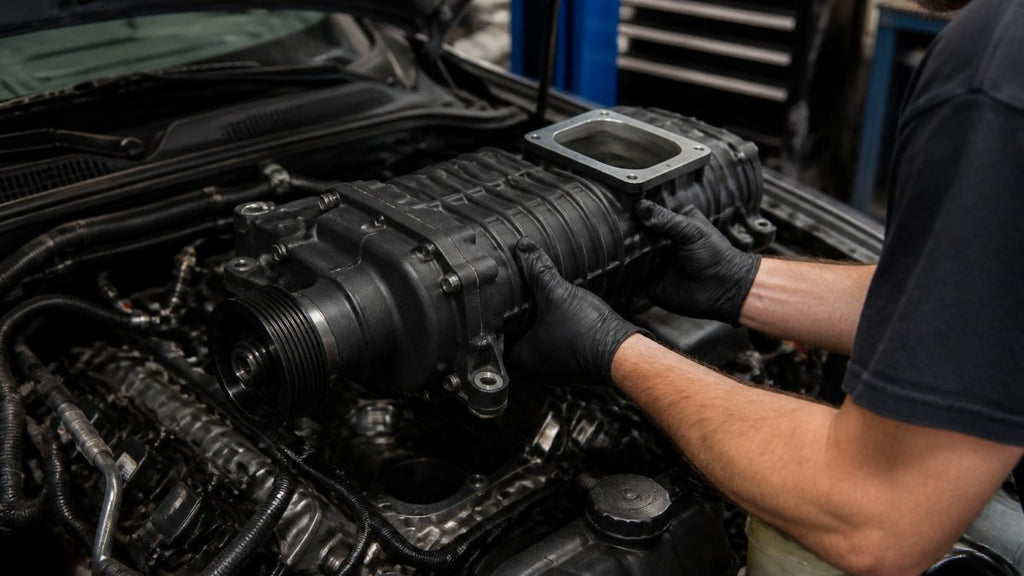
Remove the factory intake manifold by unbolting it from the cylinder head. Scrape gasket material clean and use a wire brush to clean bolt holes. Install the new intake manifold gasket and position the supercharger assembly, hand-tightening bolts first to ensure proper alignment before applying torque specification in a crisscross pattern.
Connect fuel injectors to the new fuel rail and verify each injector seats fully. Integrate the throttle body by connecting the throttle cable and all vacuum lines, then test the throttle by hand to verify smooth operation before starting the engine.
Vacuum Lines and Engine Management Connections
Vacuum line routing is critical for proper boost control and emissions management. Your VT Superchargers kit includes a detailed diagram showing each vacuum line's origin and destination, follow this diagram exactly. Connect the manifold absolute pressure sensor to the boost source and route the boost control vacuum line from the supercharger to the boost controller. Connect all remaining vacuum lines to their factory destinations.
DIY Supercharger Tuning Requirements and ECU Reflash
You cannot install a supercharger and expect your factory engine management to work correctly. Your ECU's fuel map assumes naturally aspirated engine operation. Forced induction changes everything.
Why ECU Calibration and Boost Pressure Tuning Matter
The supercharger increases air volume entering your cylinders. Your fuel injectors must deliver proportionally more fuel to maintain proper air-fuel ratio. Without ECU recalibration, your engine runs lean, causing detonation that destroys pistons and connecting rods. Boost pressure tuning sets the maximum pressure your supercharger produces. Professional tuning uses a dynamometer to measure actual horsepower and torque output while the tuner adjusts fuel, timing, and boost parameters. This process takes two to four hours and costs three hundred to six hundred dollars.
Air-Fuel Ratio and Engine Timing Adjustments
Your air-fuel ratio should sit at 12.5:1 under boost. A wideband oxygen sensor measures actual air-fuel ratio during operation. Engine timing should retard by two to four degrees per pound of boost pressure. A supercharger producing ten pounds of boost requires twenty to forty degrees of timing retard compared to naturally aspirated operation.
Key Takeaway
DIY tuning with generic software is unreliable and dangerous. Professional [ECU reflash](/blogs/news/do-vt-supercharger-kits-require-a-tune) from a tuner experienced with supercharged vehicles is non-negotiable for reliability.
Safety Precautions and Legal Compliance
Supercharger installation requires serious safety considerations. Forced induction significantly increases engine stress.
Workspace Requirements and Lift vs. Jack Stands
Your workspace must be well-ventilated because you'll be running the engine multiple times during installation and tuning. Never run a supercharged engine in an enclosed space without proper exhaust ventilation. Use a professional lift if available for stable support and overhead clearance. If using jack stands, position them at the frame rails and never work alone.
Emissions Compliance and Warranty Considerations
Supercharger installation affects your vehicle's emissions profile. In states with strict emissions testing, a supercharged vehicle may not pass inspection without proper tuning. Your factory warranty is voided if you install a supercharger without manufacturer approval. However, VT Superchargers provides a 24-month warranty on their kits and components. Document your installation process with photos and receipts and save all tuning logs from professional calibration.
Diagnostic Troubleshooting for Failed Installations
Even careful installations sometimes encounter problems. Knowing how to diagnose issues prevents expensive mistakes.
Manifold Absolute Pressure Sensor and Drivability Issues
The manifold absolute pressure sensor measures boost pressure and tells your ECU how much fuel to inject. If this sensor is disconnected or routed incorrectly, your engine runs poorly. Verify the sensor is connected to a boost source and should read zero pressure at idle and increase proportionally with boost. Drivability issues often stem from incomplete vacuum line connections, trace each vacuum line from its source to its destination.
Heat Soak and Crankshaft Pulley Torque Specification Problems
Heat soak occurs when intake air temperature rises excessively, reducing oxygen density. Symptoms include power loss after sustained acceleration or hesitation during highway driving. Improve intercooler efficiency by ensuring proper coolant flow and adequate airflow. Crankshaft pulley torque specification problems cause the pulley to slip on the crankshaft, reducing supercharger speed and boost pressure. Verify torque specification was applied correctly using a torque wrench.
DIY vs. Professional Installation: Cost and Risk Analysis
The decision between DIY and professional installation hinges on your mechanical experience, available tools, and risk tolerance. DIY installation saves labor costs but requires your time investment. Professional installation adds one thousand to two thousand dollars in labor. The risk is that improper installation voids your warranty and potentially damages your engine.
Professional tuning is almost always worth the investment. A tuner with experience on supercharged vehicles prevents costly mistakes and has proper diagnostic equipment. If your vehicle has custom engine modifications or you're running higher boost pressure than stock, professional tuning is mandatory. If you're unsure about any aspect of installation or tuning, hire a professional, the cost is far less than engine damage.
VT Superchargers maintains a network of approved installers who specialize in our kits. These installers understand our specific engineering and fitment requirements and can handle both installation and professional tuning, ensuring your supercharger performs reliably. If you're uncertain about DIY installation, connecting with an approved installer eliminates guesswork and protects your warranty.
Installing a supercharger yourself is achievable if you have genuine mechanical experience and access to proper tools. The difficulty lies not in individual steps but in understanding how forced induction changes your engine's behavior. You're integrating a system that dramatically increases air volume and pressure, requiring respect for torque specifications, vacuum line routing, and professional ECU calibration. VT Superchargers kits are engineered for precise OEM-style fitment, which means they fit properly when installed correctly. If you're confident in your diagnostic thinking and willing to invest in professional tuning, DIY installation delivers real performance gains. If you're uncertain, professional installation and tuning from an approved VT Superchargers installer ensures reliability and protects your 24-month warranty.
Frequently Asked Questions
How difficult is it to install a supercharger if I've never done major engine work?
Supercharger installation difficulty depends on your mechanical aptitude and the kit design. VT Superchargers bolt-on kits are engineered for OEM-style fitment, making them more accessible than traditional turbo installations. However, you need wrenching experience with basic engine components, serpentine belts, intake manifolds, fuel injectors, and vacuum lines. If you've rebuilt carburetors or replaced timing belts, you have the foundation. First-timers should expect 20-30 hours and should plan for diagnostic troubleshooting time if issues arise.
What's the typical supercharger installation time estimate for a DIY project?
Installation time varies by vehicle and kit complexity. A bolt-on supercharger kit typically takes 16-24 hours for experienced DIYers, or 24-40 hours for those with moderate mechanical experience. This includes engine management system configuration, ECU reflash, and initial tuning. Add 4-8 hours if you're unfamiliar with your specific vehicle's layout. The VT Superchargers kits for Toyota platforms (Tundra, Tacoma, 4Runner, Sequoia) are designed for faster installation due to precise fitment, potentially saving 4-6 hours compared to generic kits.
Will installing a supercharger void my factory warranty?
Yes, forced induction modifications typically void powertrain warranties on most vehicles, though this depends on your manufacturer's policy. However, VT Superchargers backs every installation with a 24-month warranty on the kit itself. To minimize risk, document your installation process, keep all receipts, and avoid claiming warranty work on engine-related issues after installation. Check your vehicle's warranty documentation before starting, some manufacturers are more permissive than others regarding bolt-on modifications that don't alter engine internals.
What essential tools do I actually need to install a supercharger myself?
You'll need a complete socket set (1/4", 3/8", 1/2" drives), torque wrench for crankshaft pulley and manifold fasteners, jack stands or a lift, serpentine belt tool, coolant system bleeding kit, and a vacuum line removal tool. Pneumatic tools speed up the job, an impact wrench cuts installation time by 30%. Hand tools work fine if you have patience. You'll also need a diagnostic scanner to verify engine management system parameters and confirm boost pressure and air-fuel ratio after ECU calibration. Tool rental from an automotive supply shop typically costs $40-80 per day.
This article was written using GrandRanker
Related post
09
Oct
RECENT POSTS