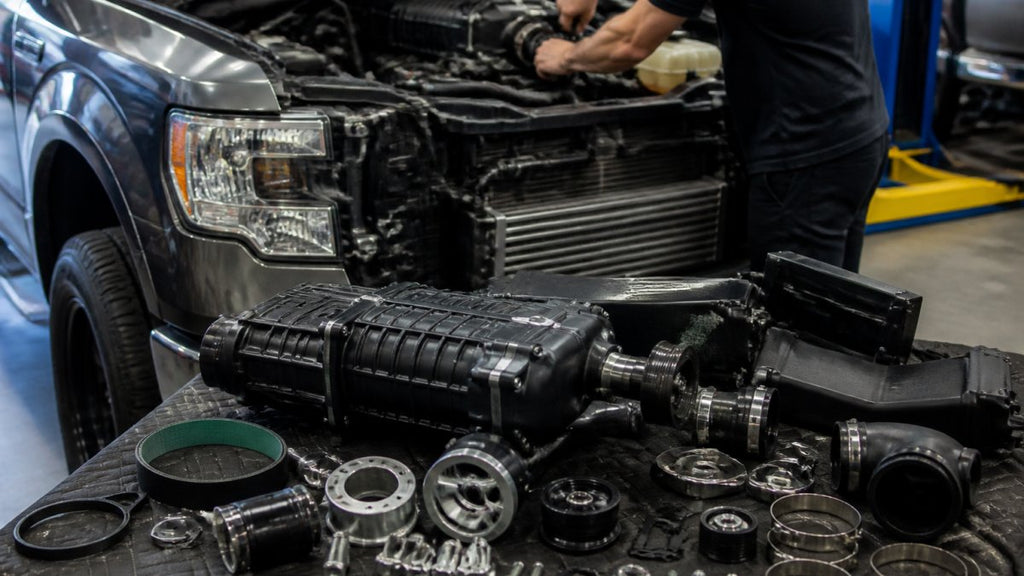
Truck Supercharger Kits Installation Guide for 2026
Table of Contents
- Before You Turn a Wrench: Engine Health and Fitment Checks
- Supercharger Installation Tools List: What You Need in the Bay
- Step-by-Step Truck Supercharger Kits Installation Guide
- Fuel System Upgrades, Vacuum Lines, and Sensor Connections
- ECU Tuning, PCM Programming, and Emissions Compliance
- How Long Does It Take to Install a Supercharger?
- Supercharger Maintenance Best Practices and Drivetrain Compatibility
- Frequently Asked Questions
Last Updated: October 2, 2026
Before You Turn a Wrench: Engine Health and Fitment Checks
A truck supercharger kits installation guide is only as good as the engine it bolts onto. Forced induction multiplies whatever your engine already is. A healthy 5.7L V8 becomes a torque monster. A tired one becomes a paperweight with a belt.
So before you order anything, spend an afternoon confirming your engine can handle boost.
Compression, Leak-Down, and Datalogging the Stock Baseline
Start with a compression test on every cylinder. You want numbers that fall within about 10% of each other (How to Check Engine Compression). A weak cylinder will only get weaker under boost.
Next, run a leak-down test. This tells you where compression escapes: rings, valves, or head gasket. Any of those three failing means you fix it first.
Then datalog the stock tune. Capture manifold absolute pressure, mass airflow sensor readings, and air-fuel ratio under load. You now have a reference point.
Watch Out
Skipping the leak-down test is a common mistake. A worn ring seal that runs fine at stock boost will blow oil past the rings at 7 psi. That means a full teardown instead of a weekend install.
Supercharger Installation Tools List: What You Need in the Bay
A complete supercharger installation tools list saves you three trips to the parts store. Most bolt-on kits need standard hand tools, but a few items are non-negotiable.
Here's what belongs on your bench before you start:
- Torque wrench (1/2-inch drive, 10-150 ft-lb range)
- Socket set including deep wells for manifold bolts
- Serpentine belt tool or long-handled breaker bar
- Coolant vacuum fill kit for bleeding the heat exchanger
- Torque angle gauge for stretch bolts
- Fuel line disconnect tools
- Datalogger or scan tool with live data
- Drain pans, shop towels, and thread sealant
You'll also want a quality floor jack and jack stands. Some kits require dropping the front subframe slightly for clearance.
Budget two full days if this is your first install. A shop with a lift can do it faster, but the tools above are what make a home garage install realistic.
Step-by-Step Truck Supercharger Kits Installation Guide
This is the core of the job. Work methodically, keep every bolt labeled, and photograph each stage before you remove anything. The photos will save you during reassembly.
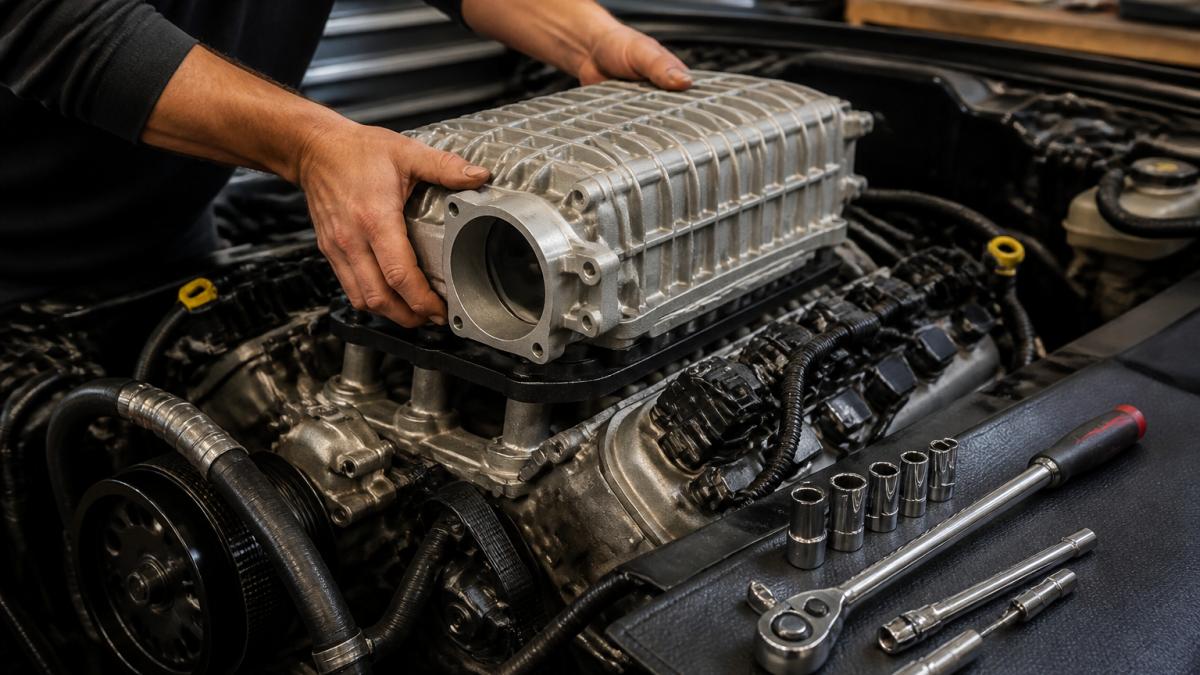
Intake Manifold Removal and Gasket Replacement
Disconnect the battery first. Then relieve fuel pressure at the rail.
Label every vacuum line and electrical connector before you pull the stock intake manifold. There are more of them than you think, and two of them look identical.
Once the manifold is off, clean the mating surfaces. Any old gasket material left behind will cause a vacuum leak. Always use fresh gaskets.
Mounting the Unit, Intercooler, and Heat Exchanger
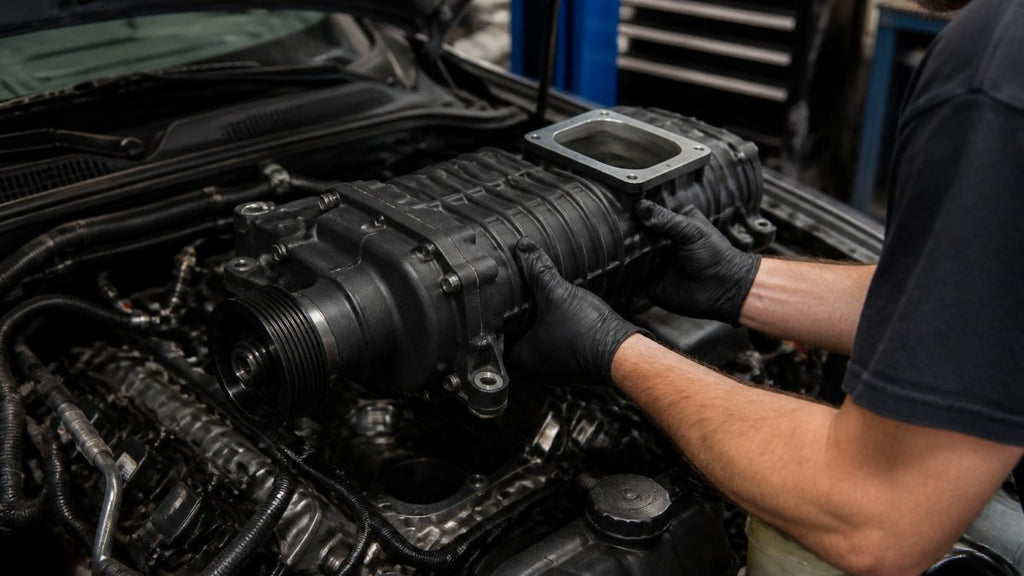
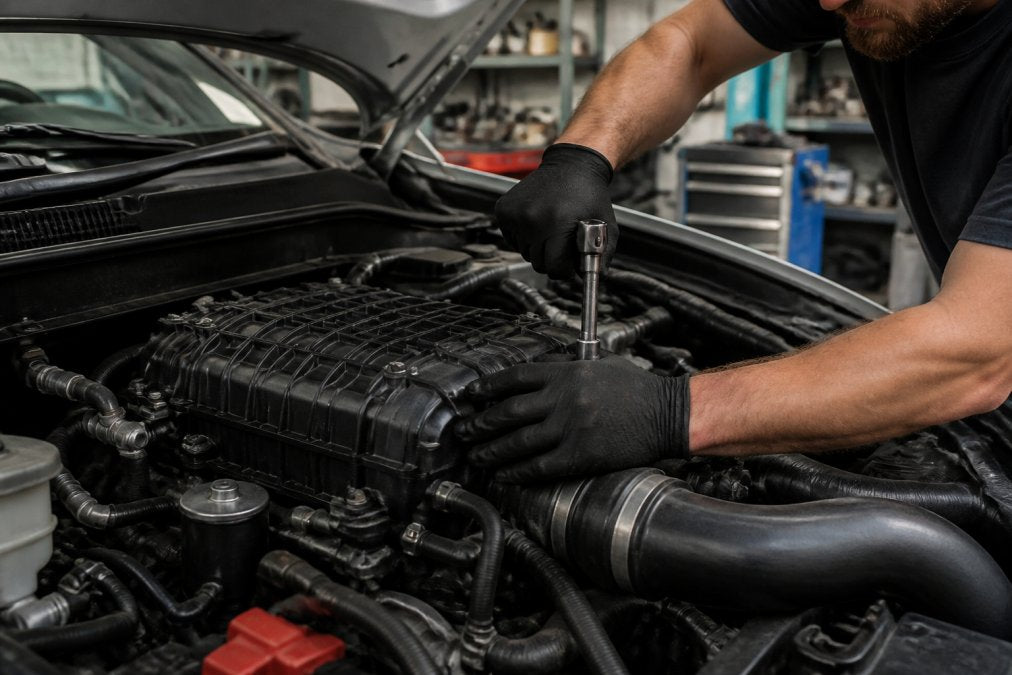
Set the supercharger body on the new manifold and hand-thread the bolts first. Snug them in a cross pattern, then torque to spec in stages.
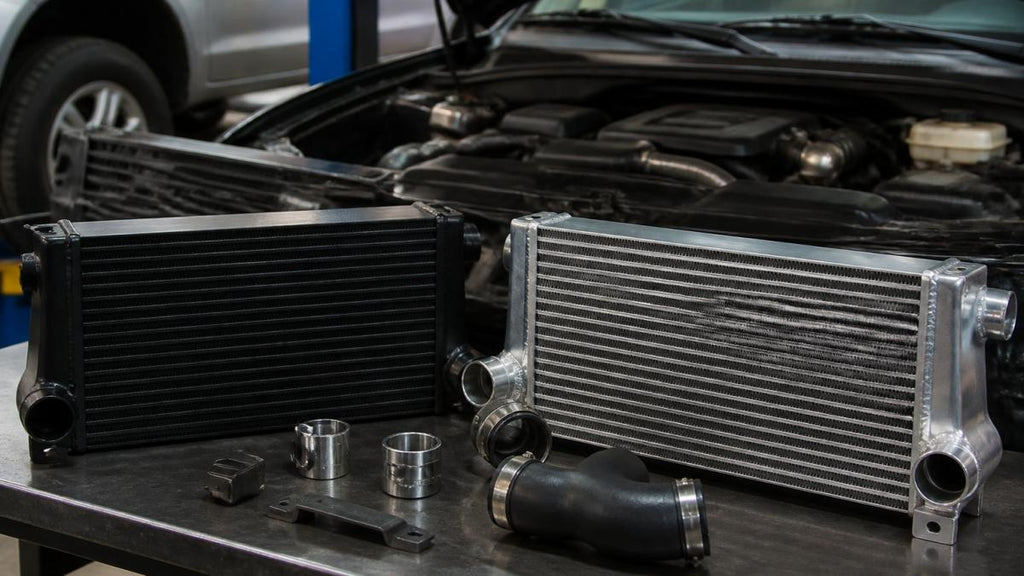
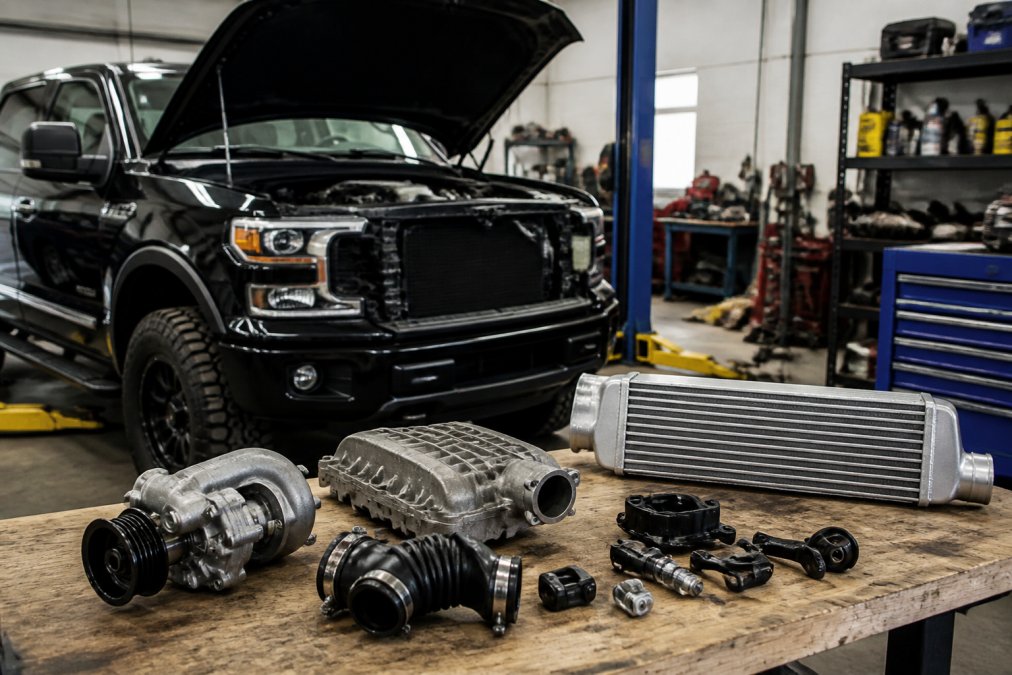
Mount the intercooler and heat exchanger next. The heat exchanger usually sits in front of the radiator.
Fill and bleed the coolant system completely. Trapped air causes hot spots and heat soak. A vacuum fill kit makes this step far easier.
Belt Routing, Pulley Configuration, and Torque Specifications
Follow the belt routing diagram in your kit exactly.
Check the tensioner travel. It should sit in the middle of its range, not at either extreme.
Pulley size sets your boost pressure. A smaller crank pulley or larger supercharger pulley spins the blower faster.
Torque every fastener to the spec in your manual. Stretch bolts get replaced, not reused.
Fuel System Upgrades, Vacuum Lines, and Sensor Connections
Stock fuel injectors rarely flow enough for boost. Most kits include upgraded injectors, and some use a 7th injector setup for extra fueling under load.
Install the new injectors with fresh O-rings. Lube them lightly so they seat without tearing.
Reconnect every vacuum line to its original port. A single loose line causes a lean condition under boost, and lean plus boost equals detonation.
Pro Tip
Take a photo of the engine bay before you touch anything. When a vacuum line ends up unaccounted for at hour nine, that photo is worth more than any manual.
ECU Tuning, PCM Programming, and Emissions Compliance
ECU calibration is not optional. Every kit we sell requires it, and for good reason.
The stock PCM doesn't know it's being fed boost. It will hold timing and fuel maps built for natural aspiration. That leads to detonation and damaged pistons.
Toyota Tundra 5.7L 3UR-FE Supercharger Kit | VT Superchargers →
A proper ECU calibration adjusts timing, fuel delivery, and boost targets together. It also recalibrates the torque curve so your transmission shifts correctly. On most late-model trucks, that means flashing the factory PCM through a handheld programmer or having a tuner write a custom calibration on a dyno.
What a Real Calibration Changes
- Spark advance under load (pulled back as boost rises)
- Injector pulse width and fuel pressure targets
- Mass airflow and manifold absolute pressure scaling
- Torque management and shift pressure tables
- Rev limiter and speed limiter adjustments
Run premium fuel. Most boosted truck calibrations are written for 91 or 93 octane. Running 87 on a boosted tune is one of the fastest ways to melt a piston.
Emissions and Legal Compliance: The Part Most Guides Skip
This is where many guides fall short. Whether the kit is legal to drive on public roads in your state matters more than the install itself for many owners.
Federal law under the Clean Air Act prohibits tampering with emissions control devices on street-driven vehicles (Tampering and Aftermarket Defeat Devices). That includes removing or bypassing catalytic converters, EGR systems, and evaporative emissions components. A supercharger kit that deletes any of those is not street legal.
The practical path for a street-driven truck is a kit that carries an executive order (EO) number from the California Air Resources Board, often called a CARB EO.
Before you order anything:
- Look up your state's inspection and smog rules. Requirements vary widely.
- Confirm the kit's CARB EO number covers your exact year, make, model, and engine.
- Check whether your state requires the EO sticker to be visible under the hood.
- If no EO exists for your combination, treat the build as off-road only.
Off-road-only builds follow a different path. They are not registered for street use, so emissions rules do not apply the same way.
EPA guidance on vehicle emissions tampering
Watch Out
Verify the EO number against your model year and engine code before you buy. If the number does not match, the kit is not legal for your truck in a smog state.
Tuning Order of Operations
Do not drive the truck hard before the calibration is loaded. Install the hardware, load the base tune, then datalog short pulls. Send the logs to your tuner if you are running a custom file. Adjust as needed. Only after the tune is dialed in should you push the truck to full boost.
How Long Does It Take to Install a Supercharger?
A first-time install in a home garage takes most people two full days. A shop with a lift and prior experience can finish in one.
The variables that stretch the timeline:
- Rusted or seized manifold bolts
- Coolant bleeding on the heat exchanger
- Fuel injector replacement
- Tuning and datalogging sessions
Plan for the job to take longer than you think. Rushing leads to missed vacuum lines and cross-threaded bolts.
| Stage | Typical Time | Notes |
|---|---|---|
| Baseline checks | 2-3 hours | Compression, leak-down, datalog |
| Manifold removal | 2-4 hours | Label everything |
| Unit and cooling install | 3-5 hours | Includes coolant bleed |
| Fuel and vacuum lines | 1-2 hours | Check twice |
| Tuning and first drive | 1-3 hours | Datalog under load |
Supercharger Maintenance Best Practices and Drivetrain Compatibility
Supercharger maintenance best practices come down to oil, belts, and heat. Drivetrain compatibility comes down to how much torque your stock parts can actually take.
Blower Oil and Service Intervals
Supercharger oil is not the same as engine oil, and the interval is not the same either. There are two common designs:
- Self-contained blower oil: Many positive-displacement and centrifugal units have their own oil reservoir. Check the level at every engine oil change. Most manufacturers call for a full drain and refill somewhere between 30,000 and 100,000 miles depending on the unit and how hard it is worked. Towing and off-road use shorten that window.
- Engine-oil-fed blower: Some units share engine oil through a feed and return line. On these, oil change intervals stay close to factory spec, but you should still check the feed line for leaks and the return line for kinks at every service.
Use the exact fluid the blower manufacturer specifies. Generic gear oil is not a substitute. A wrong fluid can foam, break down under heat, or damage the rotor bearings.
Belt, Tensioner, and Heat Exchanger Checks
Inspect the serpentine belt for glazing, cracks, or fraying every few thousand miles. A belt failure at speed can take out the tensioner and water pump with it.
Heat soak is the quiet killer. A larger heat exchanger and clean coolant keep intake air temps down. Flush and refill the intercooler coolant loop on the schedule in your manual.
Drivetrain Compatibility: What Actually Breaks
Adding 40-60% more horsepower stresses everything downstream of the flywheel. The parts that fail first, in rough order:
- Transmission and torque converter. Stock automatics have a torque rating. Once you exceed it, clutch packs slip and fluid temps climb. A tune that raises line pressure and adjusts shift points helps, but it does not raise the hard limit.
- Driveshaft and U-joints. Added torque plus a lifted suspension changes driveline angles. Vibration and premature U-joint failure follow.
- Rear axle and ring-and-pinion. Towing with larger tires makes this worse. If your truck hunts gears now, boost will amplify the problem unless the tune addresses shift points.
- Clutch (manual trucks). A stock clutch rated for naturally aspirated torque will slip under boost. Plan on an upgrade.
A common pattern is that owners budget for the blower and tune, then discover the transmission needs work within the first year. Build the supporting drivetrain into your budget from the start, especially on high-mileage trucks.
Key Takeaway
A supercharger kit makes power. A complete build makes power that lasts. Budget for supporting drivetrain work if you're adding serious boost to a high-mileage truck.
Our Toyota Tundra 5.7L 3UR-FE Supercharger Kit delivers 40-60% more horsepower and 30-50% more torque at 7 psi, with a non-destructive bolt-on install and a 24-month warranty. For Tacoma owners, the Tacoma 4.0L 1GR-FE kit follows the same approach.

Frequently Asked Questions
Is it hard to install a supercharger kit yourself?
It is a long weekend job, not a quick bolt-on. You will pull the intake manifold, mount the supercharger and intercooler, route a serpentine belt, connect vacuum lines, and swap fuel injectors. Basic hand tools plus a torque wrench and a scan tool cover most of it. If you can follow torque specifications and label every connector you remove, a driveway install is realistic. Otherwise, budget for a shop.
Do I need to tune my truck's ECU after installing a supercharger?
Yes. Every VT Superchargers kit requires PCM programming or ECU calibration after installation, including the Tundra 5.7L 3UR-FE, Tacoma 4.0L 1GR-FE, and Tacoma 3.5L 2GR-FKS kits. The stock calibration cannot account for 7 psi of boost, so air-fuel ratio, timing, and injector pulse width all need adjustment. Skipping the tune risks detonation and engine damage, and it can void your warranty coverage.
How much horsepower does a bolt-on supercharger add?
It depends on the platform. The VT Superchargers Tacoma 3.5L V6 2GR-FKS kit adds 100 horsepower and 90 lb-ft of torque over stock. The Tundra 5.7L 3UR-FE and Tacoma 4.0L 1GR-FE kits deliver 40 to 60 percent more horsepower and 30 to 50 percent more torque at 7 psi. The ARNOT-HKS centrifugal kit for the Tacoma 3.5L adds about 40 percent horsepower and 30 percent torque at the same boost level.
Will a supercharger kit void my factory warranty?
Federal law protects you here. Under the Magnuson-Moss Warranty Act, a dealer cannot void your entire warranty just because you installed aftermarket parts. They must show the supercharger caused the specific failure they are denying. That said, a bad tune or excessive boost can lead to a legitimate denial on the affected components. Keep your installation receipts and follow the kit's fuel and tuning requirements to stay covered.
Adding boost to a truck is one of the most satisfying upgrades you can do, but it rewards patience over speed. If you want a kit built for precise, OEM-style fitment with real support behind it, VT Superchargers offers bolt-on systems for Dodge, Ford, Jeep, Mazda, Nissan, Suzuki, and Toyota, backed by a 24-month warranty and financing options. Register with VT Superchargers and get the right kit for your build.
Related post

RECENT POSTS