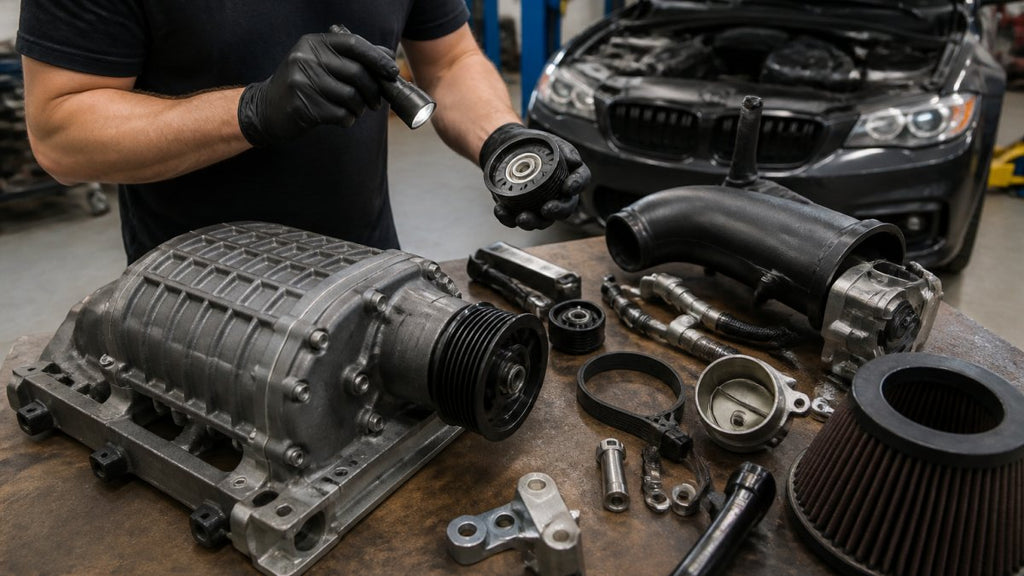
Used Supercharger Kit Inspection Guide for 2026
Table of Contents
- Why a Used Supercharger Kit Inspection Matters Before You Buy
-
Your Used Supercharger Inspection Checklist: Step-by-Step
- Step 1: Inspect the Housing, Top Plate, and Visible Components
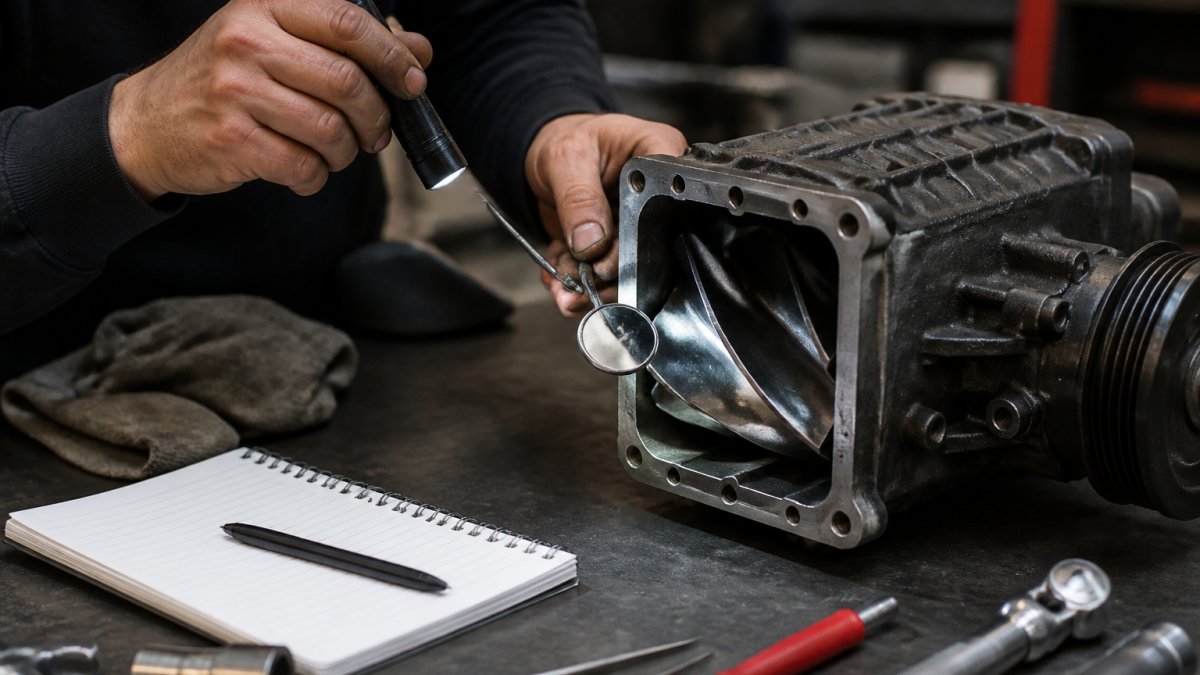
- Step 2: Check Rotor Condition, Clearance, and Shaft Play
- Step 3: Examine Washers, Seals, Bearings, and Wear Items
- Step 4: Verify Kit Completeness Against the Application Parts List
- Step 5: Confirm Fitment to Your Exact Vehicle
- Step 6: Know the Limits of a Visual Check
- How to Verify Supercharger Rebuild History and Service Records
- Supercharger Kit Fitment Guide: Confirming Vehicle Compatibility
- Spotting Supercharger Kit Missing Parts and Checking Completeness
- Pass/Fail Criteria and Questions to Ask the Seller
- Conclusion: Making a Confident Purchase Decision
- Frequently Asked Questions
Last Updated: October 4, 2026
Why a Used Supercharger Kit Inspection Matters Before You Buy
A used supercharger kit inspection is the only way to know whether a secondhand blower will make power or make problems. At VT Superchargers, we build bolt-on kits for Dodge, Ford, Jeep, Mazda, Nissan, Suzuki, and Toyota.
A used supercharger kit inspection guide only works if you inspect the parts. Photos lie: a rotor that looks fine in a phone picture can have shaft play you feel in seconds.
Below is the checklist we would use: how to inspect a used supercharger kit, verify rebuild history, confirm fitment, and decide whether the asking price makes sense.
Watch Out
Never buy a used supercharger without seeing the rotors turn by hand. A unit that binds, scrapes, or clicks when rotated is a rebuild waiting to happen, and rebuild costs often exceed the savings from buying used.
Your Used Supercharger Inspection Checklist: Step-by-Step
Work through these steps in order. Each takes minutes and can end the deal, and the process applies to any positive-displacement or centrifugal kit.
Step 1: Inspect the Housing, Top Plate, and Visible Components
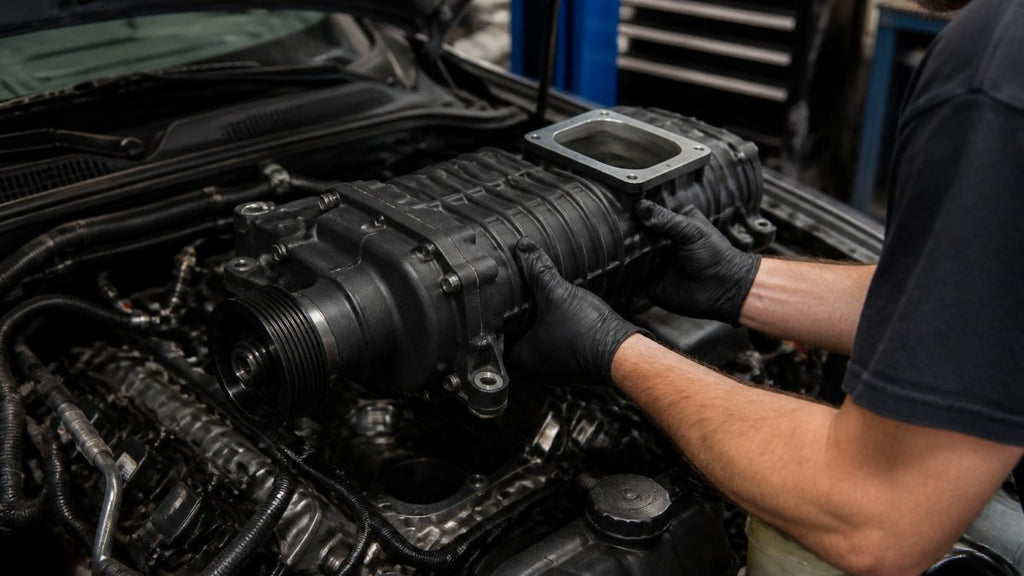
Start with the outside. Look for cracks, corrosion, and repairs around the housing and top plate. Check the mounting flanges for gouges or stripped threads.
A worn, chipped, or bent-lip pulley points to belt misalignment or abuse. Check the brackets for cracks and bends.
Then ask: does the finish match the story? Fresh paint on a rough casting usually hides something.
Step 2: Check Rotor Condition, Clearance, and Shaft Play
This step decides most purchases.
Tools you need: a dial indicator with a magnetic base, feeler gauges, a straightedge, and a torque wrench.
Rotor-to-rotor clearance: With the rotors at their closest point, slide feeler gauges between the lobes.
Rotor-to-case clearance: Use the same feeler-gauge method between the rotor tips and the housing bore.
Radial shaft play: Push the pulley side-to-side while watching the dial indicator. This is bearing wear, the single most common reason a used blower needs a rebuild.
Listen as you turn. Grinding, clicking, or a dry scraping sound all point to internal damage.
Pro Tip
Turn the rotors slowly and feel for a tight spot at the same point in every rotation. A single tight spot usually means a bent shaft or a damaged rotor lobe, not just worn bearings.
Step 3: Examine Washers, Seals, Bearings, and Wear Items
Small parts tell big stories. Pull the fill plug and smell the oil, burnt or gritty oil means heat and metal debris. On units with a sight glass, check the level and color first.
Check these wear items closely:
- Washers: Ceramic washers crack; metal washers wear thin. A cracked ceramic washer can score the rotor.
- Seals and gaskets: Look for weeping, hardening, or missing pieces. Snout seals are the most common leak point.
- Bearings: Spin the pulley and listen for rumble. A bearing that spins freely with no resistance is as suspect as one that grinds.
Step 4: Verify Kit Completeness Against the Application Parts List
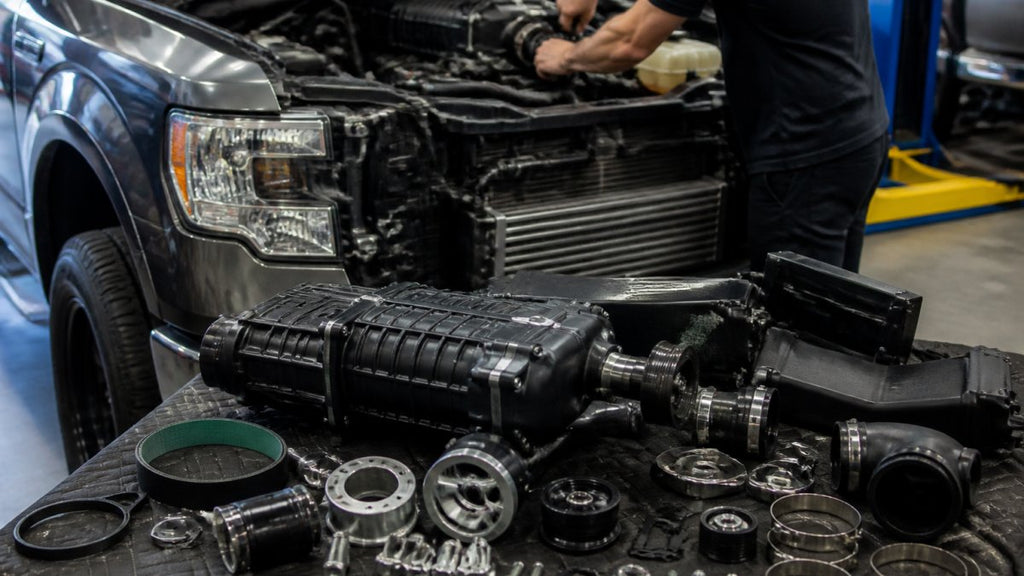
Pull up the manufacturer's parts list for that exact kit number and check every line item:
| Kit Component Group | What to Check | Why It Matters |
|---|---|---|
| Housing and rotors | Cracks, play, binding | Core cost if bad |
| Pulley and belt | Wear, size, alignment | Boost level and slip |
| Brackets and hardware | Bends, stripped threads, missing bolts | Fitment and safety |
| Fuel system | Injectors, fuel rails, regulator | Air-fuel ratio control |
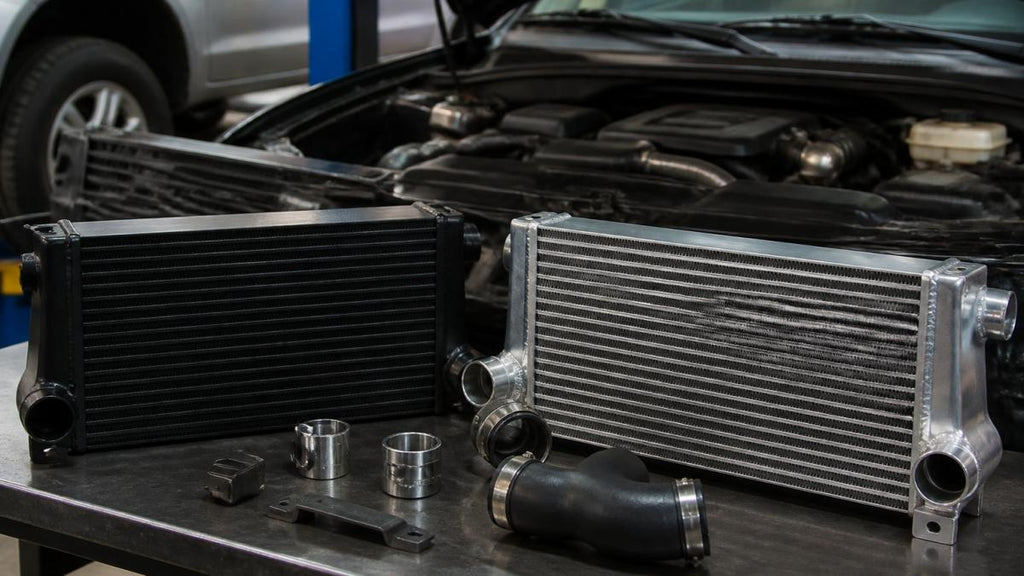
| Cooling and intake | Intercooler, piping, gaskets | Heat soak and leaks |
| Instructions and tune | Manual, tune file, programmer | Installation and drivability |
Missing injectors, a fuel pressure regulator, or the tune file can stop the install cold. Some parts are easy to source; others are discontinued. If the kit uses a proprietary programmer or locked tune file, confirm the seller will transfer it, many cannot.
Step 5: Confirm Fitment to Your Exact Vehicle
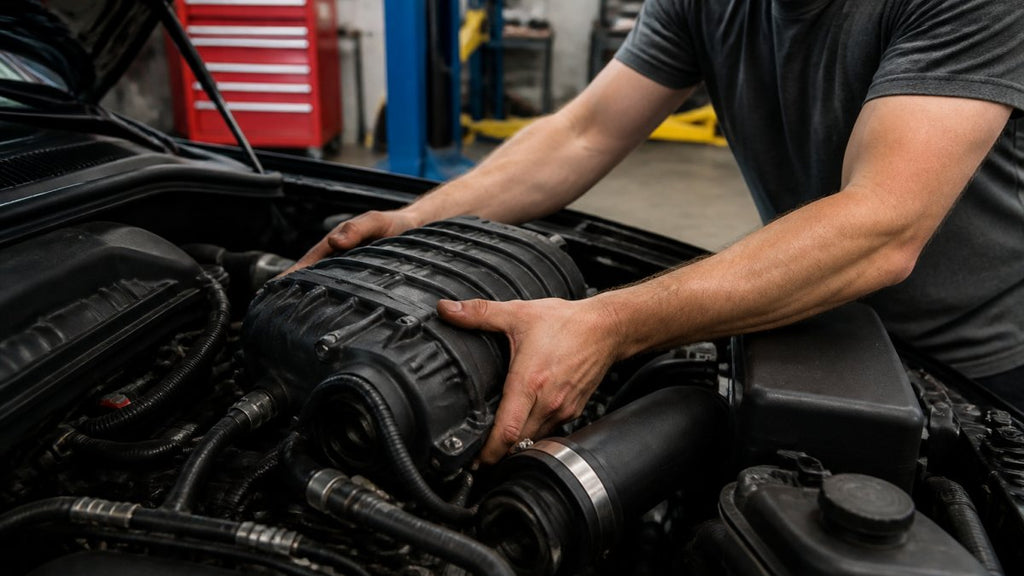
Fitment is where used kits get expensive. Match the kit's part number to your exact model year, engine, and trim. Small changes between years can move accessory drives and intake ports.
If you run a built engine, custom intake, or aftermarket heads, confirm clearance before you buy. A kit that fits a stock truck may not fit yours.
Watch Out
A used kit missing its tune file or programmer can leave you stranded. Replacement tuning and injectors often cost more than the discount you got on the kit.
Step 6: Know the Limits of a Visual Check
Everything above is a pre-purchase inspection you can do in a driveway or parking lot, not a rebuild assessment. Internal inspection of the rotor pack, timing gears, and bearings requires disassembly, specialty tools, and a clean workspace. If the seller will not allow a shop inspection, treat that as a fail and move on. Establishing a baseline for the rest of the vehicle remains just as vital as evaluating the forced induction system, so consult this pre-purchase inspection checklist to ensure the entire platform is as sound as the blower you intend to install.
How to Verify Supercharger Rebuild History and Service Records
A supercharger rebuild history is only as good as the paperwork behind it. Ask for receipts, not stories: a real rebuild comes with a shop name, a date, and a list of parts replaced.
Match the Paperwork to the Unit
Confirm the receipt describes the unit in front of you. A legitimate rebuild invoice lists the supercharger's model or serial number, or at minimum the kit number it came from.
Check the receipt date against the seller's mileage or hours story. A rebuild from two years ago with the unit sitting on a shelf is plausible; one with 30,000 miles since raises the question of why they are selling a freshly rebuilt blower.
Read the Parts List on the Invoice
A real rebuild invoice itemizes what was replaced. Look for these line items:
- Bearings: front and rear, both rotor and drive snout
- Seals: snout seal, case seals, and any O-rings
- Coupler: the drive coupler between the snout and rotor pack
If the invoice says only "rebuilt supercharger" with a single line and a price, it is not a rebuild record, it is a claim. Ask for the itemized version.
Verify the Shop
Search the shop name on the invoice. A legitimate rebuilder has a business presence, a phone number, and a history. If the name returns nothing, or the address is residential with no business listing, treat the rebuild as unverified.
Look for Physical Evidence That Matches the Claim
Paperwork can be fabricated. Physical evidence is harder to fake. Look for:
- Fresh sealant at the case seams, applied evenly and without excess squeeze-out
- New fasteners with clean heads, or original fasteners with consistent tool marks
- Clean mating surfaces where the case halves meet
If the invoice says the snout seal was replaced but the seal looks old and weeping, the paperwork and the unit disagree. Believe the unit.
Check the Rebuild Interval Against the Manufacturer's Spec
Most manufacturers publish a service interval based on operating hours or mileage. If the seller cannot say when the unit was last serviced, assume it needs one; if it is past its interval with no rebuild record, price the rebuild into your offer. Roots-style blowers usually express the interval in miles; centrifugal units in hours.
Ask the Questions That Expose a Weak Claim
- Who did the rebuild, and can I call them?
- What parts were replaced, and do you have the itemized invoice?
- What is the unit's serial number, and does it match the invoice?
- How many miles or hours are on the unit since the rebuild?
- Why are you selling it?
A seller who dodges these questions is telling you something. A seller who answers them with documents and a phone number is telling you something else.
Key Takeaway
Treat any rebuild claim without an itemized receipt tied to the unit's serial number as unverified. Budget for a rebuild in your offer if the seller cannot prove the work.
Price the Risk Into Your Offer
Once you have verified what you can, do the math: add the purchase price, any rebuild, missing parts, tuning, and installation, then compare that total to a new kit. A used kit with a verified rebuild and complete parts list can be a genuine bargain; one with a story and a missing tune file is a project, not a deal.
Supercharger Kit Fitment Guide: Confirming Vehicle Compatibility
A supercharger kit fitment guide starts with one rule: match the part number to your exact model year, engine, and trim.
Ask the seller for the kit's application list. Then verify it yourself.
- Model year: Small changes between years can move accessory drives and intake ports.
- Engine code: The same displacement can have different heads and fuel systems.
- Emissions gear: Some kits only fit non-emissions or specific-state configurations.
If you run a built engine, custom intake, or aftermarket heads, confirm clearance before you buy. A kit that fits a stock truck may not fit yours.
Spotting Supercharger Kit Missing Parts and Checking Completeness
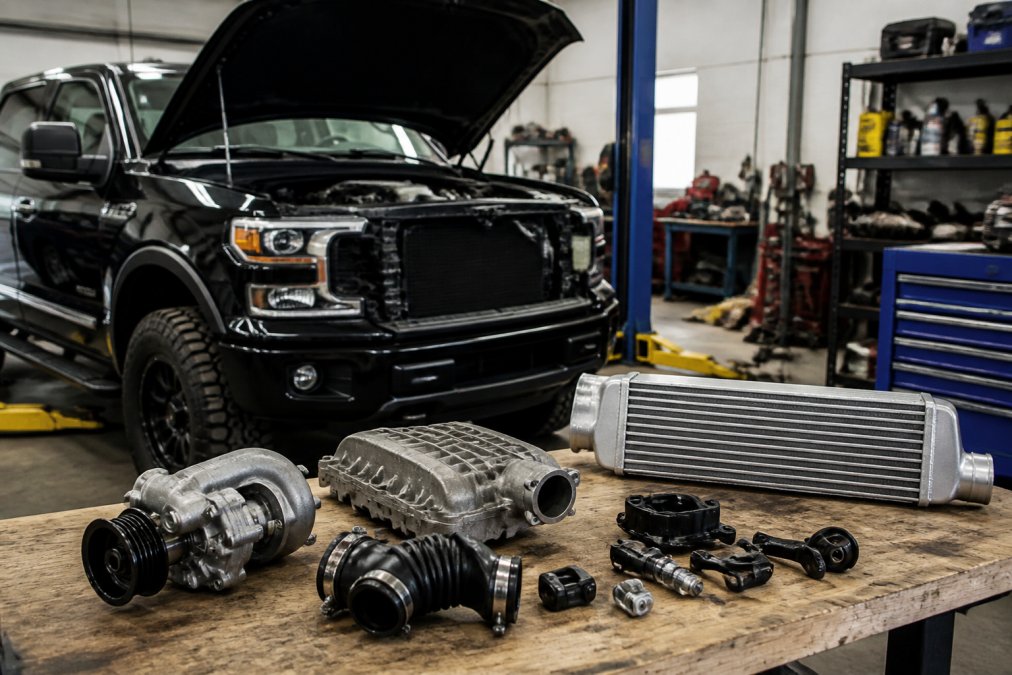
Missing parts are the quiet budget killer. A cheap used kit with half the hardware gone can cost more than a complete one. Print the manufacturer's parts list for that kit and check every line:
| Kit Component Group | What to Check | Why It Matters |
|---|---|---|
| Housing and rotors | Cracks, play, binding | Core cost if bad |
| Pulley and belt | Wear, size, alignment | Boost level and slip |
| Brackets and hardware | Bends, stripped threads, missing bolts | Fitment and safety |
| Fuel system | Injectors, fuel rails, regulator | Air-fuel ratio control |
| Cooling and intake | Intercooler, piping, gaskets | Heat soak and leaks |
| Instructions and tune | Manual, tune file, programmer | Installation and drivability |
Missing injectors, a fuel pressure regulator, or the tune file can stop the install cold. Some parts are easy to source. Others are discontinued.
Pass/Fail Criteria and Questions to Ask the Seller
Use clear pass/fail lines so emotion does not make the call.
| Check | Pass | Fail |
|---|---|---|
| Rotor rotation | Smooth, even resistance | Binding, scraping, clicking |
| Shaft play | None to minimal | Any noticeable movement |
| Housing | Clean, no cracks | Cracks, warping, fresh paint over damage |
| Rebuild proof | Receipts and dates | Claims only |
| Kit completeness | Full parts list matched | Missing core or fuel parts |
| Fitment | Matches your exact vehicle | "Should fit" answers |
Ask the seller these questions before you commit:
- Why are you selling the kit?
- How many miles or hours are on the unit?
- Who did the rebuild, and do you have the receipt?
- Does the kit include the tune and injectors?
- Can I have a shop inspect it before I pay?
A seller who dodges these questions is telling you something. Also plan for total cost of ownership: add the purchase price, any rebuild, missing parts, tuning, and installation, then compare that total to a new kit.
Conclusion: Making a Confident Purchase Decision
A used supercharger kit can be a smart buy, but only when the inspection, records, and fitment all check out.
At VT Superchargers, we build bolt-on kits with OEM-style fitment for many makes, plus a 24-month warranty and financing options.
Register with VT Superchargers to find the right kit for your build and get real performance you can trust.
Frequently Asked Questions
What should I check before buying a used supercharger kit?
Start with a visual inspection of the housing for cracks, corrosion, or oil leaks. Spin the pulley to feel for binding or rough bearings. Check rotor play by trying to move the rotors side to side; excessive movement means worn bearings. Verify the kit is complete against the manufacturer's parts list and confirm the model year and engine fit your vehicle.
How do I verify a supercharger's rebuild history?
Ask for service records, receipts, and the name of the shop that performed the rebuild. Look for a rebuild tag or stamp on the housing. If the seller cannot provide documentation, treat the unit as un-rebuilt and factor a rebuild cost into your offer. Physical evidence like fresh gaskets or clean internals can support a rebuild claim, but paperwork is stronger.
What parts should be included in a complete supercharger kit?
A complete kit typically includes the supercharger unit, intake manifold or mounting brackets, pulley, belt, injectors, fuel rails, fuel pressure regulator, gaskets, seals, washers, and installation instructions. Some kits also include a tuner or calibration device. Compare the contents against the original manufacturer's parts list for your specific application to identify any missing parts before you buy.
Is it safe to buy a used supercharger kit without installation records?
It carries more risk. Without installation records, you cannot confirm the kit was installed correctly or that the engine it came from was healthy. A compression test on your own engine and a professional inspection of the supercharger can reduce that risk. If records are missing, negotiate a lower price to cover a potential rebuild and always test-fit the kit before finalizing the purchase.
Related post

RECENT POSTS