Signs Your Supercharger Needs a Rebuild: 7 Symptoms
Table of Contents
- What a Supercharger Rebuild Actually Fixes
- 7 Warning Signs Your Supercharger Needs a Rebuild
- Supercharger Bearing Noise Symptoms You Should Not Ignore
- Supercharger Maintenance Schedule: Service Intervals That Prevent Failure
- Supercharger Rebuild Cost: DIY vs Professional
- Diagnostic Tools and Inspection Steps for Supercharger Health
- Frequently Asked Questions
Last Updated: September 17, 2026
What a Supercharger Rebuild Actually Fixes
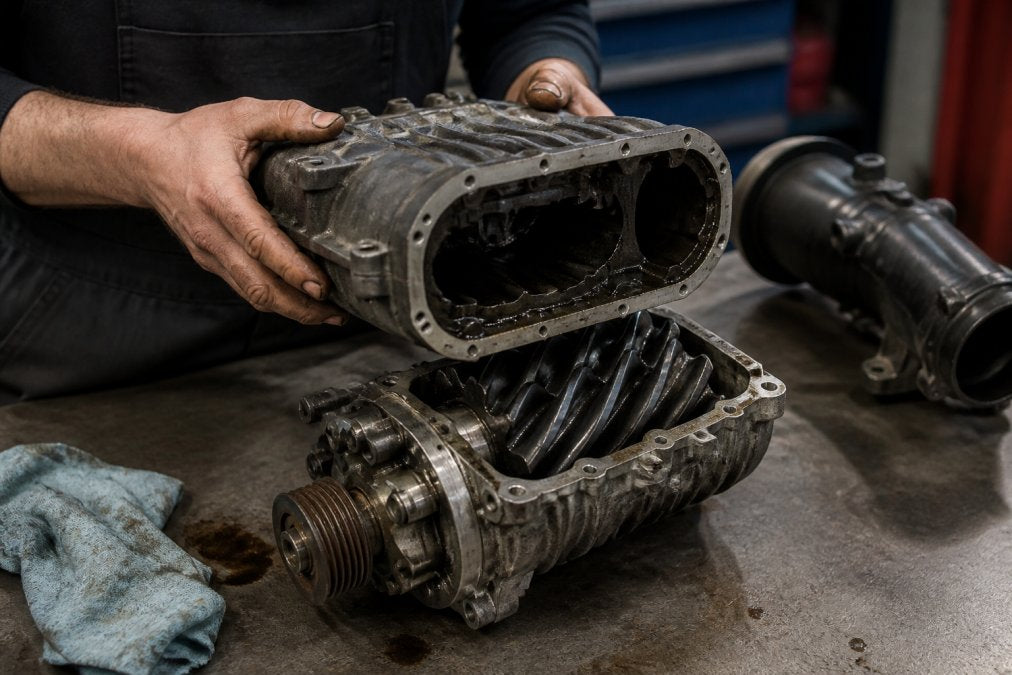
A supercharger rebuild restores the components that wear out over time: bearings, seals, and rotor surfaces. Left unaddressed, these failures cascade, a worn bearing scores the rotor housing, seal degradation pulls oil into the intake, and a subtle whine becomes a catastrophic failure.
7 Warning Signs Your Supercharger Needs a Rebuild
The seven signs of a failing supercharger are: unusual noises (whining, rattling, grinding), boost pressure loss, oil consumption and seal leaks, metallic debris in the oil, drivability symptoms like idle instability, visible rotor or impeller damage, and shaft play. Each corresponds to a specific internal failure, the earlier you catch it, the less damage the unit sustains.
Whining, Rattling, and Grinding Noises
Noise is the earliest and most reliable indicator. A healthy supercharger produces a smooth whine that rises and falls with engine speed; a rattle, grind, or metallic edge points to bearings. Listen for these distinctions:
- High-pitched whine that intensifies with RPM: bearing failure in the snout or rear plate
- Metallic rattle at idle that smooths out under load: rotor clearance has opened up, or the coupler is worn
- Grinding under boost: impeller damage or rotor-to-housing contact, which is advanced and expensive
- Clunking sound on deceleration: dampener failure or a worn belt tensioner allowing the belt to slap
Boost Pressure Loss and Power Drop
Boost pressure loss is the most measurable sign, and a boost gauge makes it objective. If your gauge once read 8 psi at wide-open throttle and now peaks at 6 psi, the supercharger is no longer moving the air it was designed to move.
Oil Consumption, Seal Leaks, and Metallic Debris
Oil consumption that rises without an external leak points to internal seal failure. Supercharger seals keep oil in the gear case and out of the intake tract; when they degrade, oil migrates into the intake, burns in the combustion chamber, and shows up as blue exhaust smoke or a dropping dipstick.
Watch Out
Metallic debris in the oil is a hard stop. Once bearing material circulates through the unit, it scores rotor coatings and housing surfaces. Continuing to drive past this point typically adds hundreds of dollars to the rebuild and can make the unit unrebuildable.
Supercharger Bearing Noise Symptoms You Should Not Ignore
Supercharger bearing noise symptoms are distinct from other engine noises, and identifying them correctly saves you from replacing the wrong part. Bearing noise is speed-dependent, not load-dependent, the key diagnostic difference. Here is how to separate it from other common sounds: Distinguishing these high-pitched whines from other engine maintenance signs ensures you address the correct mechanical failure, much like recognizing the distinct rattle associated with timing chain issues.
| Symptom | Likely Cause | Load-Dependent? | Action |
|---|---|---|---|
| Whine that rises with RPM | Snout or rear bearing wear | No | Inspect bearings, plan rebuild |
| Rattle at idle, smooths under load | Rotor clearance or coupler wear | Partially | Check rotor clearance |
| Grinding under boost only | Impeller or rotor contact | Yes | Stop driving, rebuild immediately |
| Clunk on deceleration | Dampener or belt tensioner | No | Inspect dampener and tensioner |
| Squeal at startup | Belt slip, not bearing | No | Check belt tension first |
Supercharger Maintenance Schedule: Service Intervals That Prevent Failure
A supercharger maintenance schedule centered on oil changes, belt inspection, and periodic bearing checks prevents most failures before they start. The most effective habit is changing the supercharger oil on a fixed interval rather than waiting for symptoms, and the right interval depends on supercharger type, drive ratio, and duty cycle, not just mileage.
Preventative Maintenance Checklist by Interval
Use this checklist as a proactive schedule you can hand to a shop or work through yourself in a driveway.
- Every oil change (5,000-7,500 miles): check supercharger oil level and color; look for milkiness (water intrusion) or a burnt smell (heat breakdown).
- Every 30,000 miles: change supercharger oil and inspect the belt for glazing, cracking, or missing ribs. On Roots and twin-screw units, also check coupler lash by rocking the pulley by hand with the belt off.
- Every 50,000 miles: inspect the belt tensioner and harmonic balancer for wear; verify boost pressure against the factory spec at wide-open throttle.
- Every 60,000 miles: check shaft play (lateral and axial) at the pulley, measure rotor clearance if you have the tools, and listen for bearing noise under load with a stethoscope.
- Annually or before towing season: full diagnostic inspection, including boost pressure verification, oil analysis if available, and a visual pass on the rotors with the intake removed.
How Supercharger Type Changes the Schedule
The interval that keeps a Roots blower healthy can be too long for a centrifugal unit spinning at higher impeller speeds, and too short for a twin-screw running low boost daily.
61 mm Pulley for VT Mazda Supercharger →
- Roots-type (e.g., Eaton-style units on many domestic V8s): oil in the gear case degrades from heat soak; 30,000-mile oil changes are a safe baseline, and coupler wear is the most common early failure.
- Twin-screw (e.g., Whipple, Kenne Bell): tighter rotor clearances mean oil condition matters more; 25,000-30,000 miles is common, and rotor coating wear shows up earlier if the unit sees sustained high boost.
- Centrifugal (e.g., Vortech, Paxton, Rotrex): these often share engine oil or use a self-contained oil supply with a shorter service life; follow the manufacturer's interval, which is frequently 20,000-30,000 miles, and pay close attention to impeller and bearing noise because the impeller spins far faster than a Roots rotor.
High-Mileage Reality Check
High-mileage superchargers are not automatically due for a rebuild, but mileage raises the odds of seal degradation and bearing wear. A 100,000-mile unit with consistent oil changes can be healthier than a 40,000-mile unit that was never serviced, the interval matters more than the odometer. If you bought a used vehicle with unknown supercharger history, treat the first service as a baseline: change the oil, inspect the belt and tensioner, check shaft play, and log boost pressure.
Pro Tip
Heat is the silent killer of supercharger oil. Vehicles that tow, off-road, or sit in traffic in summer heat should shorten their oil change interval. Oil that has oxidized from heat loses its film strength and stops protecting bearings, even if the mileage looks low on paper.
Key Takeaway
A proactive checklist beats a reactive repair every time. Log your boost pressure at each service, and any downward trend becomes your earliest rebuild warning.
Supercharger Rebuild Cost: DIY vs Professional
Supercharger rebuild cost depends on whether you do the labor yourself or send the unit out, and the gap is significant. A rebuild kit with bearings, seals, and a coupler is the smaller part of the equation; labor and turnaround time are where the real difference lives. What determines whether DIY is realistic is the failure mode and supercharger type.
Decision Matrix: When to DIY vs. Send It Out
| Failure Mode | DIY Feasible? | Why | Recommended Path |
|---|---|---|---|
| Worn coupler (rattle at idle) | Yes | Coupler swap is a bolt-on job on most Roots and twin-screw units | DIY with a kit |
| Worn snout or rear bearings | Yes, with a press | Requires bearing pullers and precise preload | DIY if experienced; otherwise professional |
| Seal leak (oil in intake) | Yes | Seal replacement is straightforward once the unit is off | DIY with a kit |
| Rotor coating wear | No | Coatings cannot be restored with a kit | Professional or replacement |
| Rotor-to-housing contact | No | Housing and rotor machining required | Professional only |
| Impeller damage (centrifugal) | No | Impeller balancing is a specialist job | Professional only |
| Shaft or gear damage | No | Requires machining and rebalancing | Professional only |
Type-Specific Rebuild Realities
Supercharger type changes both the cost and risk of a DIY attempt.
- Roots-type: The most DIY-friendly. Couplers, bearings, and seals are commonly available in kits, and rotor clearance is set with shims. The main risk is getting bearing preload wrong, which causes premature failure.
- Twin-screw: Tighter tolerances and coated rotors mean a DIY rebuild is only realistic for bearing and seal work. Any rotor or coating damage pushes the unit to a specialist, and the cost reflects the precision required.
- Centrifugal: Often the least DIY-friendly because the impeller spins at very high speed and must be balanced. Most centrifugal rebuilds are sent out, and turnaround can be longer due to balancing and testing.
The Hidden Costs of a DIY Rebuild
The kit price is not the whole story. Budget for:
- Tooling: a press, bearing pullers, a torque wrench, and a dial indicator for clearance checks.
- Downtime: a weekend or more if you are learning as you go, versus days to weeks for a professional rebuild with shipping.
- Risk: if rotor clearance or bearing preload is set wrong, the rebuilt unit can fail faster than the original, turning savings into a second rebuild.
Watch Out
Never reuse bearings, seals, or a coupler from a failed unit. The cost of new wear items is small compared to the cost of a second rebuild after a reused part fails.
Key Takeaway
Match the rebuild path to the failure mode, not to your confidence level. Couplers and seals are DIY territory; rotor, impeller, and housing damage are specialist work.
Diagnostic Tools and Inspection Steps for Supercharger Health
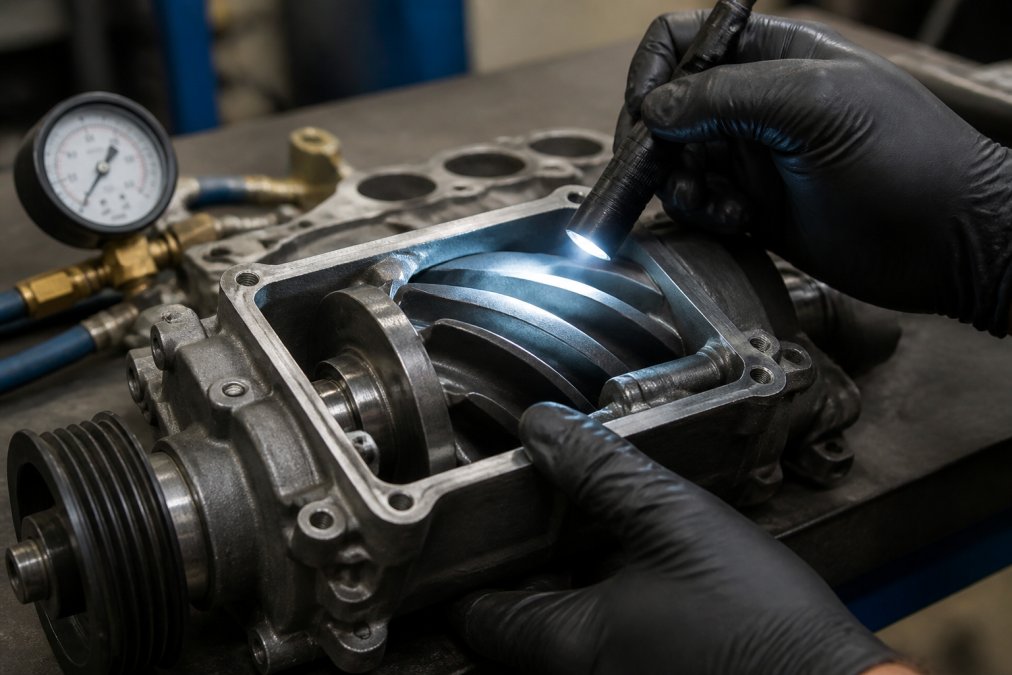
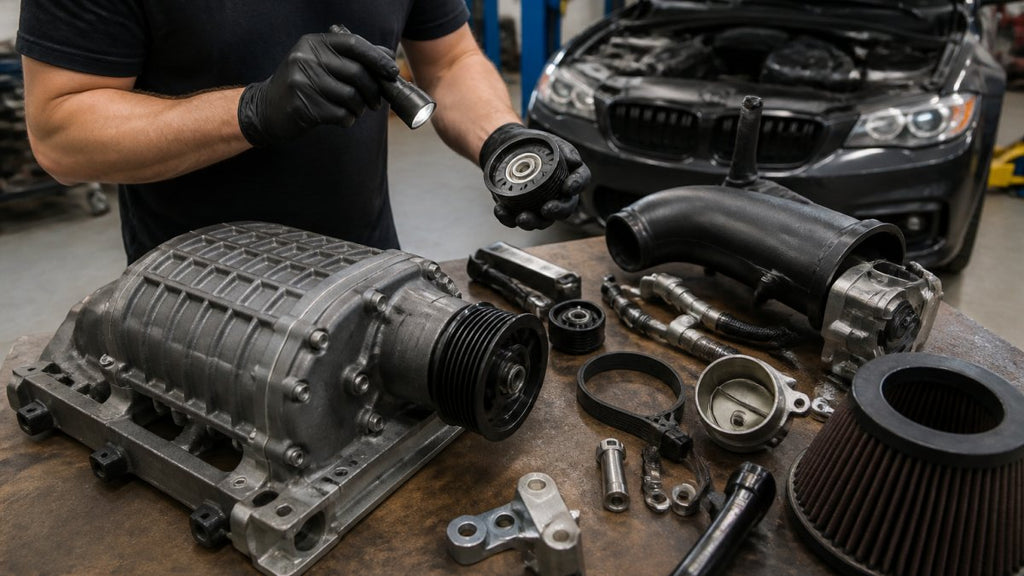
Diagnosing supercharger health requires a boost gauge, a vacuum/pressure gauge, a flashlight, and a methodical inspection sequence, no shop full of equipment needed to catch most failures early. Work through these steps in order:
- Read the boost gauge under load. Compare peak boost against the factory specification. A consistent shortfall confirms internal leakage or impeller damage.
- Check for vacuum leaks. A vacuum leak can mimic supercharger failure by robbing manifold pressure. Inspect intake gaskets and vacuum lines before condemning the unit.
- Listen with the hood open at idle. Use a mechanic's stethoscope or a long screwdriver against the housing to isolate bearing noise from accessory noise.
- Inspect the belt and tensioner. A slipping belt reduces boost and can create noises that imitate bearing failure.
- Check shaft play. With the belt removed, check for lateral and axial movement at the pulley. Any noticeable play means bearing wear.
- Inspect the oil and drain plug. Look for metallic debris and check oil level and condition.
- Remove the intake and inspect the rotors. Look for coating wear, impeller damage, and rotor-to-housing contact marks.
Key Takeaway
Boost pressure is your cheapest diagnostic tool. A gauge costs less than a rebuild kit and tells you more about supercharger health than any single inspection. Install one before you need it.
Frequently Asked Questions
How often should a supercharger be rebuilt?
Most superchargers last 60,000 to 100,000 miles before a rebuild becomes necessary, depending on boost levels, driving conditions, and oil change habits. Higher boost and track use shorten that window. Following a supercharger maintenance schedule with regular oil changes and belt inspections can push the interval toward the higher end. If you notice whining, boost loss, or oil consumption earlier than expected, get it inspected.
How do you know if your supercharger is going bad?
Watch for a whining noise that changes with engine speed, metallic rattling at idle, a drop in boost pressure, or increased oil consumption. You may also see drivability symptoms like rough idle, hesitation under throttle, or a check engine light. A quick boost gauge reading and a listen with a mechanic's stethoscope can confirm bearing failure or rotor clearance issues before they cause major damage.
How much does it cost to rebuild a supercharger?
Supercharger rebuild cost varies by unit and damage level. A basic rebuild kit with bearings and seals typically runs $300 to $800 in parts. Professional labor adds $500 to $1,500 depending on the shop. If the rotors or housing are damaged, costs climb higher. DIY rebuilds save labor but require mechanical skill and proper tools. Always factor in downtime and the risk of missing internal damage.
What are the common symptoms of a failing supercharger bearing?
A failing bearing usually produces a high-pitched whine or metallic rattle that rises and falls with RPM. You may also feel shaft play when you spin the pulley by hand, notice oil seeping from the front seal, or find metallic debris in the oil. Left unchecked, bearing failure can send fragments through the rotors, turning a simple rebuild into a full replacement.
Related post
09
Oct
RECENT POSTS