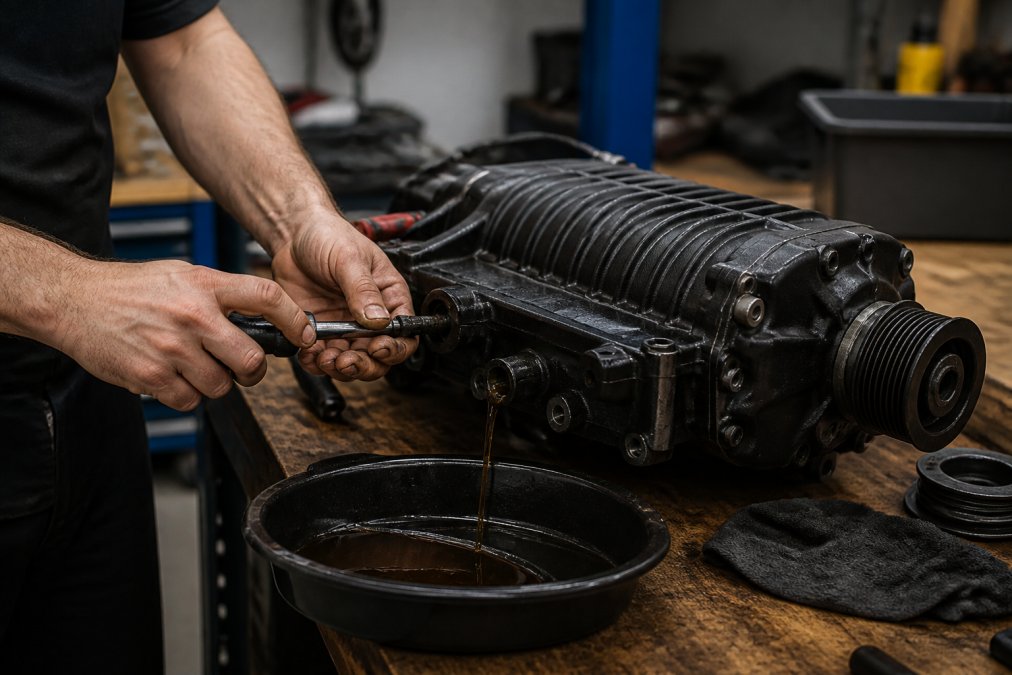
How to Change Supercharger Oil Step by Step
Table of Contents
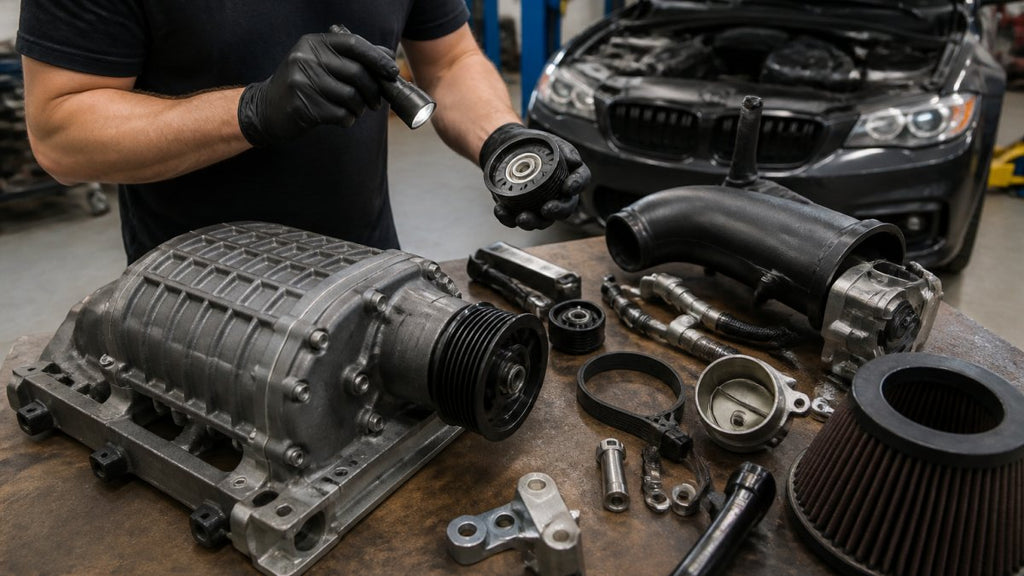
- Supercharger Oil Change Tools and What You'll Need
- Signs of Low Supercharger Oil You Should Never Ignore
- How to Change Supercharger Oil Step by Step: Cooling and Access
- Draining Old Oil, Measuring Capacity, and Refilling the Supercharger
- Supercharger Oil Change Interval: When to Schedule Service
- Troubleshooting and Oil Disposal After a Supercharger Oil Change
- Frequently Asked Questions
Last Updated: September 14, 2026
Supercharger Oil Change Tools and What You'll Need
Learning how to change supercharger oil step by step starts with gathering the right tools. Supercharger oil is a specialized synthetic lubricant that lives inside the nose cone and lubricates the rotor bearings. It does not circulate like engine oil, so it degrades slowly and traps contaminants over time. This guide walks through the full process, from tools to disposal.
Here is what you need on hand:
- Allen socket or hex bit set sized to your fill plug (commonly 5mm or 6mm, but verify against your unit)
- Ratchet with extension for reaching recessed plugs
- Suction syringe or fluid extraction pump with a flexible hose
- Drain pan rated for oil
- Torque wrench for reinstalling the fill plug
- Replacement sealing washer or o-ring for the plug
- New supercharger oil matched to your unit's fluid capacity
- Shop towels and nitrile gloves
Pro Tip
Buy the replacement sealing washer or o-ring before you start. Reusing a crushed washer is the most common cause of a slow weep around the fill plug after a fresh fill.
Most supercharger kits, including the bolt-on systems VT Superchargers builds for Dodge, Ford, Jeep, Mazda, Nissan, Suzuki, and Toyota applications, use a sealed nose cone with a single fill plug. That plug is your only access point, so treat it carefully.
Signs of Low Supercharger Oil You Should Never Ignore
The clearest sign of low supercharger oil is a whine or rattle from the nose cone that changes pitch with engine speed. Because the oil lubricates the rotor bearings, a dry or degraded fill lets metal contact metal, which turns into bearing failure and a rebuild.
Watch for these symptoms:
- Whining or howling from the front of the supercharger, louder under load
- Rattling at idle that smooths out as revs climb
- Oil residue or weeping around the fill plug or nose cone seam
- Discolored, gritty, or metallic-smelling oil when you check the level
- Rotor drag that shows up as a drop in boost pressure
Many enthusiasts mistake a failing nose cone bearing for a belt or pulley issue. If you have already replaced the belt and tensioner and the noise persists, check the oil before spending money elsewhere.
Watch Out
Ignoring a persistent whine does not just cost you a bearing. Once the rotor contacts the housing, you are looking at a full rebuild or replacement rather than a simple fluid change.
How to Change Supercharger Oil Step by Step: Cooling and Access
The core of how to change supercharger oil step by step is a careful drain-and-refill through the nose cone fill plug. Skip the cooling step and you risk burns, warped components, and inaccurate fluid readings. Let the engine cool completely before you begin.
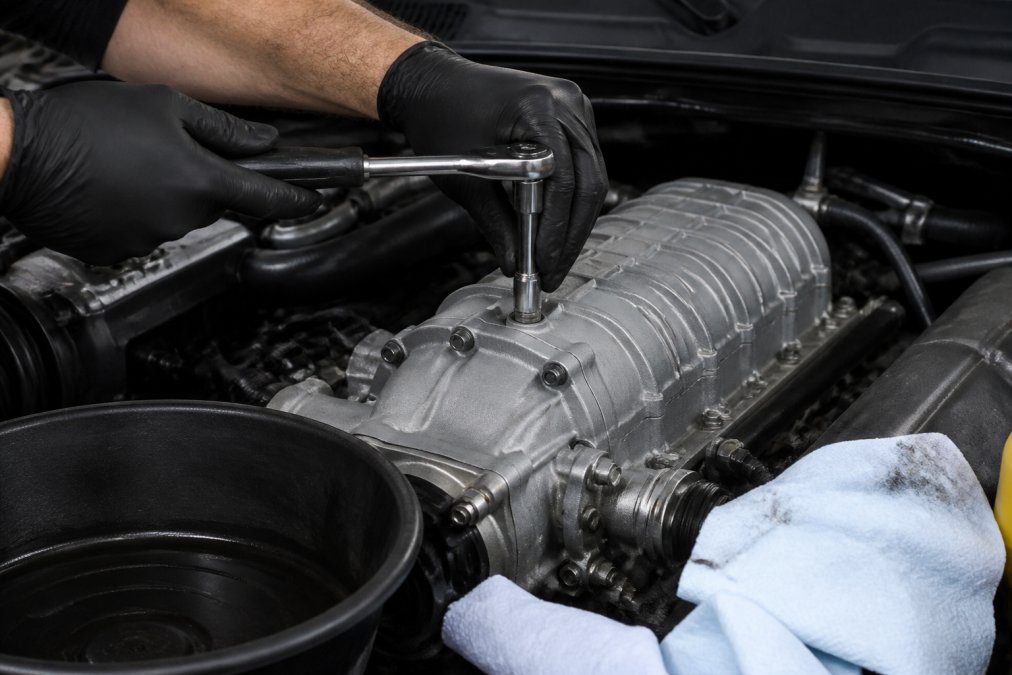
Once the engine bay is cool, disconnect the battery ground and remove any intake tubing or covers blocking access to the nose cone. Photograph the routing before you pull anything apart, since reassembly is where most first-timers lose time.
Locating and Removing the Fill Plug
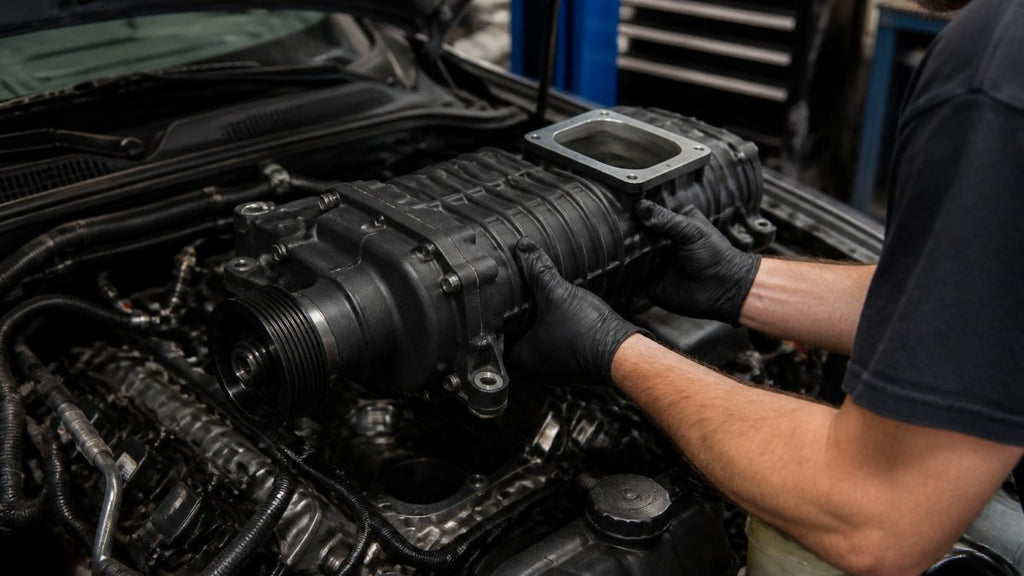
The fill plug sits on the nose cone, usually facing up or slightly toward the front of the engine bay. Wipe the area clean first so grit does not fall into the opening. Fit your Allen socket fully into the plug before applying force.
Turn counterclockwise to loosen. If the plug resists, apply steady pressure rather than jerking the ratchet, which can strip the hex recess. Set the plug and washer aside on a clean towel and inspect the washer for flattening or cracks.
Draining Old Oil, Measuring Capacity, and Refilling the Supercharger
Draining and refilling is the step most guides rush. Insert the suction syringe or extraction hose into the fill opening and draw out the old oil. On most units you will recover only a few ounces, because the nose cone holds a limited fluid charge.
Measure what you remove: that volume tells you your unit's fluid capacity and confirms you extracted everything. Compare it against your service manual spec. If you pull noticeably less than expected, the oil may have been low, so investigate for a leak before refilling.
Refill with fresh synthetic supercharger oil using the syringe, adding slowly and checking the level against the fill opening. Most nose cones are filled to the bottom edge of the plug hole, not the top. Overfilling pressurizes the housing, forces oil past the seals, and can cause venting or a weeping plug.
Key Takeaway
Measure what you drain, then match that volume on refill. Your extracted volume is the most reliable capacity reference you have for a sealed nose cone.
Syringe and Suction Tool Techniques
A suction syringe beats a gravity drain for nose cone work because you cannot tip the supercharger to pour oil out. Use a syringe with a flexible tube long enough to reach the bottom of the cavity. Rotate the tube as you draw to pull oil from the low corner where it pools.
For stubborn units, warm the housing by running the engine for a minute, then shut it off and let it settle before extracting. Warm oil flows more freely and carries suspended contaminants with it.
Choosing the right extraction tool. A 60 mL or 100 mL veterinary-style syringe with 1/4-inch OD vinyl or silicone tubing is the most common setup for tight engine bays. Larger 200 mL syringes move more volume per pull but are harder to fit between the nose cone and firewall on transverse-mounted applications. A manual fluid extraction pump with a 1/4-inch or 5/16-inch hose works with more clearance, but its rigid pickup tube often will not bend into the low corner of the nose cone, so you may still need a syringe for the final draw.
Reaching a recessed fill port. When the fill plug sits under the cowl, an intake runner, or a strut tower brace, a straight syringe will not reach. Options:
- A length of stiff nylon tubing (1/4-inch OD) pushed onto the syringe tip, bent by hand to a gentle curve
- A brake-bleeder-style vacuum syringe with a flexible 12-inch hose
- A small transfer pump with a 3/16-inch ID hose for the tightest clearances
Avoid kinking the tubing. A kinked hose traps oil and gives a false "empty" reading when you pull the plunger.
Two-stage extraction. Draw the bulk of the oil with the hose at the lowest point of the cavity, then reposition to the opposite corner and draw again. Nose cones are not flat inside; oil pools in the rear corner opposite the fill plug on many units, and a single straight draw leaves a tablespoon or more behind.
Capacity reference. Extracted volume varies by blower, but common ranges fall between 4 and 8 fluid ounces for a sealed nose cone. If you pull more than about 10 ounces, you likely have a unit with a larger integral oil sump, not a sealed nose cone, so confirm the fill procedure against the service manual before refilling. If you pull less than 3 ounces on a unit you believe holds more, suspect a slow leak at the plug washer or nose cone seam.
Refill technique. Fill in small increments, checking the level after every few ounces. Stop when oil just reaches the bottom threads of the fill hole. A clean, lint-free towel wrapped around the fill opening catches drips and keeps grit out. Do not use compressed air to speed the fill; it can push oil past the rear seal.
Pro Tip
Mark your syringe with a piece of tape at the volume you expect to remove. If the draw stalls well short of the mark, stop and check the hose for a kink or a blockage before you assume the unit was low.
Watch Out
Never run the supercharger with the fill plug removed to "check circulation." These units do not circulate oil under pressure, and spinning the rotors with an open port can sling oil out and pull in debris.
Supercharger Oil Change Interval: When to Schedule Service
The supercharger oil change interval depends on your unit and how hard you drive it, but a common approach is to inspect the oil at every major engine service and replace it on a set mileage schedule. Track-style driving, towing, and off-road use shorten that window because heat accelerates oil degradation.
A practical schedule looks like this:
| Driving Condition | Inspection | Replacement |
|---|---|---|
| Daily street driving | Every engine oil change | Follow unit spec |
| Towing or heavy loads | Every 15,000-20,000 miles | Shorten by roughly a third |
| Track or off-road use | Every few thousand miles | Replace annually |
Heat is the enemy. Thermal breakdown thins the lubricant and reduces its film strength, which is exactly when bearing wear accelerates. If your unit sees sustained high temperatures, lean toward the shorter end of the replacement window.
How to Actually Inspect the Oil
An interval is only useful if you know what you are looking at. Pull a small sample with the same syringe you use for a change and evaluate it on a white shop towel:
- Color. Fresh synthetic supercharger oil is clear to light amber. Dark brown or black means it has oxidized and should be replaced regardless of mileage.
- Texture. Rub a drop between gloved fingers. Gritty or metallic-feeling oil means bearing material is already shedding and the unit needs more than a fluid change.
- Smell. A sharp, burnt, or acrid odor indicates thermal breakdown. Fresh oil has a mild, almost neutral smell.
- Volume. If the sample is well below the expected capacity, you have a leak to find before you worry about the interval.
What Shortens the Interval
Mileage alone is a poor proxy for oil life in a supercharger. These factors matter more:
- Sustained boost. A unit that spends most of its life at part throttle runs cooler than one that sees full boost on every on-ramp.
- Ambient heat. Summer towing in the desert is harder on the oil than the same mileage in a mild climate.
- Pulley size. A smaller pulley spins the rotors faster, which raises both heat and load on the bearings.
- Belt tension. An over-tightened belt side-loads the nose cone bearing and accelerates wear independent of oil condition.
- Contamination. A failed intake seal or a missing air filter lets dust into the nose cone and shortens oil life dramatically.
A Unit-Specific Reference
Exact intervals vary by blower design, so treat the table above as a starting framework and confirm against your service manual. As a general pattern:
- OEM Eaton-style roots blowers on factory applications often specify inspection at 60,000-100,000 miles under normal use, with shorter intervals for severe duty.
- Aftermarket bolt-on kits frequently recommend a first oil check at the initial break-in service (often 500-1,000 miles) and then at regular engine service intervals.
- High-boost or track-focused builds are commonly serviced annually or every few thousand miles regardless of the manual's street interval.
Key Takeaway
Use mileage as a trigger to inspect, not as a guarantee. The oil's color, texture, and smell tell you more about remaining life than the odometer does.
Pro Tip
Log your fill date and mileage on a sticker under the hood. The next owner, or your future self, will thank you.
Troubleshooting and Oil Disposal After a Supercharger Oil Change
Two things trip people up after the job: a noise that will not go away, and what to do with the old oil.
If a whine or rattle persists after a fresh fill, the bearings may already be worn, and new oil cannot reverse existing damage. Check for play in the rotor and listen for the noise at idle versus under load. A noise that only appears under boost often points to a boost leak rather than the nose cone.
For disposal, used supercharger oil is a hazardous material (the EPA). Do not pour it down a drain or into the trash (the EPA). Collect it in a sealed container and take it to a household hazardous waste facility or a participating auto parts store that accepts used oil, and check your local rules before dumping anything (the EPA).
Watch Out
Pouring used oil down a storm drain or into the ground can carry real fines and contaminates groundwater. Store it sealed and drop it at an approved collection point.
For replacement oil, seals, and complete bolt-on kits engineered for precise OEM-style fitment, VT Superchargers supports builds across a range of makes, with financing options and a 24-month warranty.
Changing supercharger oil is a driveway job with basic hand tools, but the details matter: cool the engine, measure what you drain, refill to the correct level, and dispose of the old oil properly. If you are upgrading to a bolt-on supercharger kit or need replacement components, VT Superchargers offers OEM-style fitment, worldwide shipping, financing, and a 24-month warranty. Register with VT Superchargers and get the parts and support to keep your forced-induction setup running strong.
Frequently Asked Questions
How often should supercharger oil be changed?
Most supercharger manufacturers recommend a supercharger oil change interval between 50,000 and 100,000 miles for street-driven vehicles, but severe duty such as towing, off-roading, or track use shortens that to 30,000 miles. Check your owner's manual or kit documentation first. Heat is the main factor in oil degradation, so vehicles in hot climates or heavy load cycles should follow the shorter schedule. If you notice dark or gritty oil at a routine check, change it early rather than waiting for the mileage mark.
What are the signs of low supercharger oil?
Common signs of low supercharger oil include a whining or grinding noise from the blower, reduced boost pressure, metallic particles in the old oil, and a burning smell after hard driving. Some units also develop oil seepage around the nose cone or fill plug. If you notice any of these, park the vehicle and check the oil level before driving further. Ignoring low oil can damage rotor bearings and lead to a full rebuild instead of a simple fluid change.
Is changing supercharger oil a difficult task for beginners?
It is a beginner-friendly job if you have basic hand tools and a safe way to raise the vehicle. The process involves removing the fill plug, extracting or draining the old fluid, measuring the correct capacity, and refilling to the proper level. Budget one to two hours for your first attempt. The main risks are overfilling, stripping the plug threads, and not using the correct oil type. Follow torque specifications and work on a cool engine.
Can I use regular motor oil in my supercharger?
No. Most superchargers require a specific synthetic oil or manufacturer-approved lubricant, not standard engine oil. Supercharger oil is formulated to handle high shear forces, heat, and long drain intervals inside a sealed gear case. Using the wrong fluid can cause thermal breakdown, foaming, and bearing wear. Check your kit documentation or contact the manufacturer for the exact specification. If you are unsure, buy the fluid from the supercharger maker or a trusted supplier.
Related post

RECENT POSTS