Diagnose Supercharger Noise: A 2026 How-to Guide
Table of Contents
- What You'll Need for a Supercharger Noise Diagnosis
- Step 1: Perform an Engine Bay Inspection and Acoustic Diagnostic
- Step 2: Check for Signs of Supercharger Failure
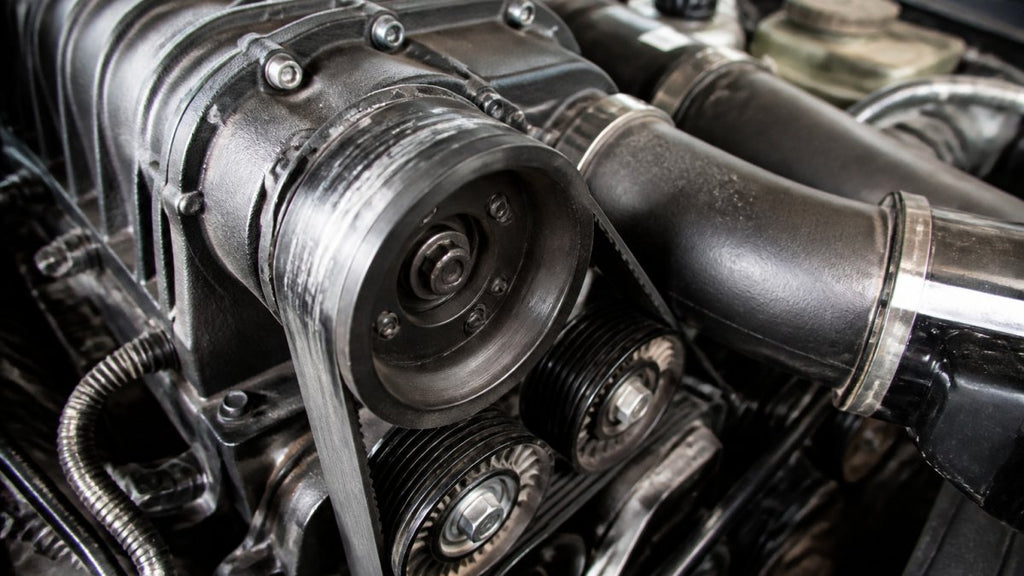
- Step 3: How to Check Supercharger Belt Tension and Pulleys
- Step 4: Inspect for Vacuum and Boost Leaks
- Step 5: Evaluate the Supercharger Oil Change Interval
- Step 6: Differentiate Between Internal and External Noise
- Step 7: When to Seek Professional Repair
- Frequently Asked Questions
Last Updated: September 16, 2026
What You'll Need for a Supercharger Noise Diagnosis
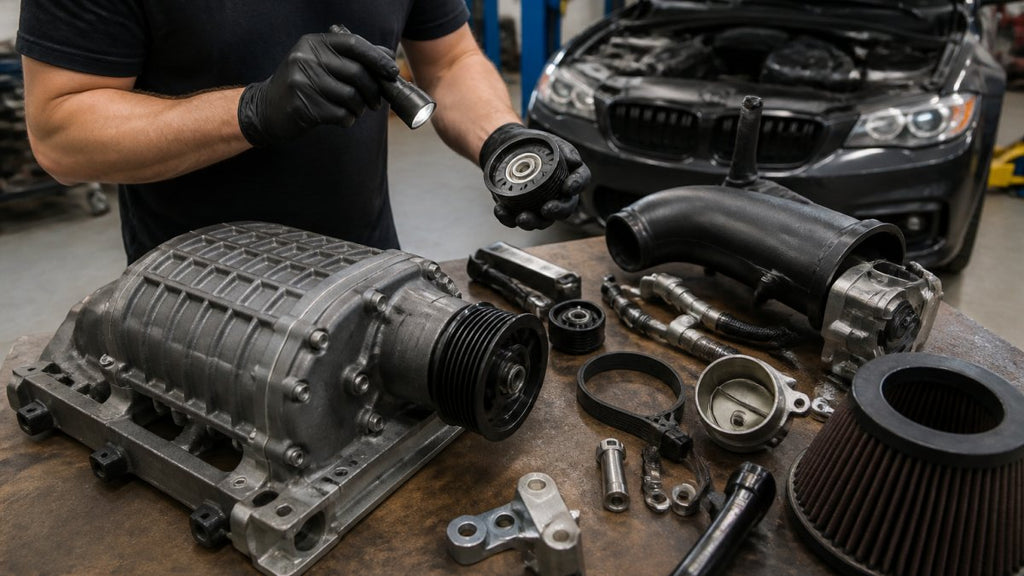
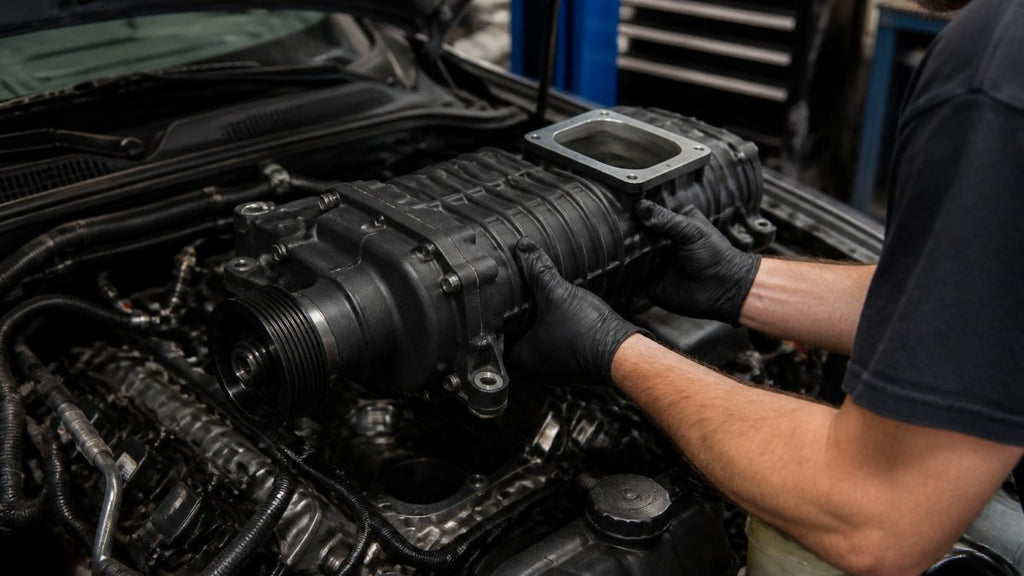
Diagnosing supercharger noise starts with the right tools and a methodical ear. A supercharger is a belt-driven forced induction device that compresses intake air to increase engine power, and when its internal components wear, the sounds it makes change predictably.
Before you touch anything, gather these items:
- Mechanical stethoscope with a metal probe tip
- Flashlight and a telescoping inspection mirror
- Serpentine belt wear gauge or a straightedge
- Boost gauge or a scan tool that reads manifold pressure
- Socket set for the tensioner and pulley bolts
- Service records showing your last supercharger oil change
A common mistake is skipping straight to the supercharger. Noise travels through the intake plumbing, accessory drive, and engine block, so rule out external sources first. The steps below follow a logical order: inspect, listen, isolate, then decide.
Step 1: Perform an Engine Bay Inspection and Acoustic Diagnostic
Start with the engine cold, then run it at idle with the hood open. Listen for pitch and rhythm before reaching for a tool. A rhythmic rattle that tracks engine RPM points to a rotating component; a steady whistle that rises with throttle often indicates a boost leak.
Build a Sound Profile Before You Touch Anything
Before you grab a wrench, spend two minutes building a sound profile. Note four things:
- Pitch, high and thin (whistle, chirp, squeal) versus low and heavy (growl, rumble, grind).
- Rhythm, steady, pulsing, or random. Steady points to a rotating part; random points to something loose.
- RPM relationship, does it track engine RPM, belt speed, or only appear under boost?
- Load relationship, does it change when you blip the throttle in neutral, or only under load?
Acoustic Diagnostic Guide: What Each Sound Usually Means
Supercharger noises fall into a handful of recognizable families, each with likely causes.
Pro Tip
Record a 10-second clip of the noise on your phone at idle, at 2,000 RPM, and under a light load. Play it back through headphones. The recording strips out engine-bay echo and makes pitch and rhythm much easier to judge than listening live.
Using a Mechanical Stethoscope to Isolate Sounds
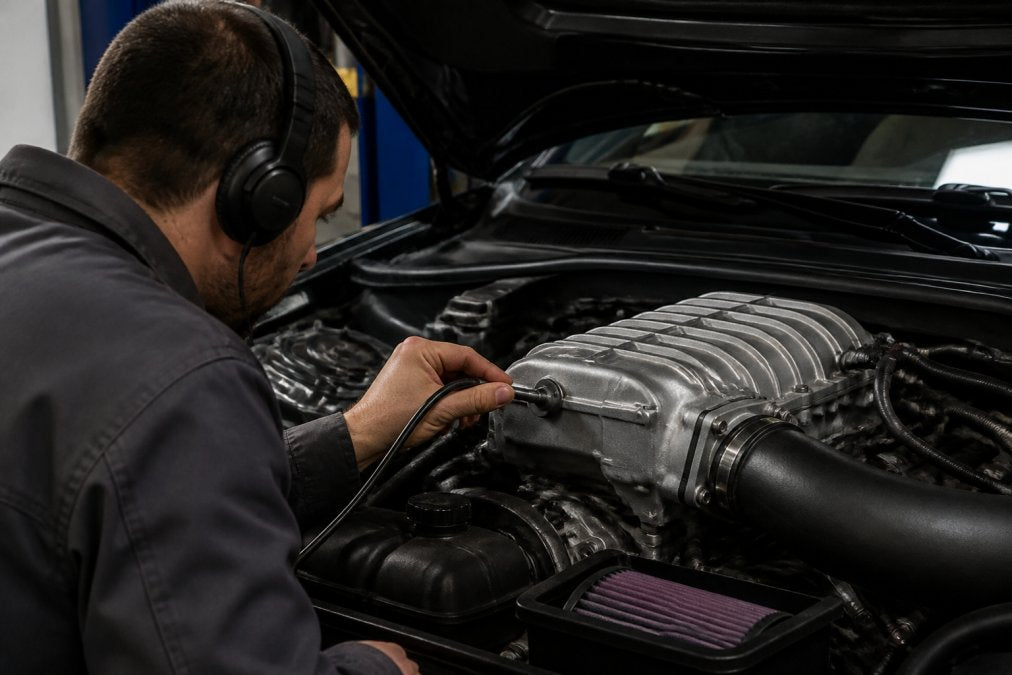
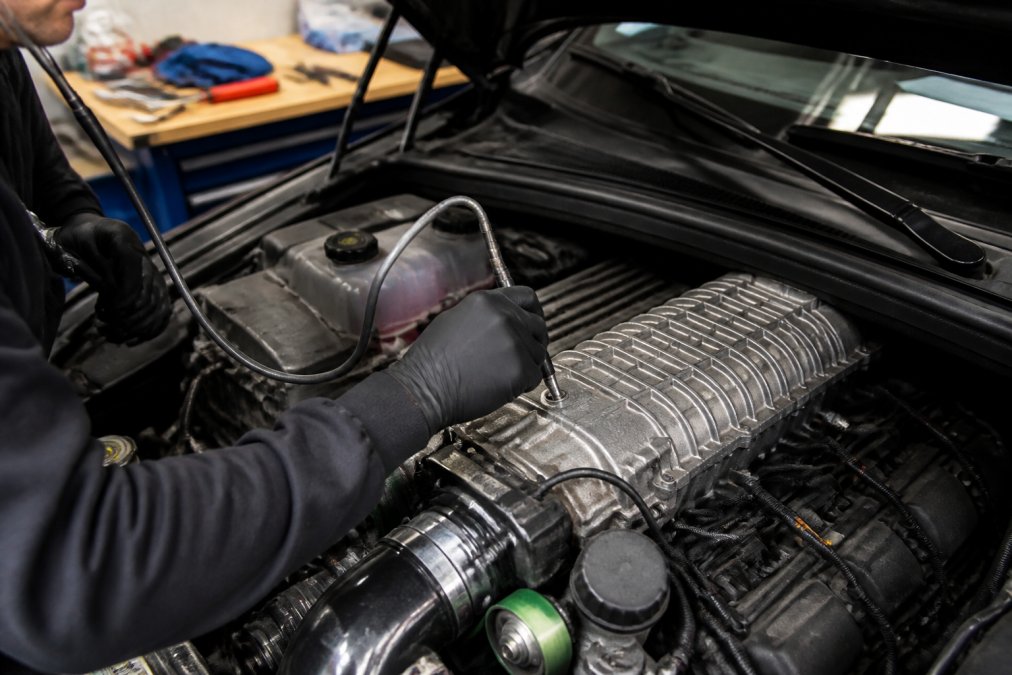
A mechanical stethoscope pinpoints where a noise originates. Touch the probe to the supercharger housing, snout, tensioner body, and alternator in turn, and compare what you hear at each point.
Watch Out
Never probe a spinning belt, pulley, or fan with a stethoscope or your hand. Route the probe only to stationary housings and brackets while the engine is running, and keep loose clothing, sleeves, and jewelry clear of the accessory drive.
Quick Decision Tree: Rule Out the Cheap Stuff First
Work top to bottom and stop at the first hit:
- Noise disappears when the belt is removed and the engine is briefly run? External. Inspect tensioner, idler, and pulley alignment.
- Noise stays with the belt off but only when you spin the supercharger pulley by hand? Internal. Move to Step 2.
- Noise only under boost, boost gauge reads low? Boost or vacuum leak. Move to Step 4.
- Noise is a random rattle at idle only? Loose bracket, heat shield, or accessory. Tighten and recheck.
- Noise is a metallic grind at any RPM? Stop the engine. Internal rotor contact. Move to Step 7.
Step 2: Check for Signs of Supercharger Failure
The clearest signs of supercharger failure are metal-on-metal grinding, a sudden loss of boost, and shaft play you can feel by hand. If you hear grinding, stop the engine immediately. That sound means internal rotor damage, and running it longer can turn a rebuild into a full replacement.
Internal Rotor Damage and Bearing Failure Symptoms
Internal rotor damage announces itself with a scraping or grinding noise as rotors contact the housing. On a healthy unit, an oil film and precise housing clearance keep the rotors spinning freely. When bearings wear, the rotor shaft develops play and the rotors drift out of position.
Bearing failure symptoms to watch for:
- Growling or rumbling that intensifies with RPM
- A whine that changes pitch under load but not at idle
- Visible oil residue around the snout seal
- Shaft play when you wiggle the pulley by hand
- Fine metal particles in the supercharger oil
Step 3: How to Check Supercharger Belt Tension and Pulleys
Checking supercharger belt tension means verifying that the automatic tensioner sits within its marked range and that the belt deflects no more than about half an inch under firm thumb pressure on a cold engine. A loose belt slips under boost, producing a squeal many owners mistake for a failing blower.
Step 4: Inspect for Vacuum and Boost Leaks
A vacuum or boost leak produces a whistling or hissing sound that mimics supercharger noise but costs far less to fix. With the engine idling, spray soapy water around intake plumbing joints and watch for bubbles.
Check these points:
- Couplers between the supercharger outlet and the intake manifold
- Vacuum lines to the bypass valve and boost gauge
- The throttle body gasket
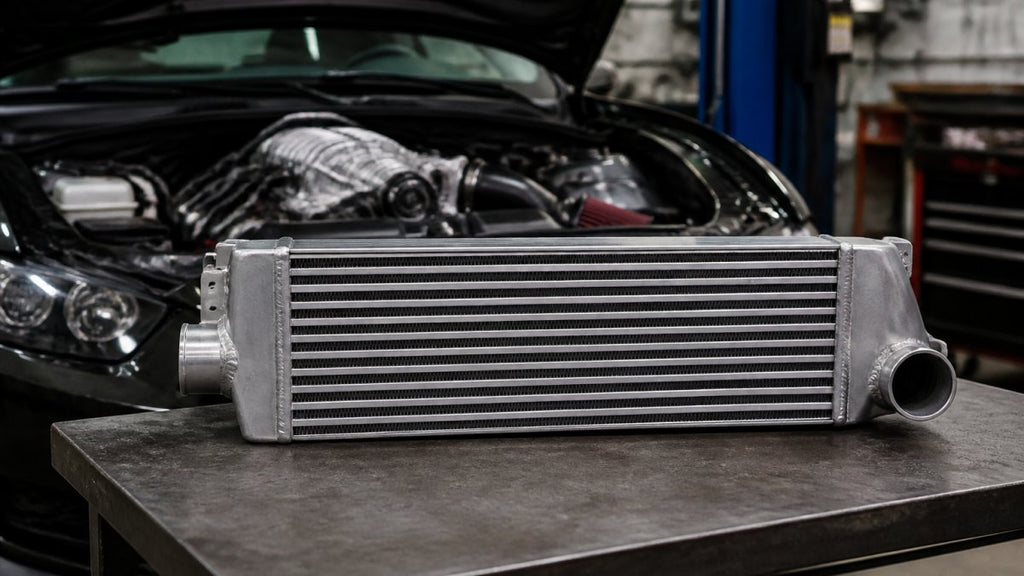
- Intercooler end tanks if equipped
Step 5: Evaluate the Supercharger Oil Change Interval
The supercharger oil change interval matters more than most owners realize. Many units use a sealed reservoir separate from engine oil, and that oil degrades over time. A common approach is every 30,000 to 50,000 miles, or sooner under heavy use, towing, or track driving.
Step 6: Differentiate Between Internal and External Noise
Separating internal from external noise determines your next move. External noise comes from belts, pulleys, tensioners, and plumbing; internal noise from the rotors, bearings, and gears inside the housing.
Use this quick reference to sort what you're hearing:
| Noise | Likely Source | Quick Test | Action |
|---|---|---|---|
| Rhythmic squeal | Belt or tensioner | Remove belt, spin pulleys by hand | Replace worn parts |
| Steady whistle under boost | Boost leak | Soapy water test on plumbing | Seal the leak |
| Growl that rises with RPM | Bearing failure | Stethoscope on snout | Rebuild or replace |
| Metal-on-metal grinding | Rotor contact | Stop engine immediately | Professional repair |
| Chirp that follows belt speed | Pulley misalignment | Straightedge across pulleys | Realign pulleys |
The Belt-Off Test, Step by Step
The belt-off test is the cleanest way to split internal from external, but do it correctly:
- With the engine cold and the key out of the ignition, note the belt routing with a photo.
- Release tension and slip the belt off the supercharger pulley only, leaving the rest of the accessory drive intact if the routing allows.
- Spin the supercharger pulley by hand. It should turn smoothly with light, even resistance and no side-to-side or in-and-out play.
- Wiggle the pulley perpendicular to its axis. Any detectable play is a bearing or shaft problem.
- Spin the tensioner and idler pulleys by hand. They should spin freely and quietly, with no grit or wobble.
- Reinstall the belt to the correct routing and confirm the tensioner pointer sits in range.
How Noise Differs by Supercharger Type
The three main supercharger designs fail differently and sound different doing it.
Key Takeaway
The location of the noise inside the housing is a strong clue. Front-of-housing noise points to snout bearings or pulley alignment. Rear-of-housing noise points to timing gears or rear bearings, which is more common on twin-screw units. Noise that only appears at high RPM points to impeller or gearbox issues, which is more common on centrifugal units.
Internal vs. External: A Load-Based Check
If you can't safely run the engine with the belt off, use load instead. Rev in neutral and listen, then drive under light load and listen again.
- Noise present at idle and unchanged under load: external, likely belt or pulley.
- Noise absent at idle, appears only under load: boost leak or internal wear that only shows under pressure.
- Noise present at idle and gets worse under load: internal bearing or rotor issue.
- Noise changes pitch with steering or A/C engagement: accessory drive, not the supercharger.
Step 7: When to Seek Professional Repair
Seek professional repair when you find shaft play, metal debris in the oil, or grinding that persists after external fixes. These point to internal rotor damage or bearing failure requiring a teardown, and a botched rebuild can destroy the housing.
Frequently Asked Questions
What does a failing supercharger sound like?
A failing supercharger typically produces a metallic grinding or whining sound that changes with engine speed. You might hear a high-pitched whistle from a vacuum leak, a rattling noise from loose components, or a deep rumble from bearing failure. Unlike the normal whine of forced induction, these sounds often worsen under acceleration or become constant at idle.
Is supercharger whine normal?
Yes, a steady, high-pitched whine is normal for most superchargers, especially at higher rotational speeds. It is a characteristic of forced induction. However, if the whine suddenly becomes louder, changes pitch unpredictably, or is accompanied by grinding or rattling, it indicates a problem like bearing wear or impeller contact.
How do I know if my supercharger bearings are bad?
Bad supercharger bearings often produce a growling or rumbling noise that is most noticeable at idle or low RPM. You can check for shaft play by removing the belt and attempting to move the pulley by hand; any in-and-out or side-to-side movement indicates worn bearings. A mechanical stethoscope can help confirm the location of the noise.
Can a supercharger make noise at idle?
Yes, a supercharger can make noise at idle. A rattling or clicking noise at idle often points to a failing belt tensioner or a loose pulley. A grinding sound could mean internal rotor damage or oil starvation. If the noise disappears when you rev the engine, it is more likely an external accessory issue.
Supercharger noise rarely fixes itself, and the longer you wait, the more expensive the repair becomes. If your diagnosis points to worn internals or you're ready to add reliable power instead of chasing a failing unit, VT Superchargers builds bolt-on kits with OEM-style fitment for Dodge, Ford, Jeep, Mazda, Nissan, Suzuki, and Toyota, backed by a 24-month warranty and financing options. Get started with VT Superchargers and put a supercharger you can trust under your hood.
Related post
09
Oct
RECENT POSTS