Is Supercharger Installation a DIY Project? A Practical Guide
Table of Contents
- Is Supercharger Installation a DIY Project? The Honest Answer
- Understanding Supercharger Kit Components
- Supercharger Installation Difficulty: What You're Actually Taking On
- Tools and Equipment Needed for Supercharger Installation
- Step-by-Step Supercharger Installation Process
- Engine Tuning After Supercharger Installation
- DIY vs. Professional Installation: Cost Breakdown and Warranty Implications
- Legal and Insurance Considerations for Supercharger Modifications
Last Updated: August 2, 2026
Is Supercharger Installation a DIY Project? The Honest Answer
The question "is supercharger installation a diy project" comes up constantly in automotive forums, and the answer isn't a simple yes or no. At VT Superchargers, we've worked with thousands of enthusiasts tackling performance upgrades, and the reality is this: supercharger installation CAN be a DIY project, but it demands serious mechanical skill, proper tools, patience, and a realistic assessment of your vehicle's specific setup.
A supercharger isn't just a bolt-on part. You're integrating forced induction into your vehicle's fuel system, ignition timing, air intake, and exhaust architecture. Get one detail wrong, a misaligned belt, an uncalibrated ECU, a fuel pump that can't keep up, and you've built an expensive paperweight that might damage your engine.
Modern bolt-on kits, especially those engineered for OEM-style fitment like VT Superchargers' lineup, have made the process significantly more accessible than it was ten years ago. The challenge isn't the installation itself anymore; it's the tuning, troubleshooting, and knowing when to call a professional. Below, we'll walk you through exactly what's involved, what tools you'll need, and how to decide whether this is genuinely a DIY job for your situation.
Understanding Supercharger Kit Components
A supercharger kit is a complete system with multiple precision-engineered parts working in concert. Each piece has specific fitment requirements and failure modes.

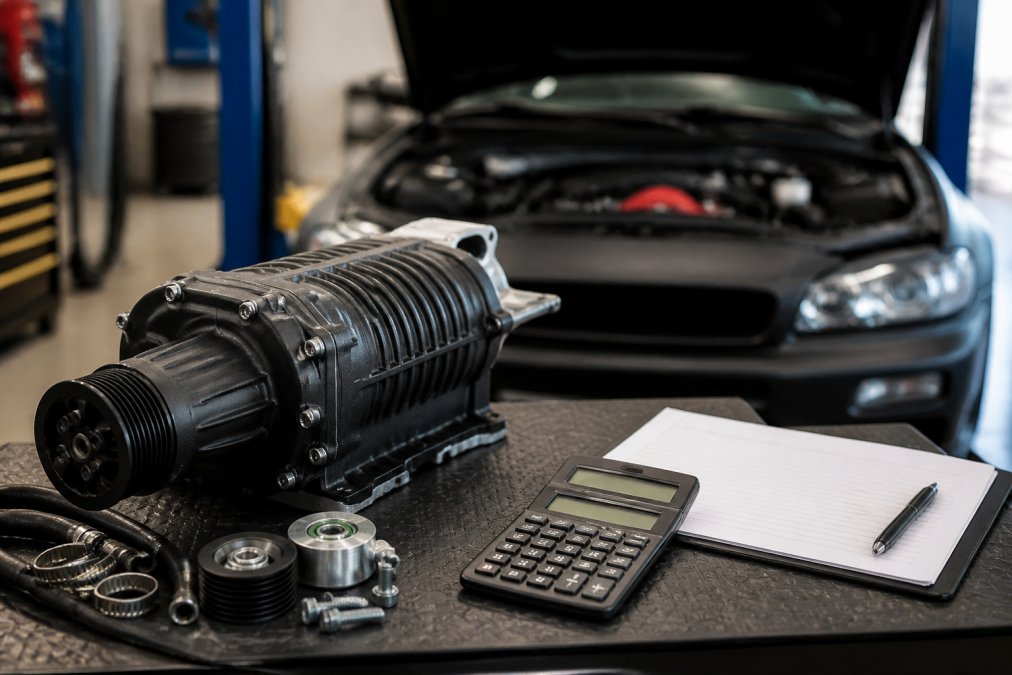
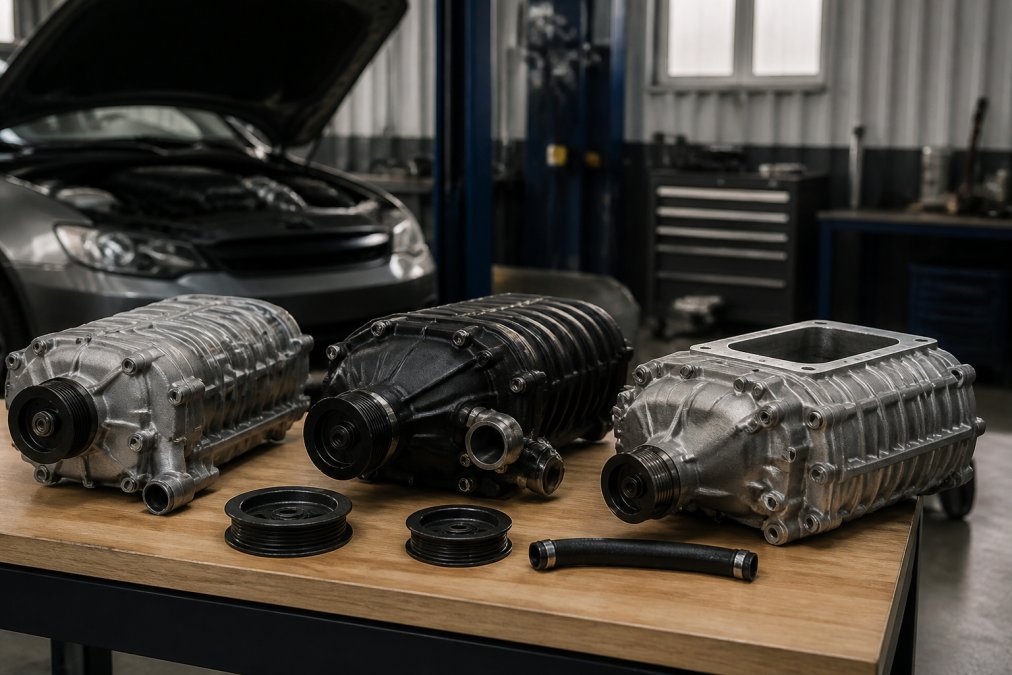
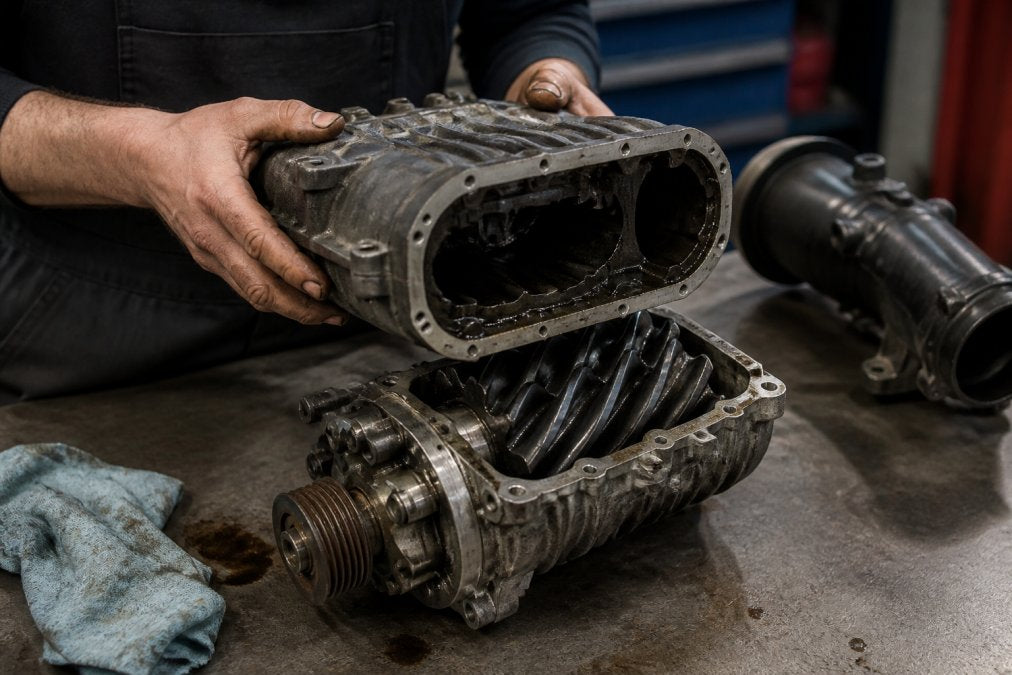
The core is the supercharger unit itself, which comes in three main types: centrifugal, Roots, and twin-screw. Centrifugal superchargers use a belt-driven impeller spinning at 50,000+ RPM to compress incoming air. Roots-type superchargers use two interlocking rotors that push air directly into the intake manifold, simpler mechanically but less efficient at high boost levels. Twin-screw superchargers use two intermeshing screws that compress air progressively, offering strong low-end torque and efficiency across the RPM range.
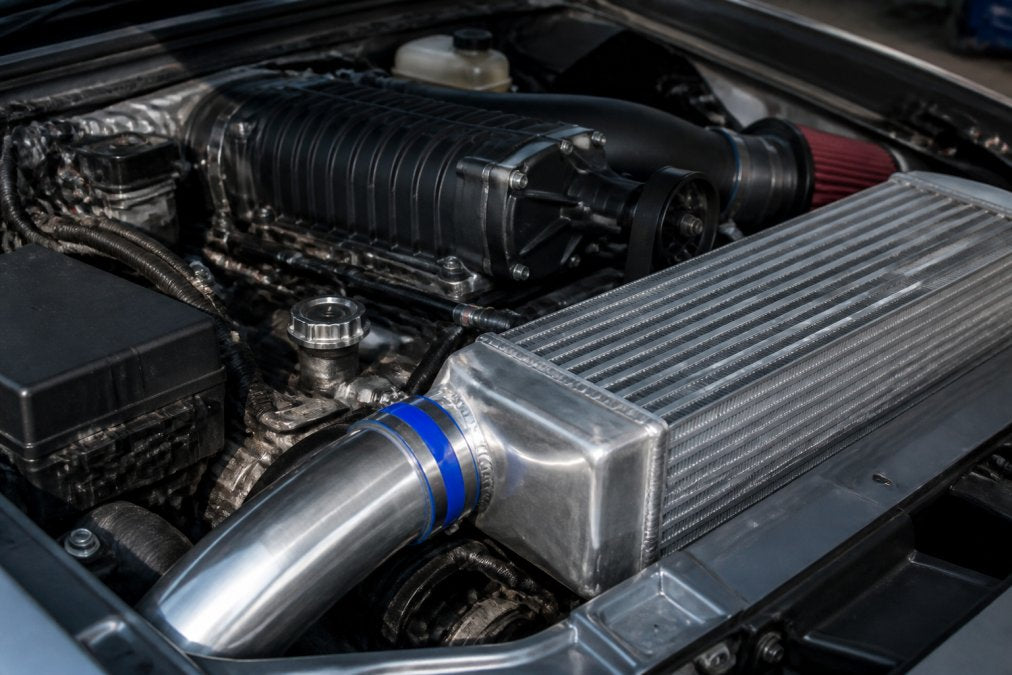
Beyond the supercharger unit, you're dealing with an intercooler (which cools compressed air before it enters the engine), a complete belt and pulley system, intake manifold modifications or replacements, fuel system upgrades, sensors and wiring harnesses, and boost control components. Each requires precise installation and integration with your existing engine management system.
Pro Tip
The intercooler is often overlooked but absolutely critical. Compressed air heats up dramatically, and hot air is less dense, meaning less oxygen reaches your cylinders. A quality intercooler can be the difference between reliable power and engine knock.
Supercharger Installation Difficulty: What You're Actually Taking On
Installing a supercharger yourself is genuinely difficult. The difficulty tier sits somewhere between a full engine rebuild and a transmission swap, complex enough that one mistake can create cascading problems.
The physical installation of the supercharger unit, brackets, and belt drive is the easiest part. The hard part comes in three areas: fuel system integration, sensor wiring and configuration, and ECU tuning. Mistakes in fuel system work mean your engine might run lean, detonate, or stall under boost. Sensor integration is where many DIYers get stuck, modern engines rely on oxygen sensors, mass airflow sensors, knock sensors, and boost pressure sensors to manage combustion. A supercharger changes the air density entering the engine, throwing off your stock sensor calibration.
ECU tuning is the final frontier. Your engine's computer was calibrated for naturally aspirated operation. Forced induction changes everything: fuel demand increases, ignition timing needs adjustment, and boost pressure must be controlled. You need either a tuning solution (piggyback ECU, flash tune, or standalone engine management) and the knowledge to adjust fuel maps, timing curves, and boost targets correctly.
Vehicle Compatibility and Unique Challenges
Not all vehicles are created equal when it comes to supercharger installation difficulty. A bolt-on kit designed specifically for your vehicle's engine bay is dramatically easier than adapting a kit meant for something else.
If you're driving a Toyota Tundra 5.7, a Jeep with the Pentastar V6, or a Toyota 4Runner, VT Superchargers has engineered kits specifically for your engine. These kits account for your vehicle's exact engine bay dimensions, belt routing, fuel system capacity, and ECU compatibility. The Toyota Tundra 5.7 Supercharger Kit ($6,950.00) is engineered for precise OEM-style fitment with no cutting required, a major advantage for DIY work.

Custom or heavily modified vehicles present exponential difficulty increases. If you've already done engine work, larger displacement, custom intake manifold, or forged pistons, your supercharger kit might not fit without modification. A built Jeep with custom headers, custom fuel system, and standalone ECU is fundamentally harder to supercharge than a stock vehicle.
Tools and Equipment Needed for Supercharger Installation
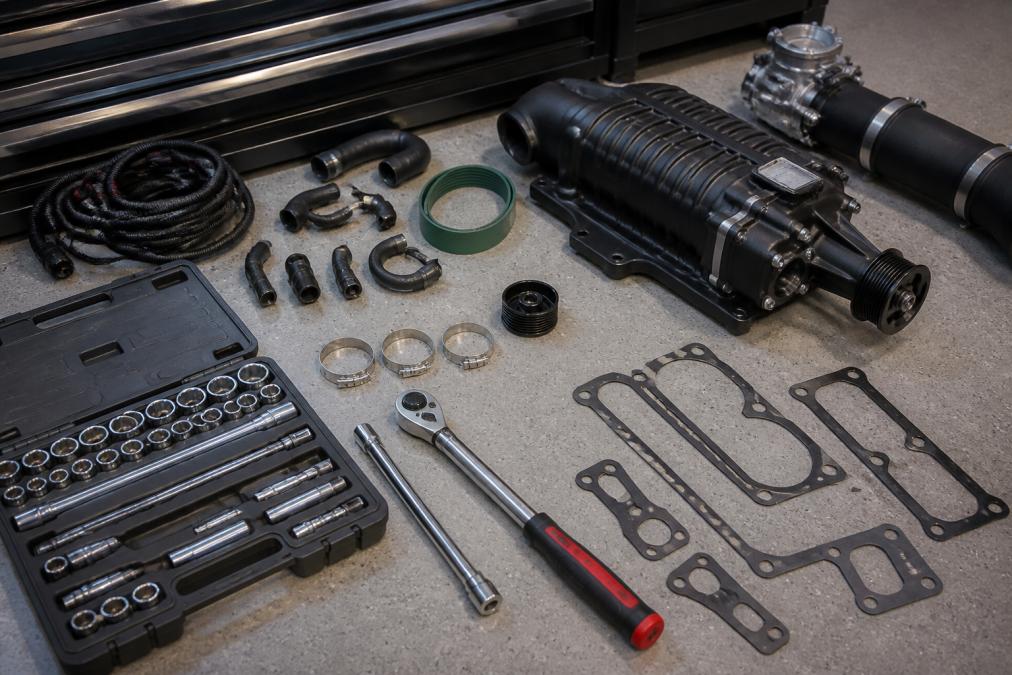
You can't install a supercharger without proper tools. Budget for tools if you don't already own them; quality matters because one stripped bolt or miscalibrated torque setting can ruin your installation.
Essential hand tools:
- Socket set (3/8" and 1/2" drives, metric and SAE)
- Torque wrench (critical for belt tension and fastener specs)
- Wrench set (both metric and SAE)
- Screwdriver set (Phillips and flathead)
- Pliers (needle-nose, adjustable, locking)
- Breaker bar
- Allen key/hex key set
- Gasket scraper (plastic, not metal)
- Hose clamp pliers
Specialized tools:
- Pulley puller
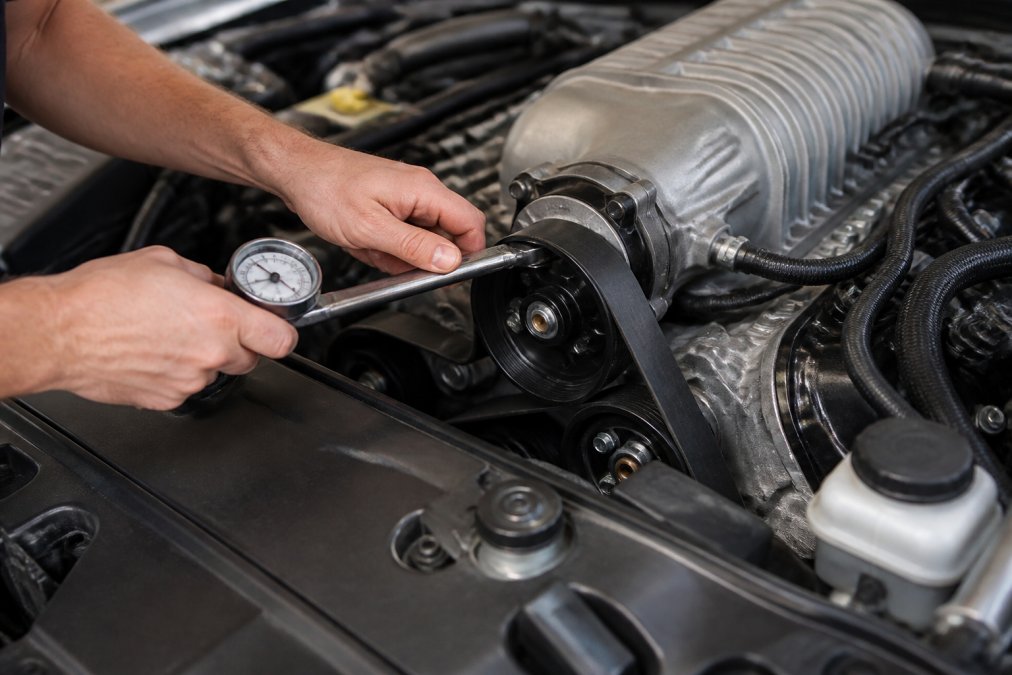
- Belt tension gauge (many kits require specific belt tension)
- Fuel line disconnect tool
- Multimeter (for sensor testing)
- Boost gauge
- Compression tester
Shop equipment:
- Engine hoist or jack
- Jack stands
- Work lights
- Gasket maker and sealant
- Fresh oil and filter
Safety equipment:
- Safety glasses
- Work gloves
- Fire extinguisher
The belt tension gauge is essential. A loose belt slips and won't deliver full boost. An over-tight belt strains your alternator, water pump, and crankshaft bearings. Your kit will specify the exact tension.
Watch Out
Never work on fuel system components with the engine running or hot. Fuel is highly flammable. Disconnect the negative battery terminal before starting any fuel work, and let the engine cool completely.
Step-by-Step Supercharger Installation Process
The actual installation sequence varies by kit and vehicle, but the general process follows a logical progression. This assumes you're working with a kit engineered for your specific vehicle.
Preparation and Safety Checks
Disconnect the negative battery terminal and let your engine cool completely. Take photos of your current engine bay from multiple angles before you start, this helps you remember where everything goes and provides evidence of your vehicle's condition before modification.
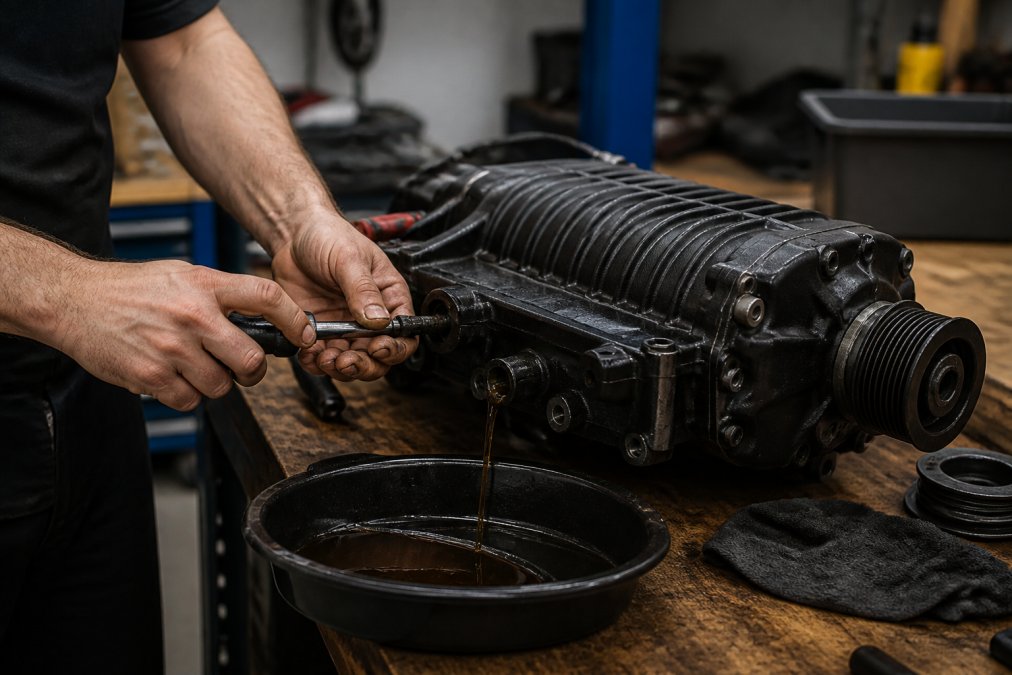
Read through your kit's entire installation manual before touching anything. Identify any steps that require specialized knowledge or tools you don't have. Drain your coolant system completely and replace your oil and filter. Remove the intake system components as specified by your kit, keeping fasteners organized in labeled containers.
Mounting the Supercharger Assembly
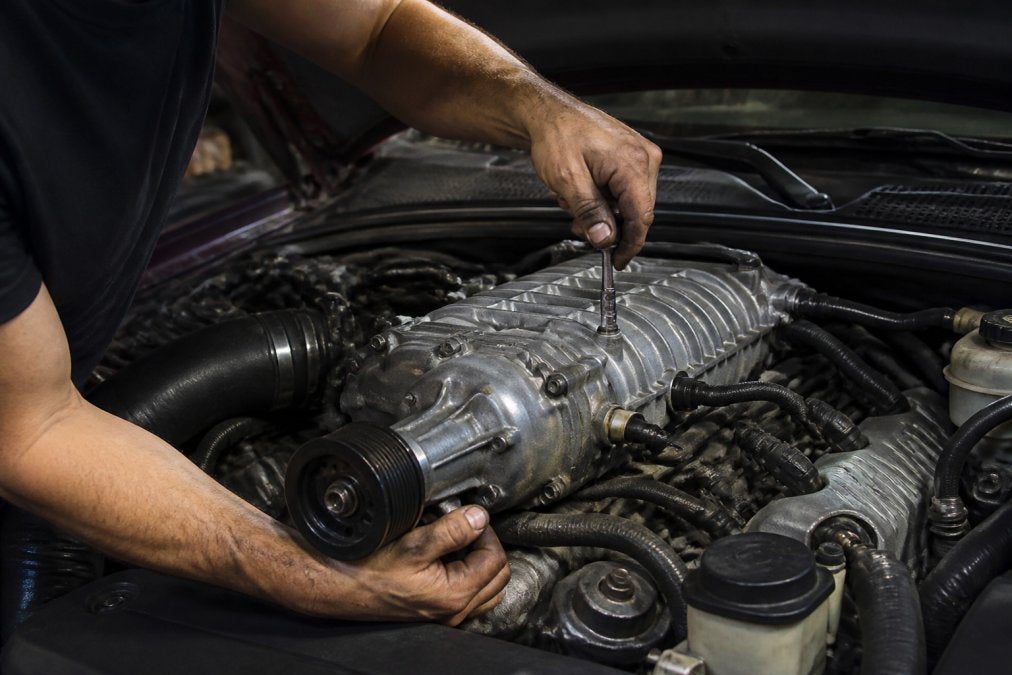
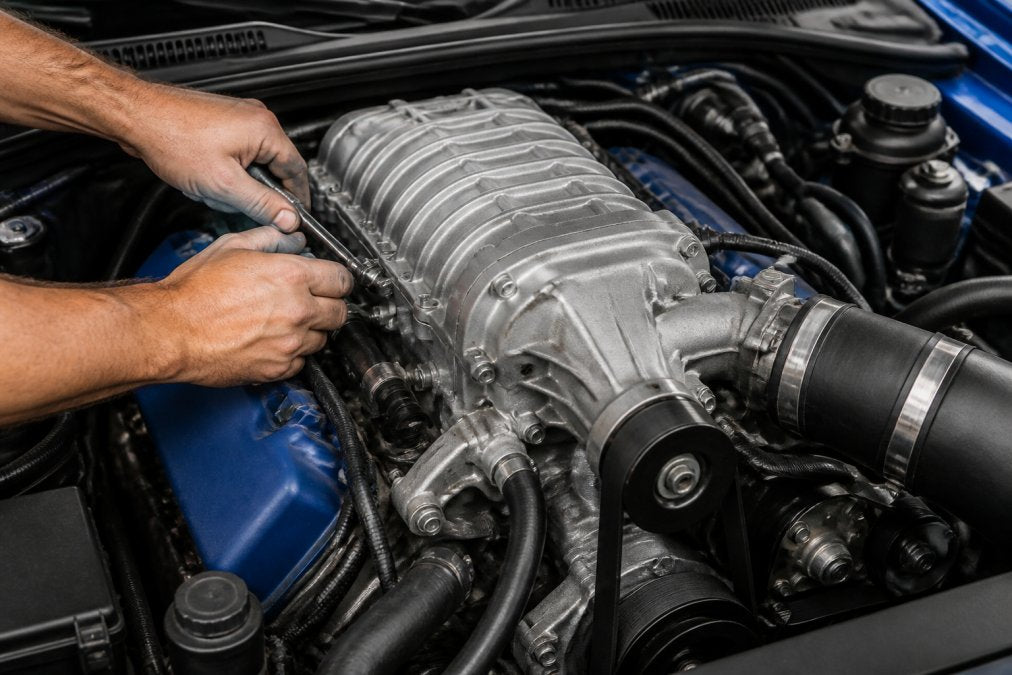
The supercharger unit mounts to your intake manifold or engine block using specific mounting brackets engineered for your engine's geometry. Use the exact fasteners and torque specifications provided, tightening in a star or cross pattern to ensure even pressure distribution.
Install the intercooler next, routing its inlet and outlet lines according to your kit's specifications. Intercooler positioning affects airflow and engine bay temperatures. Don't improvise routing; follow the design.
Fuel System and Sensor Integration
Your fuel system needs to deliver more fuel under boost. Most kits specify a fuel pump upgrade or require you to verify your current pump's capacity at higher pressure. Install new fuel injectors if your kit specifies them, stock injectors are often undersized for forced induction.
Install all sensors specified by your kit, including a boost pressure sensor and oxygen sensors if upgrading from stock. Route sensor wiring away from heat sources and moving components, securing with zip ties without over-tightening.
Belt, Pulley, and Bracket Installation
Install the crankshaft pulley first, torquing it to specification. Many kits require a specific pulley ratio; don't substitute a different pulley. Install the supercharger pulley and belt according to your kit's specifications, using your belt tension gauge to set it to the exact specification in your manual.
Route the belt around all pulleys in the sequence shown in your manual. Double-check the routing before considering the belt installed. Install any additional brackets, braces, or support components specified by your kit.
Engine Tuning After Supercharger Installation
Installation is only half the battle. Tuning is where your supercharger either delivers reliable power or becomes an expensive mistake.
ECU Calibration and Ignition Timing
Your engine's ECU was calibrated for naturally aspirated operation. Forced induction changes the air density entering your cylinders, changing combustion characteristics. Stock ignition timing is too aggressive for boost; your engine will detonate (knock), damaging pistons and bearings.
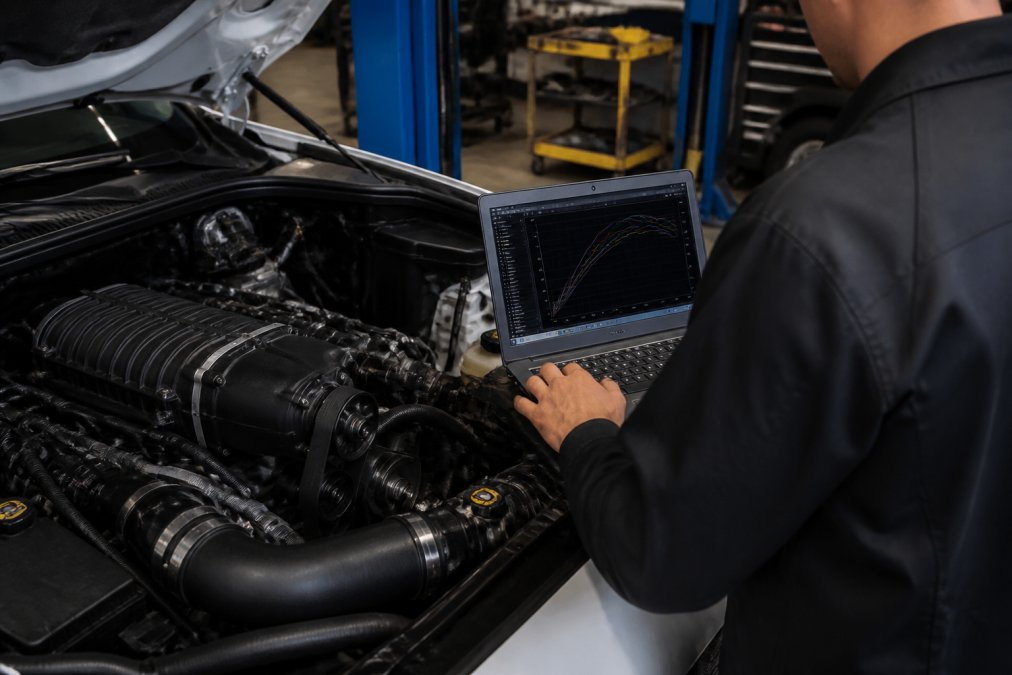
You need either a tuning solution or a professional tune. Piggyback ECUs, flash tunes, or standalone engine management can adjust fuel and timing maps. Start conservative with modest boost pressure (8-10 PSI for most naturally aspirated engines) and conservative timing adjustments. Run a dyno session to measure actual power output and monitor for knock.
Key Takeaway
Never assume your stock fuel pump is adequate for forced induction. Most stock pumps max out around 60 PSI. Boosted engines often need 80+ PSI at the fuel rail. Undersizing your fuel system is one of the most common causes of lean running and engine damage in DIY supercharger builds.
Fuel Demand and Power Delivery Optimization
Fuel demand under boost increases dramatically. At 10 PSI of boost, you're forcing roughly 50% more air into your cylinders. Your fuel injectors must deliver 50% more fuel to maintain proper air-fuel ratio. Your tuning solution must account for fuel demand across the entire RPM range.
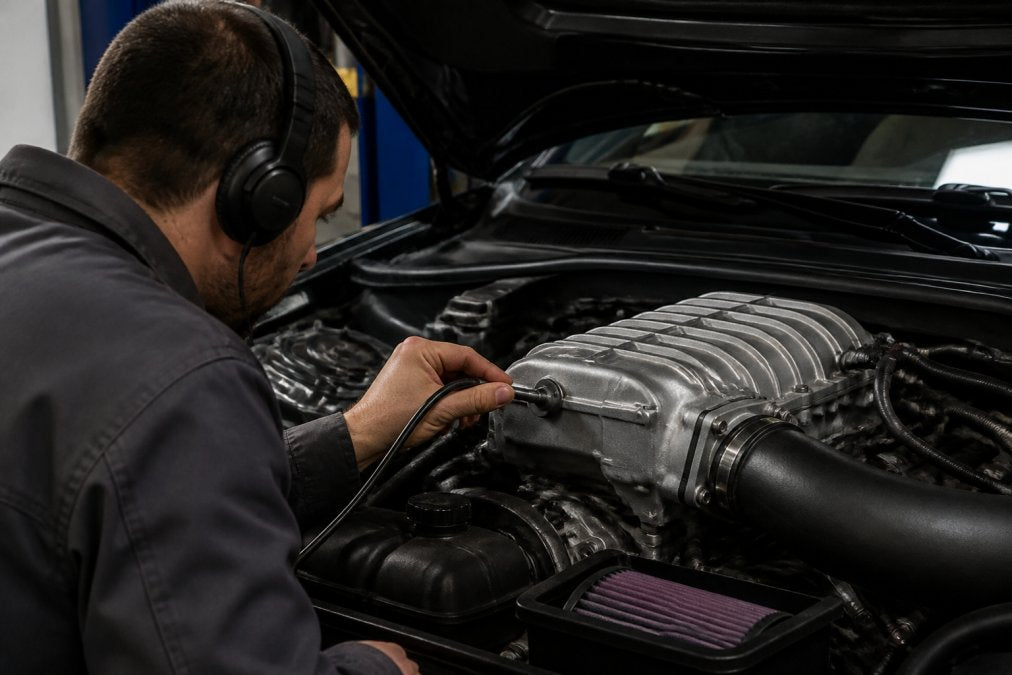
Power delivery optimization means smoothing out the transition between naturally aspirated and boosted operation. A good tune creates smooth, predictable power delivery without flat spots or sudden surges. Test your tune conservatively, starting with short drives at low load. If you hear pinging (knock), reduce boost or timing immediately.
DIY vs. Professional Installation: Cost Breakdown and Warranty Implications
A professional shop installation typically costs $1,500 to $3,000 in labor. For a $5,950 supercharger kit, professional installation adds 25-50% to your total investment. That's substantial, but it includes warranty coverage on the installation work itself.

DIY installation saves labor costs but introduces other expenses. You'll likely need specialized tools ($200-400 if you don't own them). You'll probably also need a dyno tune session ($300-500) because you can't properly calibrate your ECU without professional dyno equipment.
More importantly, DIY installation carries warranty implications. VT Superchargers' 24-month warranty covers the kit itself, but it typically excludes labor and damage caused by improper installation. A professional shop installation often includes a warranty on the work.
| Installation Type | Kit Cost | Labor | Tools | Tuning | Total | Warranty Coverage |
|---|---|---|---|---|---|---|
| DIY | $5,950 | $0 | $200-400 | $300-500 | $6,450-6,850 | Kit only |
| Professional | $5,950 | $1,500-3,000 | $0 | Included | $7,450-8,950 | Kit + labor |
DIY saves money upfront but shifts risk entirely to you. Professional installation costs more but includes expertise and accountability.
Legal and Insurance Considerations for Supercharger Modifications
Installing a supercharger is a permanent engine modification with legal and insurance implications.
Supercharger installation is generally legal in all U.S. states for off-road or track use. For street-legal vehicles, regulations vary by state. Some states have emissions testing requirements that modified vehicles must pass. California, for example, has strict emissions regulations that can prohibit aftermarket supercharger installations on newer vehicles. Check your state's emissions testing requirements before you commit.
Insurance is where many DIYers get blindsided. Your insurance company needs to know about major modifications. Failing to disclose a supercharger installation can void your coverage. Some insurers will add a rider to cover modifications; others will refuse coverage on modified vehicles. Call your insurer before you start and ask about their policy on performance modifications.
Your vehicle's factory warranty likely has a clause excluding coverage for engine damage caused by modifications. A supercharger doesn't void your entire warranty, but it does void coverage for any engine-related issues that could be attributed to the modification.
Deciding whether supercharger installation is a DIY project ultimately comes down to honest self-assessment. Do you have mechanical experience beyond basic maintenance? Do you have access to proper tools and a clean workspace? Can you afford a professional dyno tune? Do you understand the risks and accept responsibility if something goes wrong?
If you answered yes to all of those, DIY installation is possible. If you answered no to any of them, a professional shop installation is worth the cost. VT Superchargers' bolt-on kits are engineered for precise fitment and OEM-style integration, making the DIY process far more manageable than it was a decade ago, but it's still not a job for someone without serious mechanical skills. The 24-month warranty covers your kit, but only proper installation and professional tuning will ensure you get the performance and reliability you're paying for.
Frequently Asked Questions
Is supercharger installation a DIY project for someone with basic mechanical experience?
Supercharger installation difficulty depends on your vehicle and kit design. Bolt-on kits from manufacturers like VT Superchargers are engineered for OEM-style fitment, making them more accessible to DIYers than older designs. However, this is not a beginner-level project. You need intermediate mechanical skills, proper tools, patience, and attention to detail. Expect 20-40 hours of work for most vehicles. If you've successfully completed engine modifications before, DIY installation is realistic. If you've never worked inside an engine bay, professional installation may save costly mistakes.
What tools and equipment do I need to install a supercharger myself?
Essential tools include a complete socket set, torque wrench, wrenches, screwdrivers, pliers, and a jack with jack stands. You'll also need gasket scrapers, hose clamps, a belt tensioner tool, and potentially a pulley puller. For fuel system work, you may need a fuel line disconnect tool. Safety equipment like safety glasses and gloves is non-negotiable. Many DIYers also invest in a shop manual for their specific vehicle and consider renting specialty tools rather than buying them outright. Proper tool quality matters when working with precision components like the supercharger compressor and intake manifold.
How long does supercharger installation take as a DIY project?
Installation time varies by vehicle and kit complexity. Most bolt-on supercharger kits require 20-40 hours of hands-on work spread over several days or weeks. This includes mounting the supercharger assembly, connecting the fuel system, installing brackets and the serpentine belt, wiring sensors, and initial tuning. The Toyota Tundra 5.7 kit from VT Superchargers, for example, follows a bolt-on design that reduces time compared to custom fabrication. First-time installers should add 25-50% extra time for troubleshooting and learning the process. Rushing increases the risk of missed connections or improper torque specs.
Do I need to tune my engine after installing a supercharger, and can I do that myself?
Engine tuning after supercharger installation is essential, not optional. Your ECU must adjust ignition timing, fuel demand, and boost pressure to safely handle the increased airflow and power. While some bolt-on kits include pre-calibrated tuning files, most vehicles benefit from custom ECU calibration for your specific engine setup. DIY tuning using handheld tuners is possible if you understand fuel tables and ignition timing, but mistakes can cause engine damage, poor fuel economy, or rough power delivery. Many DIYers install the physical kit themselves but pay a professional tuner for calibration. This hybrid approach balances cost savings with reliability.
What happens to my vehicle warranty if I install a supercharger myself?
DIY supercharger installation may void your factory engine warranty under the Magnuson-Moss Warranty Act, though manufacturers must prove the modification caused the failure to deny coverage. Most dealerships will refuse service on modified engines. Quality bolt-on kits from reputable manufacturers like VT Superchargers come with their own warranties (typically 24 months) that cover the supercharger components and installation labor if done correctly. Document your installation with photos and receipts. Some insurance policies exclude coverage for modified vehicles, so contact your insurer before installation. Professional installation with warranty support provides legal protection that DIY installation cannot guarantee.
Will a supercharger improve low-end torque for towing and off-roading, or just top-end horsepower?
Superchargers deliver boost across the entire RPM range, providing both low-end torque and top-end horsepower gains. Unlike turbos that suffer from lag, centrifugal and twin-screw superchargers begin compressing air immediately off idle, improving throttle response and low-end power. This makes them ideal for towing and off-roading applications. A Jeep Pentastar 3.6L with a VT Superchargers kit gains approximately 40% horsepower and 30% torque, benefiting both highway cruising and technical terrain. The consistent power delivery across RPMs is why overlanders and off-road vehicle owners often prefer superchargers over other forced induction options for daily capability.
This article was written using GrandRanker
Related post
13
Sep
RECENT POSTS