What to Expect During Supercharger Installation
Table of Contents
- What to Expect During Supercharger Installation: A Phase-by-Phase Walkthrough
- How Long Does It Take to Install a Supercharger?
- Supercharger Kit Installation Requirements: Tools, Skills, and Workspace
- Supercharger Tuning After Installation: Why It Is Not Optional
- Your Supercharger Installation Checklist: From Unboxing to First Start
- Costs Beyond the Supercharger Kit: What Your Budget Needs to Cover
- Common Installation Mistakes and How to Avoid Them
- Conclusion
- Frequently Asked Questions
Last Updated: October 11, 2026
What to Expect During Supercharger Installation: A Phase-by-Phase Walkthrough
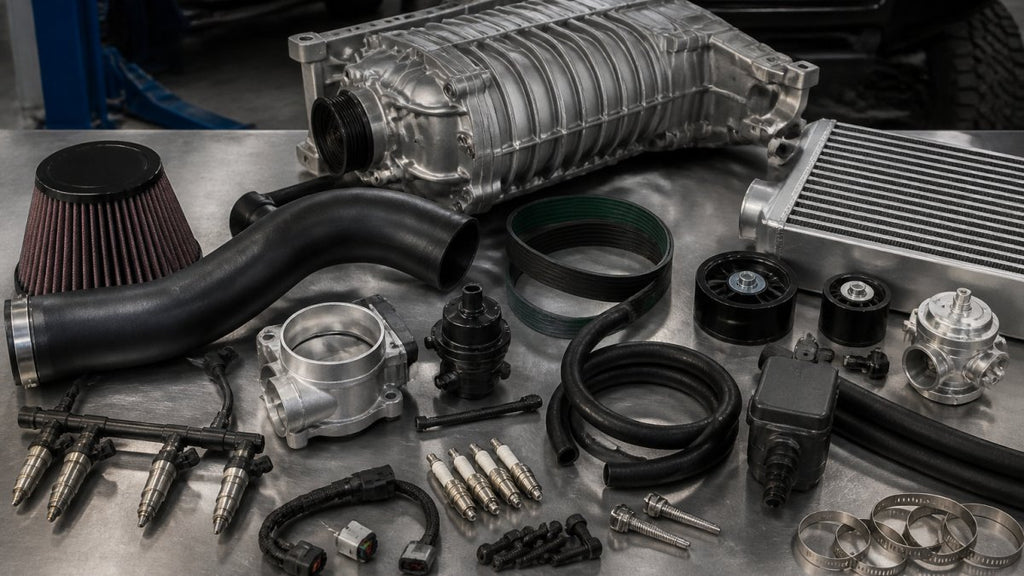
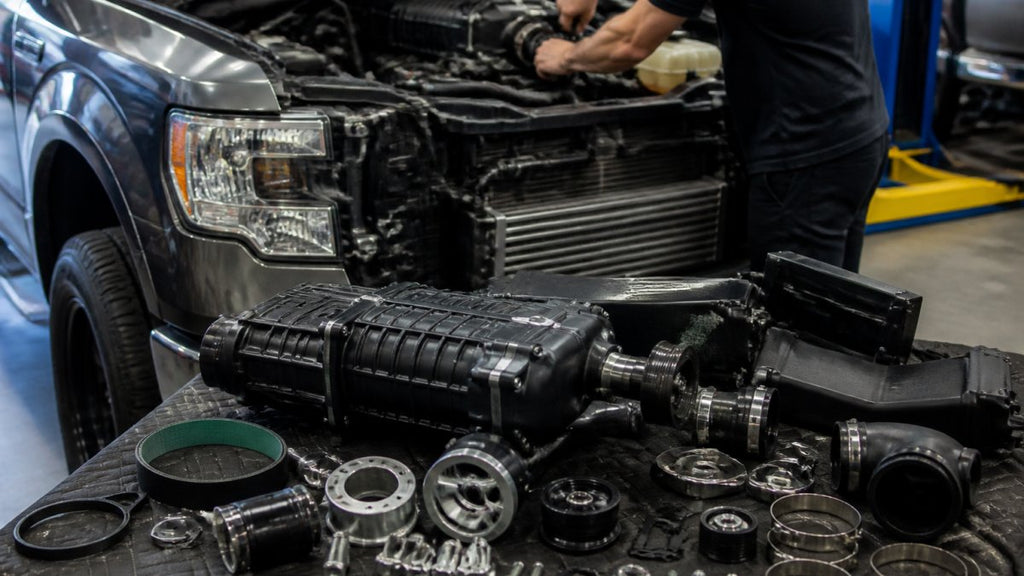
A supercharger installation is a full-day job in three phases: preparation, disassembly, and mounting. Most bolt-on kits take 7 to 10 hours from unboxing to first start. At VT Superchargers, we build our kits around factory mounting points.
The work is detail-heavy but not complicated: remove the factory intake, bolt on the new manifold and head unit, route the belt and cooling lines, then hand the car over for tuning.
Key Takeaway
Plan for a full weekend, not an afternoon. Rushing the belt alignment or the coolant routing is where most first-time installs go wrong.
Phase 1: Preparation and Compatibility Check (1-2 Hours)
Preparation is the phase most people skip, and it decides whether the rest of the day goes smoothly. Confirm your exact engine code before you touch a tool, a kit built for the 5.7L 3UR-FE will not fit a different V8, no matter how similar the engine bay looks.

Start with a cold engine and a clean workspace. Then work through this list:
- Verify your engine code against the kit's fitment notes
- Check for existing leaks, worn belts, or cracked hoses
- Inspect your battery, ground straps, and charging system
Fix any leaking seal or failing belt first, adding boost to a tired engine turns a small problem into a big one.
Phase 2: Disassembly and Component Removal (2-3 Hours)
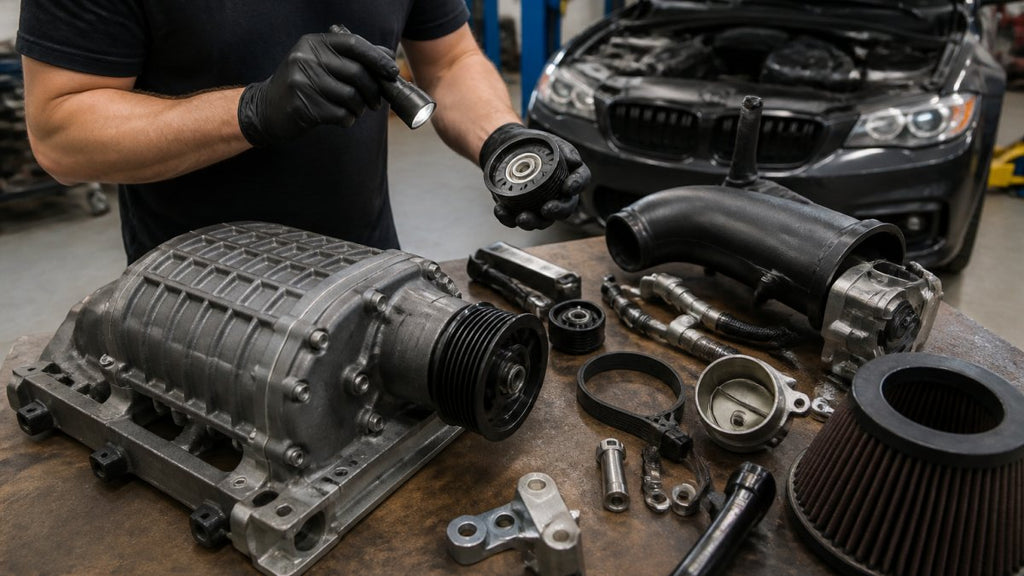
Disassembly is straightforward removal work, but it demands care. You are pulling the factory intake manifold, air box, and related hardware to make room for the new supercharger body and manifold.
Label every hose, connector, and bolt as it comes off, and take photos as you go.
Drain and disconnect the cooling system where the kit requires it, and keep the factory parts in a labeled box.
Watch Out
Never pry on plastic intake clips or force a stuck connector. A cracked clip or a broken sensor plug can stall the whole build while you wait on a replacement part.
Phase 3: Mounting and Reassembly (3-4 Hours)
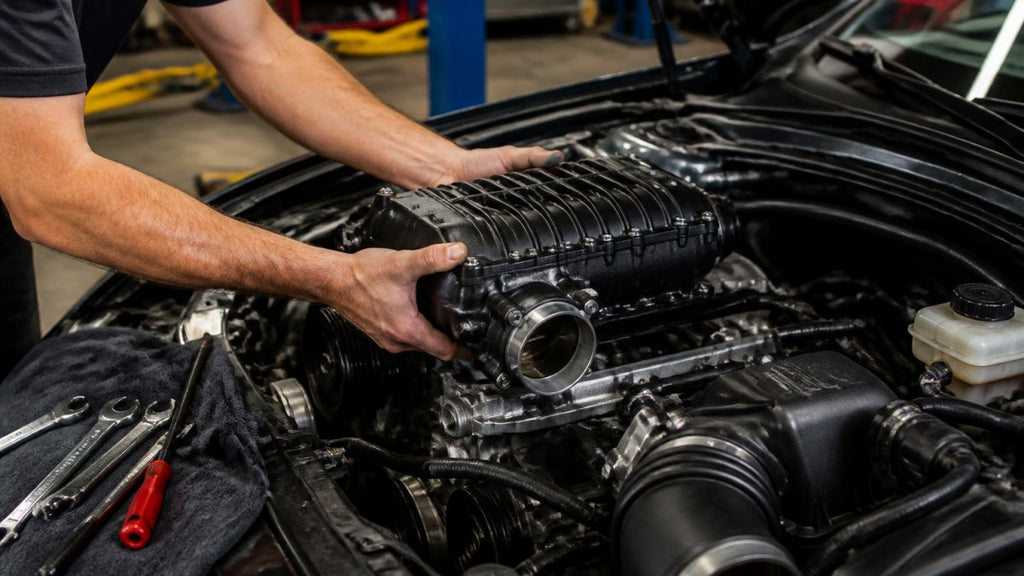
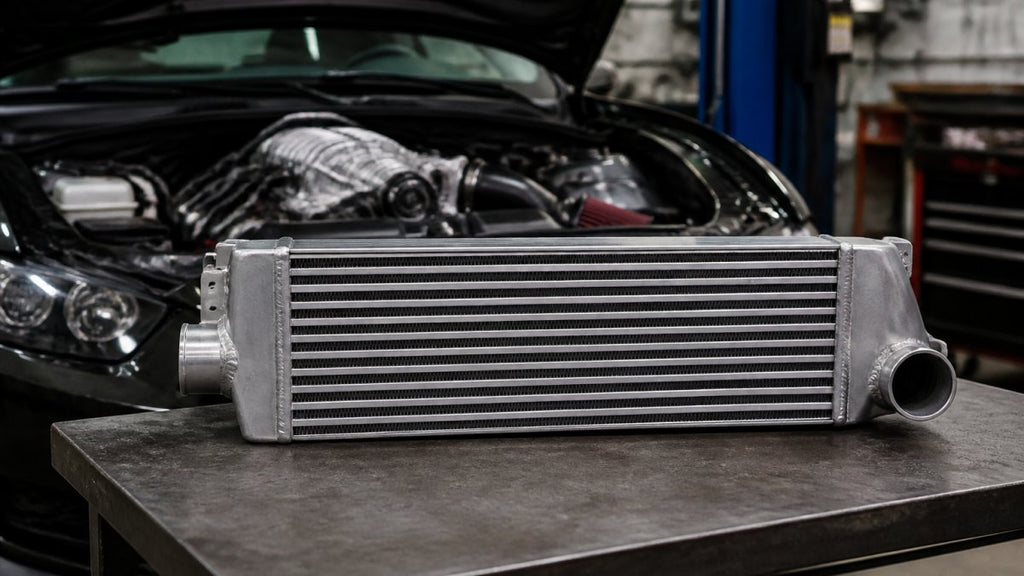
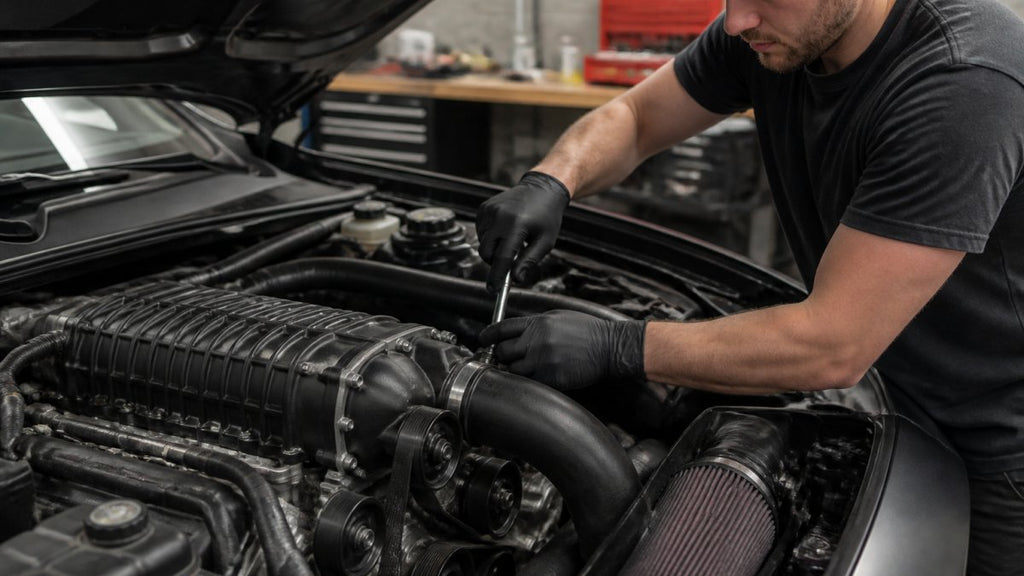
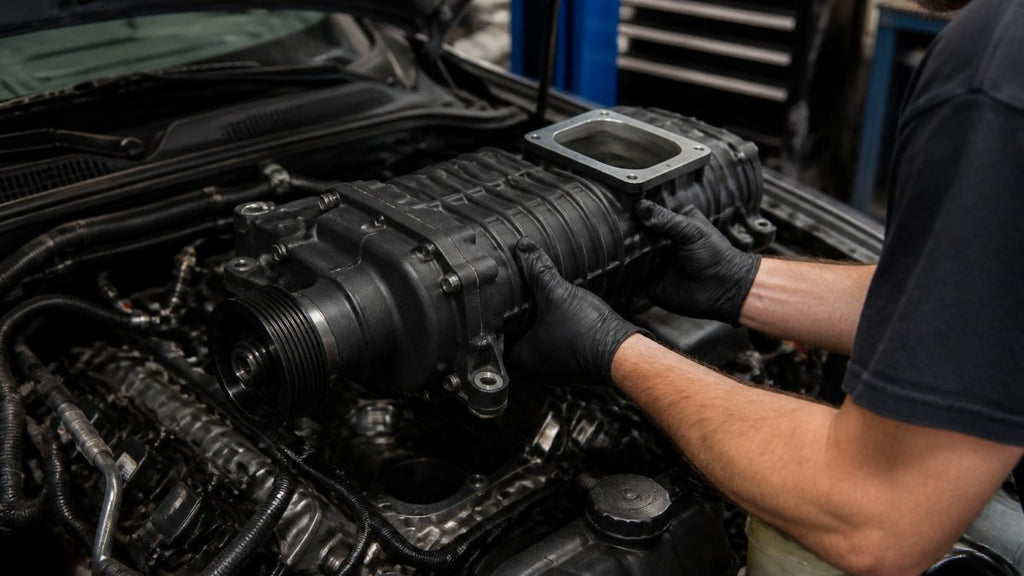
Mounting is where the kit comes together. Set the supercharger body and intake manifold onto the factory mounting points, then torque everything to the kit's spec in the correct sequence.
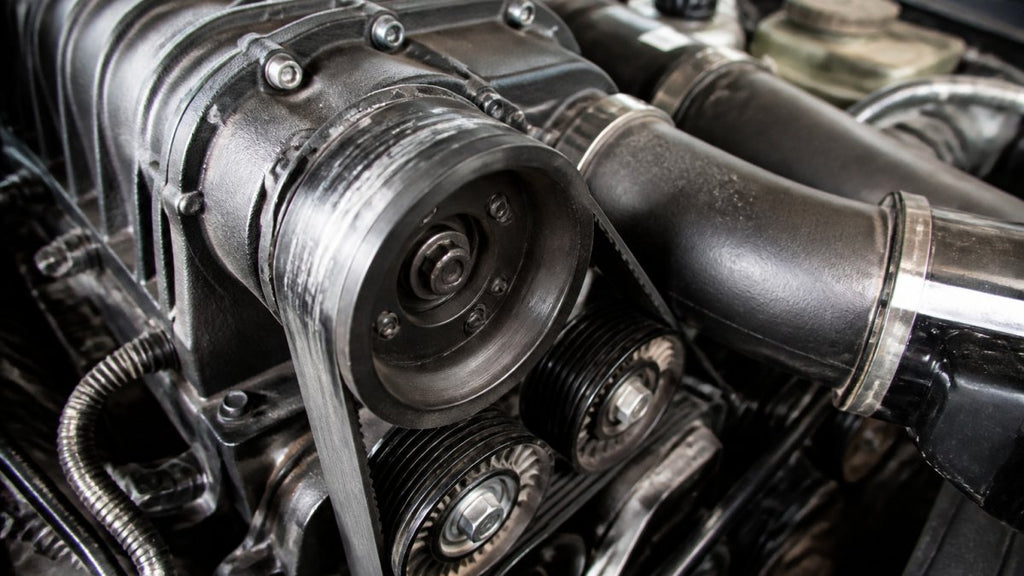
Next, route the belt drive and check alignment, a belt even slightly off will squeal, slip, or shred within miles. Spin the pulleys by hand before starting the engine.
Then connect the cooling and intake plumbing:
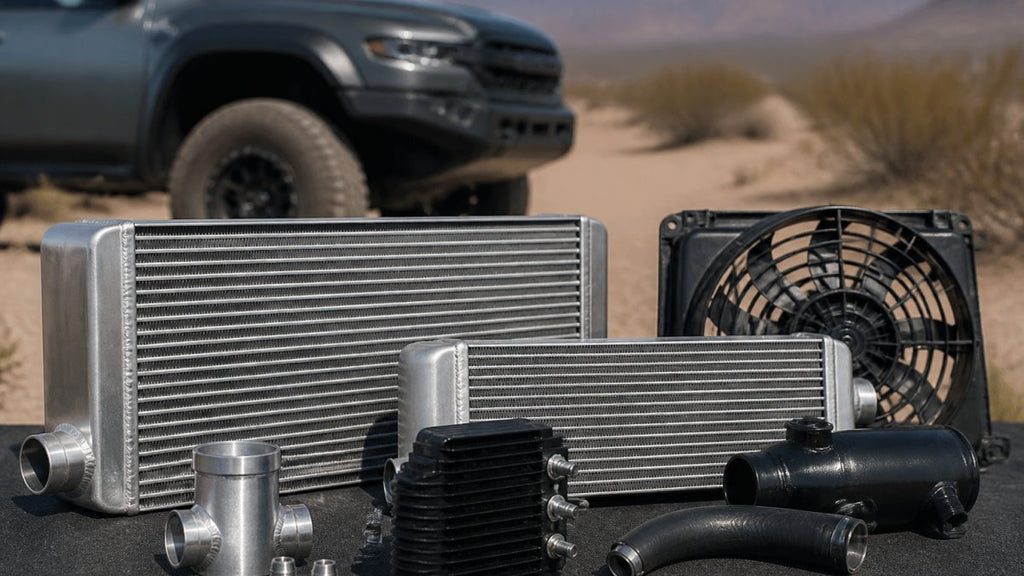
- Route the water lines to the intercooler and heat exchanger
- Connect the intake piping and tighten every clamp
- Refill the coolant and check for leaks
Take your time on the belt and coolant routing; those two systems cause most of the problems people blame on the supercharger itself.
How Long Does It Take to Install a Supercharger?
A typical bolt-on supercharger installation takes 7 to 10 hours of hands-on work. First-timers should plan for the longer end, plus breaks and cleanup; a shop with a lift and experience can often finish in a day.
Here is how the time breaks down by phase:
| Phase | Time Estimate | Main Tasks |
|---|---|---|
| Preparation | 1-2 hours | Fitment check, inspection, parts layout |
| Disassembly | 2-3 hours | Remove intake, air box, factory hardware |
| Mounting | 3-4 hours | Install head unit, belt, cooling, plumbing |
| Tuning | Separate appointment | ECU calibration before hard driving |
The tune decides whether the car is safe to drive hard, and it usually happens at a separate appointment. Do not push the engine before that calibration is done.
Supercharger Kit Installation Requirements: Tools, Skills, and Workspace
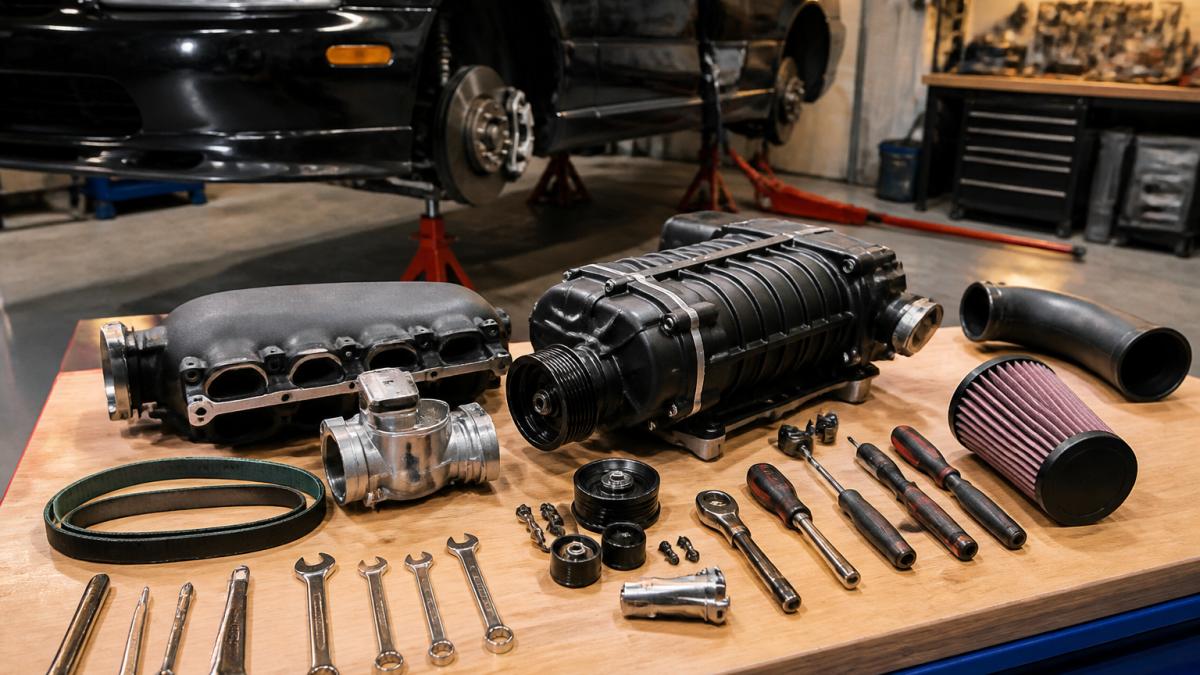
Most bolt-on kits need only standard hand tools and a level workspace, which makes a home install realistic. You do not need a lift or a machine shop, just enough room to lay out parts and move around the car safely.
Essential Tools and Equipment
Gather these before you start:
- Socket set with extensions and a torque wrench
- Combination wrenches and a breaker bar
- Screwdrivers, pliers, and hose clamp tools
A torque wrench is not optional. Supercharger hardware has to be tightened to spec, and guessing can strip threads or leave a fastener loose.
Skill Level and Workspace Considerations
The kit uses factory mounting locations, so there is no cutting, welding, or wire splicing.
You need a flat, covered space with room to open both doors and the hood. Good lighting matters more than people expect for reading small labels and checking belt alignment in tight spots.
Pro Tip
Keep a phone or tablet nearby with the install manual open. Pausing to re-read a torque spec or a routing diagram beats guessing and redoing a step.
Supercharger Tuning After Installation: Why It Is Not Optional
Engine tuning after installation is required, not a nice-to-have. A supercharger pushes more air into the engine, and the factory calibration cannot fuel or time for that extra air.
Toyota Land Cruiser 5.7L 3UR-FE Supercharger Kit | VT →
Every VT Superchargers kit states this requirement up front. Our Land Cruiser and Tundra 5.7L 3UR-FE kits both call for an ECU tune for safe, optimal performance, and the Nissan Frontier kit is the same.

What the Tune Actually Changes
A tune rewrites several tables inside the engine control unit (ECU) so the computer can manage the higher air mass. Most calibrations touch these areas:
- Fuel delivery. The ECU increases injector pulse width and may raise fuel pressure so the air-fuel ratio stays safe under boost. Running lean under load is the fastest way to damage pistons.
- Ignition timing. Boost raises cylinder pressure and temperature, so timing is often pulled back in the boosted region to prevent knock. Too much advance plus too much boost equals detonation.
- Throttle and torque response. Drive-by-wire throttle maps are rescaled so pedal input feels linear instead of surgey when the blower spools.
How the Tuning Process Works
There are two common paths, depending on your kit, vehicle, and how much control you want.
Remote tune. You receive a handheld programmer or cable and software, read your stock ECU file, send it to a tuner, and flash back the revised file.
Dyno tune. The vehicle goes on a chassis dyno while a tuner makes live adjustments and measures horsepower, torque, and air-fuel ratio.
Either way, the tuner needs data.
What Happens If You Skip the Tune
A stock calibration running a supercharger is lean and knock-prone.
Tuning Costs and Timing
Budget for the tune separately from the kit. Remote tunes typically run a few hundred dollars; a dyno session with a custom calibration can run into the low four figures depending on shop and platform.
Your Supercharger Installation Checklist: From Unboxing to First Start
A checklist keeps a long job on track and stops you from skipping a step you will regret. Work top to bottom.
- Confirm engine code and kit fitment
- Inspect the engine for leaks and worn parts
- Lay out all kit components and check against the parts list
The first start is a milestone, not the finish line. Let the engine idle, watch for leaks, and listen for belt squeal or a rough idle. Fix anything odd before driving hard.
Costs Beyond the Supercharger Kit: What Your Budget Needs to Cover
The kit price is not the whole budget. The supercharger is the biggest line item, but the tune and supporting parts add up. Here is a realistic breakdown for common bolt-on installations.
Tuning
- Remote tune: typically a few hundred dollars, plus the cost of a handheld programmer or cable if not included.
- Dyno tune: commonly runs into the low four figures, depending on the shop, the platform, and how many revisions are needed.
- Data logging hardware: some tuners require a specific cable or device, which can add another hundred dollars or so.
Fluids and Consumables
- Coolant: a gallon or two of the correct specification, usually under fifty dollars.
- Engine oil and filter: if you change oil after the install, budget for a full synthetic change.
- Shop supplies: thread sealant, hose clamps, zip ties, and shop towels add up to a small but real amount.
Replacement Parts
- Gaskets and seals: intake manifold gaskets, throttle body gaskets, and any O-rings the kit does not include. These are inexpensive individually but easy to forget.
- Belts and hoses: if your existing belt or coolant hoses are worn, replace them now rather than after the supercharger is installed.
- Spark plugs: many boosted applications call for a colder heat range and a tighter gap. A set of plugs is a modest cost but a common oversight.
Tools
- Torque wrench: if you do not own one, this is a required purchase. Expect to spend somewhere in the range of a decent hand tool.
- Specialty tools: some kits need a fuel line disconnect tool, a pulley puller, or a specific socket size. Check the manual before you start.
- Jack and jack stands or ramps: if you do not already have safe lifting equipment, factor that in.
Labor and Troubleshooting
- Shop install: if you hand the job to a professional, expect to pay for a full day or more of labor at shop rates. This can easily exceed the cost of the kit itself on some platforms.
- Troubleshooting: even a careful DIY install can hit a snag, such as a stripped fastener, a cracked plastic clip, or a wiring issue. Having a small contingency fund for a replacement part or a diagnostic session is smart.
A Realistic Total
Add up the kit, the tune, fluids, replacement parts, any tools you need, and a contingency. For a typical bolt-on kit installed at home, the extras commonly add several hundred to a couple thousand dollars on top of the kit price.
On the shop question: many first-timers wonder whether they can really do this themselves. If you are short on time, space, or confidence, a professional install is money well spent.
Best For
Confident home mechanics with a full weekend, a level workspace, and a budget that includes the tune and supporting parts.
Common Installation Mistakes and How to Avoid Them
Most install problems trace back to a handful of avoidable errors.
- Skipping the tune. Driving hard before calibration risks engine damage. Book the tune first.
- Mismatched belt alignment. A belt off by a hair will slip or shred. Spin the pulleys by hand and check.
- Mixed-up connectors. Label and photograph everything during disassembly.
If something does not feel right, stop and check.
Conclusion
A supercharger installation is a long but manageable weekend job when you prepare properly, work in phases, and never skip the tune. The payoff is real: our kits deliver 40% to 60% more horsepower and 30% to 50% more torque, backed by a 24-month warranty and a non-destructive bolt-on design. Register with VT Superchargers, confirm fitment for your vehicle, and get the kit that turns your daily driver or off-roader into the build you wanted.
Frequently Asked Questions
How long does it take to install a supercharger?
Most bolt-on supercharger installations take 7-10 hours for a first-timer working with hand tools in a home garage. The process breaks down into preparation (1-2 hours), disassembly (2-3 hours), mounting and reassembly (3-4 hours), and tuning. If you are installing a kit like the VT Superchargers Toyota Tundra 5.7L system, plan for a full weekend so you are not rushing critical steps.
What are the supercharger kit installation requirements I need to know before starting?
You will need a full set of hand tools, a torque wrench, jack stands or a lift, and a clean workspace. Check that your kit matches your exact engine code before ordering. For example, the Nissan Frontier 4.0L VQ40DE kit requires the 2005-2019 model years with that specific engine. You also need access to ECU tuning, either through a remote tuner or a local shop.
Does a supercharger installation require engine tuning?
Yes. Every VT Superchargers kit requires an ECU or engine tune after installation for safe and optimal performance. Without tuning, the engine will not account for the added boost, which can lead to lean air-fuel ratios and potential engine damage. Tuning adjusts fuel delivery, ignition timing, and boost targets. Remote tuning assistance is available, but you should budget for this step in both time and cost. It is not optional.
What should I check after a supercharger installation?
After installation, check all belt routing and tension, verify hose and union connections for leaks, and confirm the brake light switch and fuel system connections are secure. Start the engine and listen for unusual noises, then check for coolant and vacuum leaks. Drive gently for the first few miles. If anything seems off, stop and troubleshoot before driving further.
Related post
09
Oct
RECENT POSTS