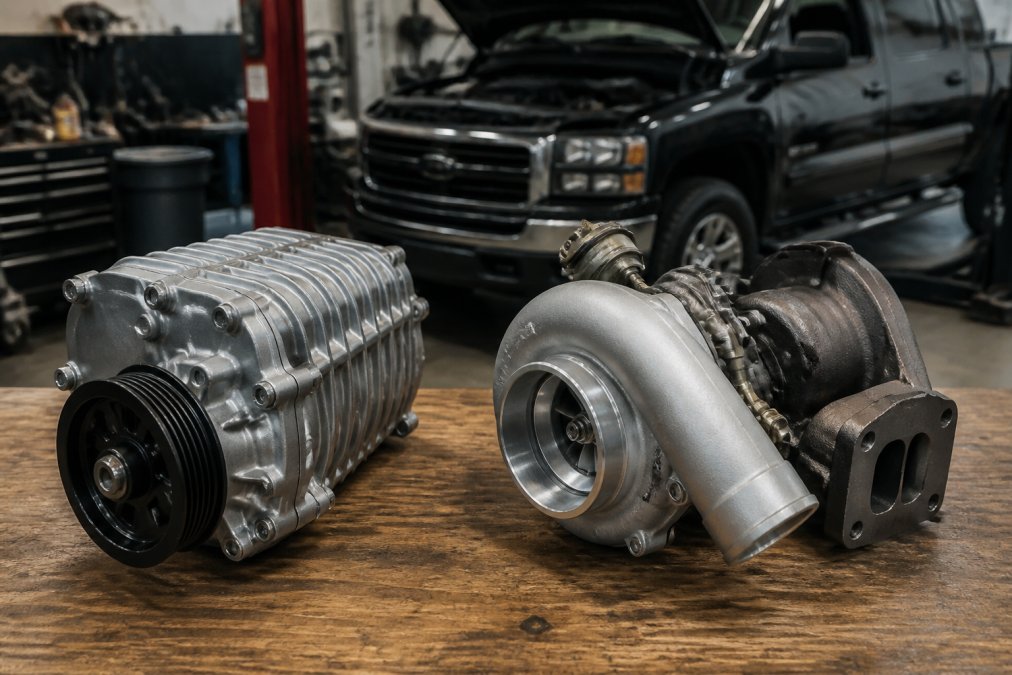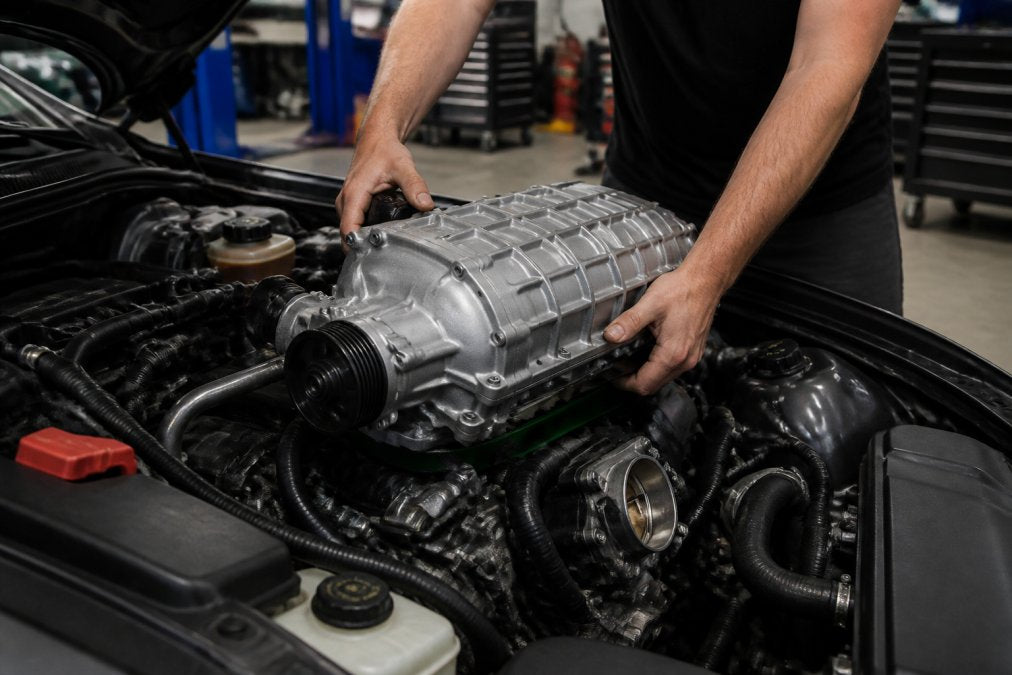
How to Install a Bolt-On Supercharger: Step-by-Step
Table of Contents
- What You'll Need Before Installing a Bolt-On Supercharger
- Pre-Installation Preparation and Safety Checks
- Step 1: Remove Factory Components and Prepare the Engine Bay
- Step 2: Install Mounting Brackets and Position the Supercharger Unit
- Step 3: Route Hoses, Connectors, and Intake Manifold Components
- How Much Horsepower Do Superchargers Add
- Do You Need a Tune After Supercharger Install
- Common Installation Mistakes to Avoid
Last Updated: August 19, 2026
What You'll Need Before Installing a Bolt-On Supercharger
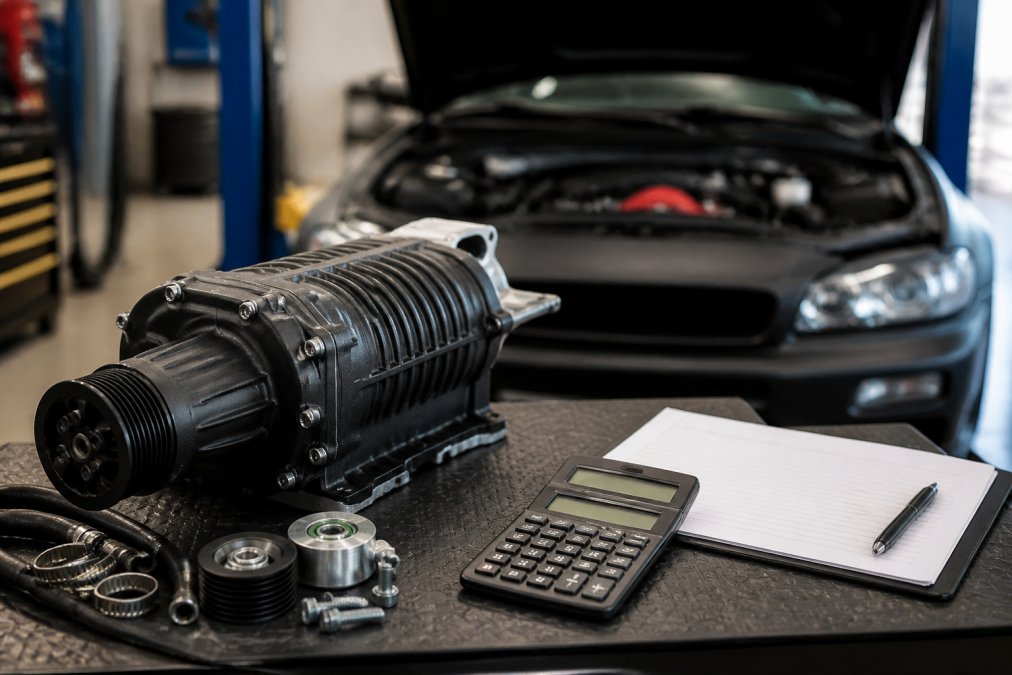
Installing a bolt-on supercharger requires the right tools, mechanical knowledge, and honest assessment of your engine's condition. Gather a complete socket set (metric and standard), calibrated torque wrench, jack and jack stands, serpentine belt tool, hose clamps, RTV silicone gasket maker, and compression tester. Most importantly, secure access to a professional ECU tuner experienced with supercharged vehicles, this is non-negotiable.
Bolt-on supercharger kits deliver 40-60% more horsepower when properly installed and tuned. A stock 300-hp engine typically gains 120-180 hp with a quality kit. Professional installation takes 8-16 hours at $1,500 to $3,000 labor, or you can handle mechanical assembly yourself while a shop manages fuel system work and tuning.
Pro Tip
Pre-installation inspection costs $200-$400 but saves thousands in potential problems. A compression test, fuel pressure check, and ignition timing verification identify engine issues before the supercharger goes on.
Pre-Installation Preparation and Safety Checks
Before any hardware touches your engine, verify that your engine can handle forced induction.
Engine compression and fuel system inspection
Your engine's compression ratio determines how much boost it can safely handle. Compression ratios of 9.1 to 9.5:1 are often recommended for pump-gas engines running typical supercharger boost levels. A compression test ($100-$200) measures whether all cylinders seal properly and can handle increased air pressure without detonation. Low compression in even one cylinder signals internal problems that will fail catastrophically under boost.
Your fuel system must also be evaluated. Stock fuel injectors and pumps often can't deliver enough fuel to match the air a supercharger forces in. An air-fuel ratio that goes lean under boost causes detonation and engine failure. A fuel pressure check ($50-$100) confirms whether your system needs upgrading. Many bolt-on kits require fuel injector upgrades; VT Superchargers kits are engineered with this in mind, but your specific vehicle may need additional modifications.

Cooling system evaluation
Forced induction generates heat. Your cooling system must handle increased thermal load or you'll face overheating, detonation, and engine damage. Flush your radiator, check coolant condition, and verify your thermostat functions. Consider replacing the water pump and radiator hoses if your cooling system is original equipment on a higher-mileage vehicle. An intercooler, often included in quality bolt-on kits, cools compressed air before it enters the engine. Test your cooling system under load before installation, a 15-minute highway drive should show stable coolant temperatures.
Step 1: Remove Factory Components and Prepare the Engine Bay
Disconnect your battery first. Remove the negative terminal and wait 15 minutes for the electrical system to discharge. Drain your coolant into a clean container (you'll reuse it) and remove radiator hose connections that will interfere with supercharger mounting.
Disconnect the battery and drain fluids
Disconnect the negative battery terminal and secure it away from the post. Drain coolant by opening the radiator drain plug at the bottom, catching it in a clean container. If your kit requires oil line connections, check instructions before draining engine oil.
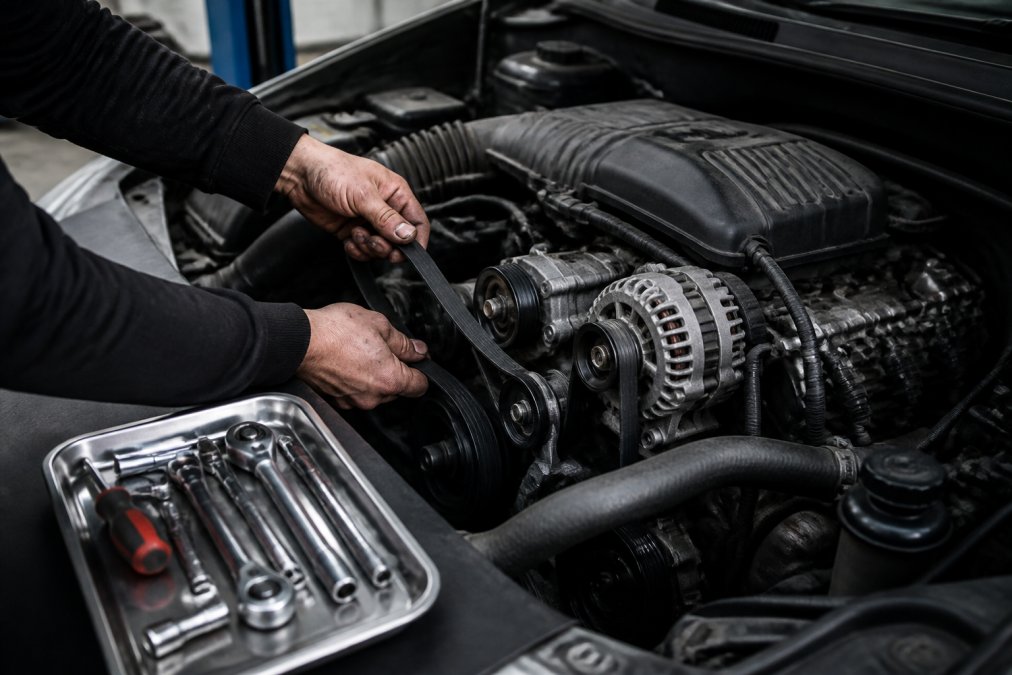
Remove the serpentine belt and tensioner
The serpentine belt drives your alternator, water pump, and power steering pump. Use a serpentine belt tool or breaker bar to release tension on the automatic tensioner, then slip the belt off. Mark the belt routing with tape or take a photo. Remove the belt tensioner using a socket wrench. If stuck, apply penetrating oil and wait 10 minutes. Clean your engine bay thoroughly with compressed air and a soft brush, dust and debris cause vacuum leaks and mechanical damage.
Step 2: Install Mounting Brackets and Position the Supercharger Unit
Bolt-on kits are engineered to use factory mounting points, but alignment is critical. A misaligned supercharger creates belt tracking issues and premature failure.
Align brackets to factory mounting points
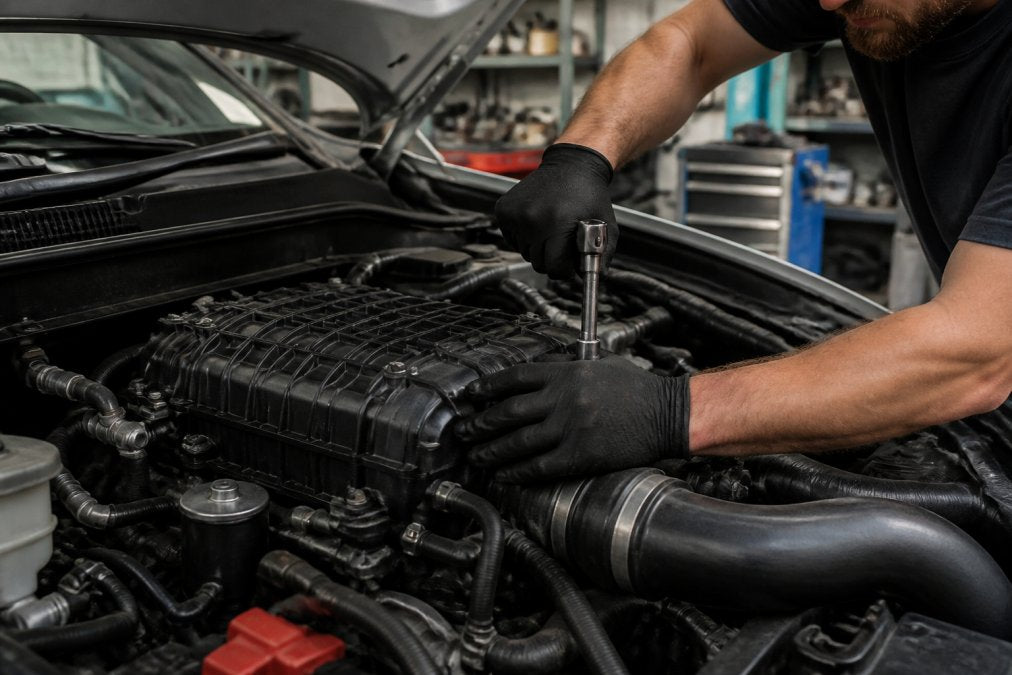
Identify factory mounting points on your engine block or cylinder head. Dry-fit the brackets first without fasteners and position the supercharger unit. Check clearance with the intake manifold, throttle body, and accessory pulleys. The supercharger pulley must not contact the crank pulley. If anything touches or binds, reposition and recheck.
Once clearance is confirmed, mark fastener holes and prepare them. If drilling new holes, use a drill bit slightly smaller than your fastener size and apply cutting fluid.
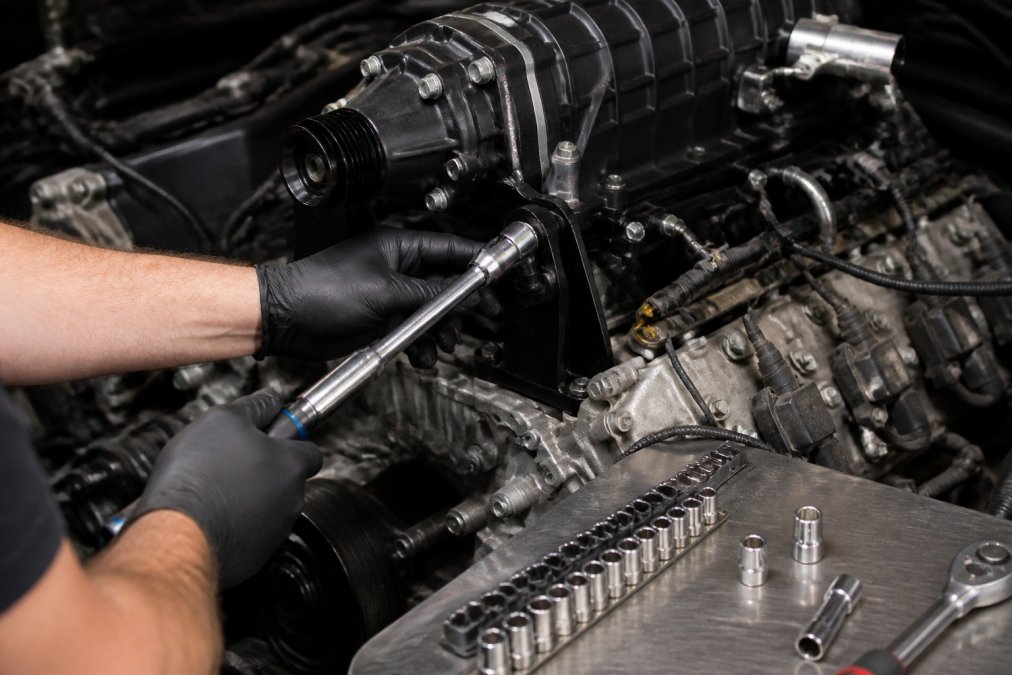
Secure fasteners with correct torque specifications
Use a calibrated torque wrench, not an impact driver. Bolt the mounting brackets to the engine block first, torquing fasteners in a star pattern to ensure even pressure. Then position the supercharger unit and install its fasteners in the same star pattern. Tighten in progressive stages: hand-tight, then 25% of final torque, then 50%, then final torque.
Once fasteners are torqued, double-check clearance. Rotate the crank pulley by hand through several complete revolutions. Nothing should bind or contact.
Watch Out
A common mistake is skipping the clearance check after final torque. Verify clearance AFTER torquing and again after initial startup.
Step 3: Route Hoses, Connectors, and Intake Manifold Components
Hose routing determines whether your supercharger system functions properly. Oil lines, coolant lines, boost pressure hoses, and vacuum lines must be routed cleanly without kinks, pinches, or contact with hot surfaces.
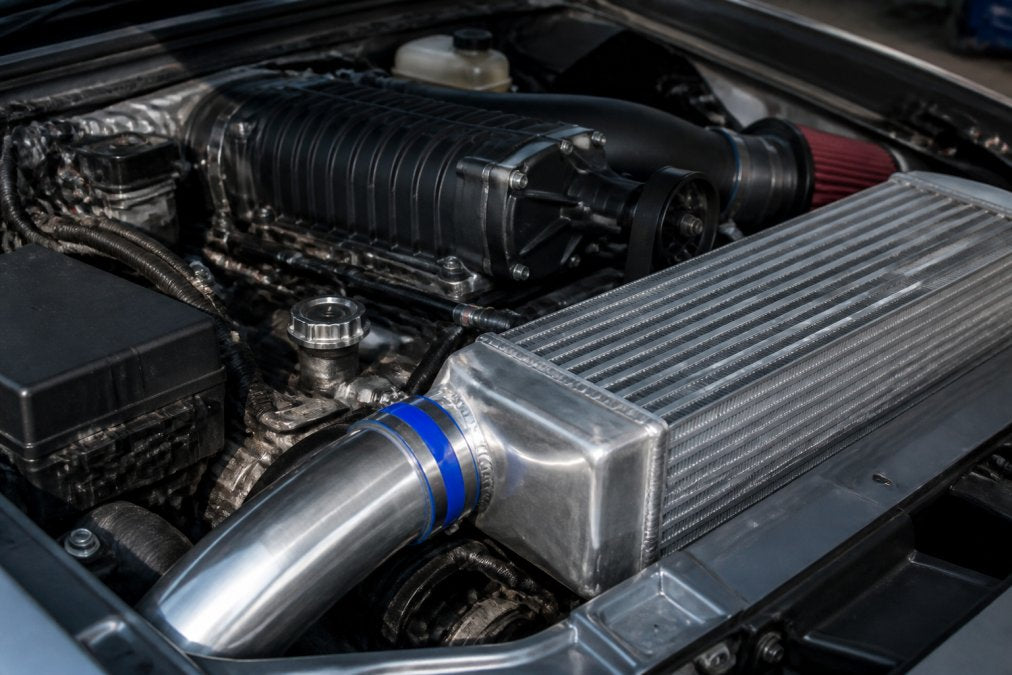
Connect intercooler and oil lines
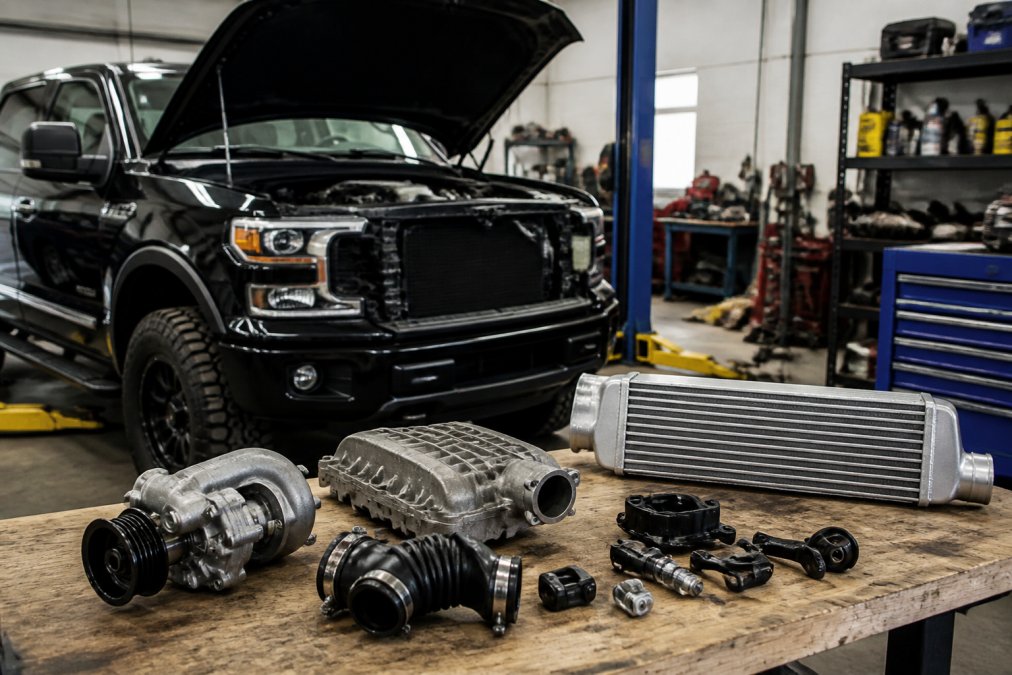
Mount the intercooler first, typically in front of the radiator. Connect the oil supply line from the supercharger to your engine's oil pressure source. Use the correct fitting size and apply thread sealant to prevent leaks. The oil return line drains oil back to the pan at the location specified in your kit. easy automotive upgrades.
Intercooler coolant lines connect to your engine's cooling system at the thermostat housing or radiator inlet. Secure lines with hose clamps rated for your system's pressure, typically 15-20 psi for bolt-on kits.
Verify hose routing and check for vacuum leaks
Visually inspect the entire route. Hoses must not contact the exhaust manifold, sharp edges, or moving belts. Secure hoses with cable ties every 6-8 inches to prevent sagging and vibration.
Vacuum leaks are the silent killer of supercharger installations. After installation, spray soapy water around every hose connection, gasket, and vacuum line while the engine idles. Bubbles indicate a leak that must be fixed before driving.
How Much Horsepower Do Superchargers Add
Most bolt-on kits deliver 40-60% more horsepower, translating to 120-180 hp on a stock 300-hp engine. A 2004 Chevy Avalanche equipped with a ProCharger supercharger system accumulated over 400,000 miles of boosted driving, proving that properly installed and maintained superchargers deliver consistent power without sacrificing reliability.
Single-stage supercharger systems generate 6-8 psi of boost and increase engine power by roughly 40%. Dual-stage systems generate 12-15 psi but require significant supporting modifications beyond a simple bolt-on installation.
The limiting factor is often your fuel system and cooling. If fuel injectors can't deliver enough fuel to match the air the supercharger forces in, the ECU pulls timing to prevent detonation, reducing power gains. A tuner experienced with supercharged vehicles works within these constraints to extract maximum safe power.
Key Takeaway
Horsepower gains are only as good as the installation and tuning. A perfectly installed kit with sloppy tuning leaves power on the table and risks engine damage.
Do You Need a Tune After Supercharger Install
Yes. Tuning is mandatory for reliability and performance. Without ECU calibration, your supercharger will not function safely.
ECU calibration and fuel injector adjustment
When you add a supercharger, you're forcing significantly more air into the engine. The stock ECU was programmed for naturally aspirated operation and doesn't know how to handle increased air mass or adjust fuel delivery and ignition timing to match boost pressure.
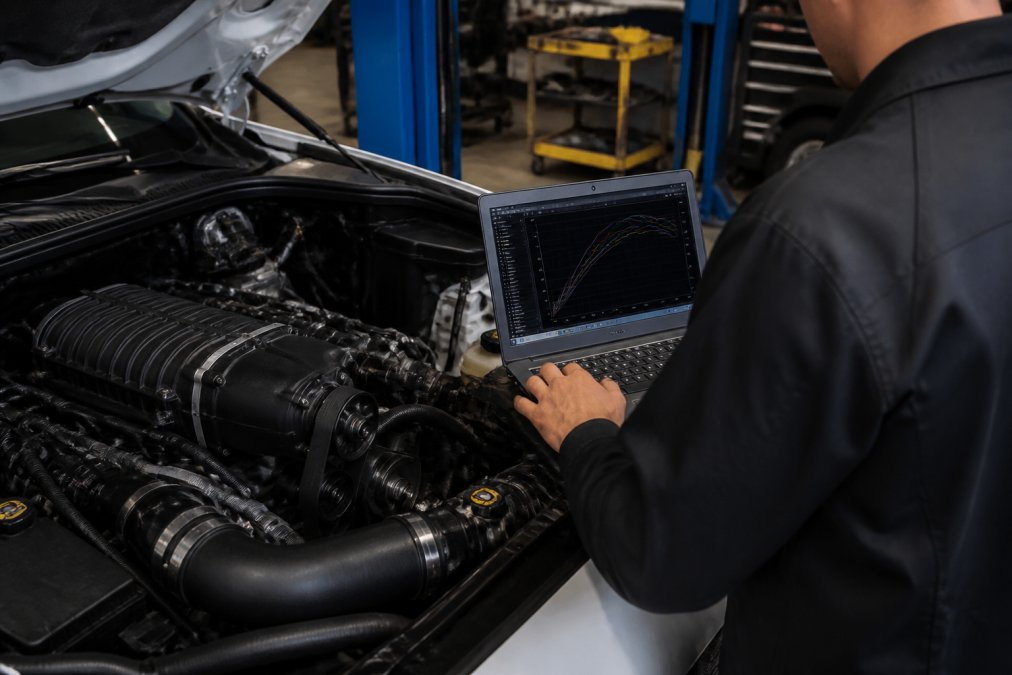
A professional tuner connects your vehicle to a dynamometer and ECU tuning software. They adjust fuel timing, ignition timing, and boost pressure targets. This process typically takes 2-4 hours and costs $500-$1,500 depending on your vehicle and tuner experience.
Air-fuel ratio and boost pressure tuning
The air-fuel ratio must shift richer under boost, typically to 12:1 or 11:1, to prevent detonation. A lean condition causes combustion temperature to spike, triggering detonation that destroys pistons and connecting rods in milliseconds.
Your tuner uses a wide-band oxygen sensor to verify that the ratio is correct under boost and adjusts fuel injector pulse width to hit the target. Boost pressure tuning sets the target boost level your supercharger will produce. Most bolt-on kits are tuned conservatively at 6-8 psi on stock engines to leave margin for safety.
Common Installation Mistakes to Avoid
Skipping the pre-installation inspection. Compression tests and fuel pressure checks cost $200-$400 and take an hour. A hidden engine problem discovered during installation costs thousands to fix; discovered after, it destroys your engine.
Rushing the torque sequence. Fasteners must be torqued in a star pattern and progressive stages using a calibrated torque wrench. Impact drivers are not acceptable.
Ignoring vacuum leaks. A single small leak causes the engine to run lean under boost, leading to detonation and engine failure.
Attempting tuning yourself. ECU tuning requires specialized equipment and years of experience. A professional tuner experienced with supercharged vehicles is not optional.
Overestimating DIY capability. If you've never worked on an engine, this is not the project to start with. Professional installation ($1,500-$3,000) is cheap compared to fixing a botched DIY job.
Neglecting cooling and fuel system upgrades. Confirm with your tuner whether upgrades are necessary before installation.
Forgetting post-installation checks. Before driving, verify all hoses are secure, fasteners are tight, and the engine idles smoothly. Check for leaks.
The U.S. light-duty automotive aftermarket is a $405 billion industry projected through 2026, with approximately 90% of drivers who have installed a forced induction system reporting a noticeable improvement in their driving experience. That improvement only happens when installation is done correctly and tuning is professional.
Best For
DIY installation is best for drivers with prior engine work experience, access to proper tools, and a professional tuner already lined up. For first-time installers or those without mechanical experience, professional installation at an approved VT Superchargers installer ensures correct installation and valid warranty protection.
Installing a bolt-on supercharger transforms your vehicle's performance, but only when every step is executed correctly. VT Superchargers kits are engineered for precise OEM-style fitment across Dodge, Ford, Jeep, Mazda, Nissan, Suzuki, and Toyota platforms, with a 24-month warranty backing every installation. Whether you choose professional installation or DIY assembly, professional ECU tuning is non-negotiable. The Motor & Equipment Manufacturers Association (MEMA) tracks aftermarket industry growth and reliability standards that govern quality bolt-on kits. Pair your installation with experienced tuning, and you'll unlock real power gains that last for hundreds of thousands of miles. Get started with VT Superchargers and experience the responsive, reliable performance your vehicle deserves.
| Installation Phase | Time Required | Critical Check | Common Mistake |
|---|---|---|---|
| Pre-installation inspection | 1-2 hours | Compression test, fuel pressure | Skipping this phase entirely |
| Engine bay preparation | 2-3 hours | Belt routing documented, fluids drained | Forcing stuck bolts |
| Bracket and supercharger mounting | 2-4 hours | Clearance verified, fasteners torqued | Skipping clearance recheck after torque |
| Hose and line routing | 2-3 hours | Vacuum leak check with soapy water | Hoses contacting hot surfaces |
| ECU tuning | 2-4 hours | Air-fuel ratio verified at all RPM | Attempting DIY tuning |
Frequently Asked Questions
How hard is it to install a bolt-on supercharger?
A bolt-on supercharger installation requires mechanical knowledge and proper tools, but it's achievable for experienced DIYers. Professional installation typically takes 8-16 hours depending on engine bay complexity. Many owners split the work, handling mechanical assembly themselves while having a shop manage fuel system work and ECU tuning. A botched DIY installation can damage the supercharger and engine, so consider your skill level carefully before attempting it yourself.
Can a stock engine handle a bolt-on supercharger?
Most stock engines can handle a quality bolt-on supercharger if compression ratio and fuel system are adequate. VT Superchargers recommends compression ratios of 9.1 to 9.5:1 for pump-gas engines. A pre-installation compression test (costing $200-$400) identifies potential problems before installation. Stock engines with proper supporting modifications and professional tuning deliver reliable power gains of 40-60% without reliability issues, though built engines tolerate higher boost levels.
Do you need a tune after supercharger install?
Yes, ECU tuning is essential after supercharger installation. Professional engine tuning adjusts fuel timing, ignition timing, and boost pressure to match your specific engine, fuel system, and cooling capacity. This step typically costs $500-$1,500 and takes a few hours. Without proper tuning, your engine runs inefficiently and risks damage. A quality tuner experienced with supercharged vehicles ensures reliable power gains and long-term engine longevity.
How much horsepower do superchargers add?
A quality bolt-on supercharger kit typically delivers 40-60% more horsepower and proportional torque gains. A stock 300-hp engine typically gains 120-180 hp with a quality supercharger kit. Real-world gains depend on your engine's displacement, compression ratio, fuel system capacity, and tuning quality. VT Superchargers kits are engineered for precise fitment and real performance, with documented case studies showing consistent power increases across various vehicle platforms.
This article was written using GrandRanker
Related post


RECENT POSTS