How to Remove and Install a Supercharger Pulley
Table of Contents
- What You'll Need Before Starting
- Step 1: Disconnect the Battery and Remove the Belt
- Step 2: Choosing the Right Supercharger Pulley Removal Tool
- Step 3: Removing the Old Supercharger Pulley
- Step 4: Installing the New Supercharger Pulley
- Smaller Supercharger Pulley Benefits and What to Expect
- Best Practices for Pulley Installation and Common Mistakes
- Final Steps and Belt Tension Check
- Frequently Asked Questions
Last Updated: September 6, 2026
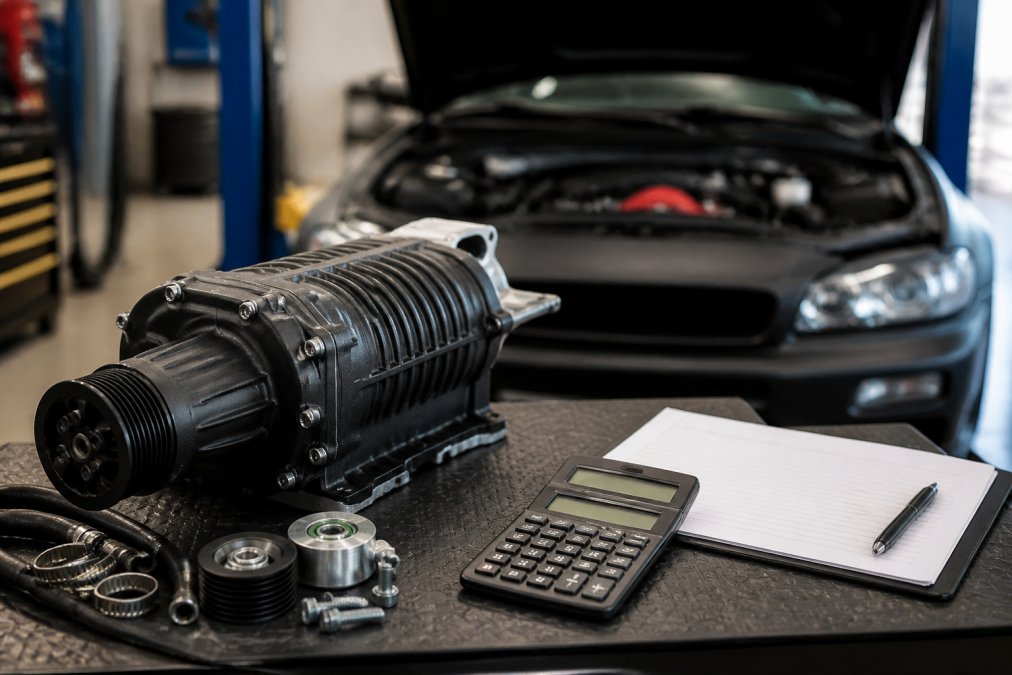
Swapping a supercharger pulley is one of the highest-impact modifications you can make to a forced induction engine, but it is also where many DIY builds go sideways. Knowing how to remove and install a supercharger pulley correctly determines whether you gain reliable boost or damage the supercharger shaft and bearings. This guide from VT Superchargers walks through the complete process, from tool selection to torque specs, so you can make the swap with confidence.

A supercharger pulley is the driven wheel that spins the supercharger rotor assembly. Changing its diameter alters the pulley ratio, which directly changes boost pressure at a given engine speed. The margin for error is slim: a cocked pulley, an over-tightened bolt, or a damaged shaft seal turns a one-hour job into an expensive repair.
What You'll Need Before Starting
Gather the correct tools before you open the hood. The core list includes a socket set with extensions, a breaker bar, a torque wrench, a serpentine belt tool or long pry bar for the tensioner, a heat gun or oven for the new pulley, red threadlocker, and a clean rag.
The single most important tool is the supercharger pulley removal tool. A 3-jaw puller is the industry standard, and many dedicated tools combine the puller with a forcing nut to press the new pulley on evenly. Using the wrong tool risks bending the pulley lip or gouging the shaft.
Watch Out
Never use a generic two-jaw puller that hooks onto the outer edge of the pulley ribbing. It will crush the belt grooves and can bend the pulley flange, leaving you with a part that vibrates and throws belts.
Step 1: Disconnect the Battery and Remove the Belt
Disconnect the negative battery terminal first. This removes any risk of the engine cranking while you work near the accessory drive, and it protects the electrical system from accidental shorts.
Next, relieve tension on the serpentine belt. Locate the belt tensioner, which is typically a spring-loaded pulley with a square or hex drive hole. Insert a breaker bar into the tensioner, rotate it to release belt tension, and slip the belt off the supercharger pulley. Rotate the tensioner slowly and let it return gently, never let it snap back, as this stresses the tensioner spring.
With the belt off, inspect it for cracks, glazing, or frayed edges. If the belt shows wear, replace it now while you have easy access. The labor cost of the job is the same whether you swap just the pulley or the pulley and belt together.
Step 2: Choosing the Right Supercharger Pulley Removal Tool
Selecting the correct removal tool depends on your supercharger platform, the pulley's design, and whether you plan to reuse the old pulley.
Universal 3-Jaw Puller (Best for Stock and Lightly Modified Cars)
This is the most common tool for vehicles like the Chevrolet Silverado with the L86 6.2L, the Ford Mustang GT with a Roush or Whipple kit, and many Audi 3.0T applications. The 3-jaw puller grips the inner hub of the pulley. For these platforms, the pulley is typically pressed onto a tapered shaft, and the puller's forcing screw pushes against the shaft end to break the interference fit.
- Key Specs: Look for a puller with a reach of at least 2 inches and a spread of 3 to 6 inches. A forged steel frame is non-negotiable; cast units flex and can slip.
- Rental vs. Purchase: AutoZone and O'Reilly Auto Parts rent 3-jaw pullers for a refundable deposit (often around $50-$80, fully refunded on return). For a one-time swap, renting is the smart financial move. If you plan to test multiple pulley diameters for boost tuning, a quality kit from OTC or Performance Tool costs between $40 and $90 and pays for itself after two uses.
Dedicated Modular Puller (Best for Hellcat, LS, and High-Horsepower Builds)
For superchargers like the Hellcat's 2.4L IHI unit or a Magnuson supercharger on an LS engine, the pulley is often bolted to a hub with a keyway or spline. A universal 3-jaw puller can grip the hub, but it risks bending the hub flange if the pulley is seized. A dedicated modular puller, such as the ones offered by ZZP or Weapon X, bolts directly to the pulley hub or the supercharger snout, providing a perfectly square pull.
- Key Specs: These kits include a forcing screw that threads into the supercharger shaft (common sizes are 5/8"-18 and 3/4"-16) and a set of arms that bolt to the pulley. This design eliminates the risk of slipping off the edge.
- Rental vs. Purchase: These kits are rarely available for rent at national chains. They typically cost $150-$300. If you own a Hellcat or a high-power LS build, this is a justified purchase because the cost of a damaged snout or a bent pulley far exceeds the tool price.
Vehicle-Specific Compatibility Matrix
| Engine/Platform | Typical Pulley Attachment | Recommended Tool | Notes |
|---|---|---|---|
| Audi/VW 3.0T (supercharged) | Press-fit on tapered shaft | 3-jaw puller (rent) | Heat the hub to 200°F for easier removal. |
| GM LSA/LS9 (Corvette, CTS-V) | Press-fit with a retaining bolt | 3-jaw puller or modular hub puller | The retaining bolt must be removed first; use a breaker bar with the engine locked. |
| Dodge Hellcat 6.2L | Bolted hub with keyway | Dedicated modular puller | The hub is aluminum; never pry against it. |
| Ford 5.0L (Roush/Whipple) | Press-fit on snout | 3-jaw puller | Use the old belt as a shim to protect the pulley lip. |
| Mazda (VT Superchargers kits) | Press-fit on shaft | 3-jaw puller |
Watch Out
Never use a generic two-jaw puller that hooks onto the outer edge of the pulley ribbing. It will crush the belt grooves and can bend the pulley flange, leaving you with a part that vibrates and throws belts.
Step 3: Removing the Old Supercharger Pulley
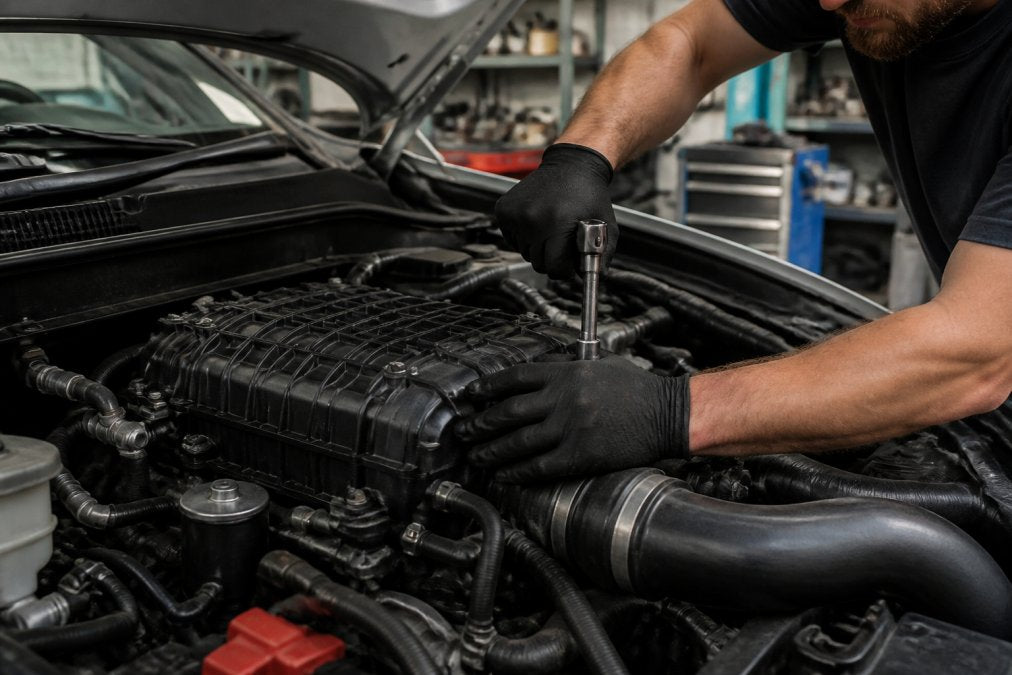
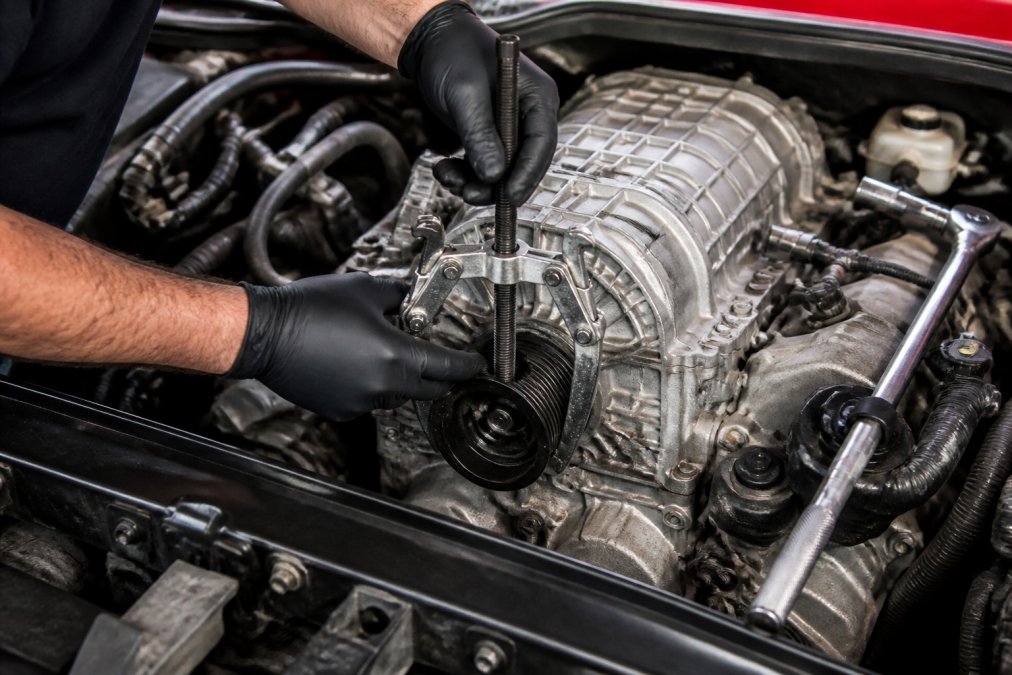
Position the 3-jaw puller so its jaws grip the inner hub, not the outer ribbed surface. Center the forcing screw on the shaft. Apply penetrating oil and let it sit for several minutes.

Tighten the puller's forcing screw gradually, alternating between the jaws to keep the puller square to the pulley face. The pulley will release with a distinct pop when the interference fit breaks. If the pulley does not budge, apply heat to the pulley hub with a heat gun, never a torch near fuel lines or wiring, and try again. Some enthusiasts report success heating new pulleys in an oven at 400 degrees Fahrenheit for about 30 minutes to expand the bore for a slip-fit installation, a method documented across Audi enthusiast community guides.
Pro Tip
Use the old serpentine belt as a protective shim. Wrap it around the pulley before tightening the puller jaws to prevent the jaws from marring the pulley surface. This trick is documented in the CravenSpeed supercharger reduction pulley install guide and saves you from cosmetic damage that can cause belt slip later.
Step 4: Installing the New Supercharger Pulley
Clean the shaft and the new pulley bore with brake cleaner. Apply red threadlocker to the shaft splines or retaining bolt threads to prevent backing out under vibration and heat cycles.
Heat the new pulley to expand its bore. Slide it onto the shaft quickly and evenly, seating it fully before it cools and locks into place.
Torque the retaining bolt to the manufacturer's specification. Over-torquing strips threads or distorts the hub; under-torquing lets the pulley loosen and wobble.
Smaller Supercharger Pulley Benefits and What to Expect
A smaller supercharger pulley spins the supercharger faster at the same engine RPM, increasing boost pressure and power output. The smaller the diameter, the higher the supercharger speed and the more heat generated. identifying belt sizes.
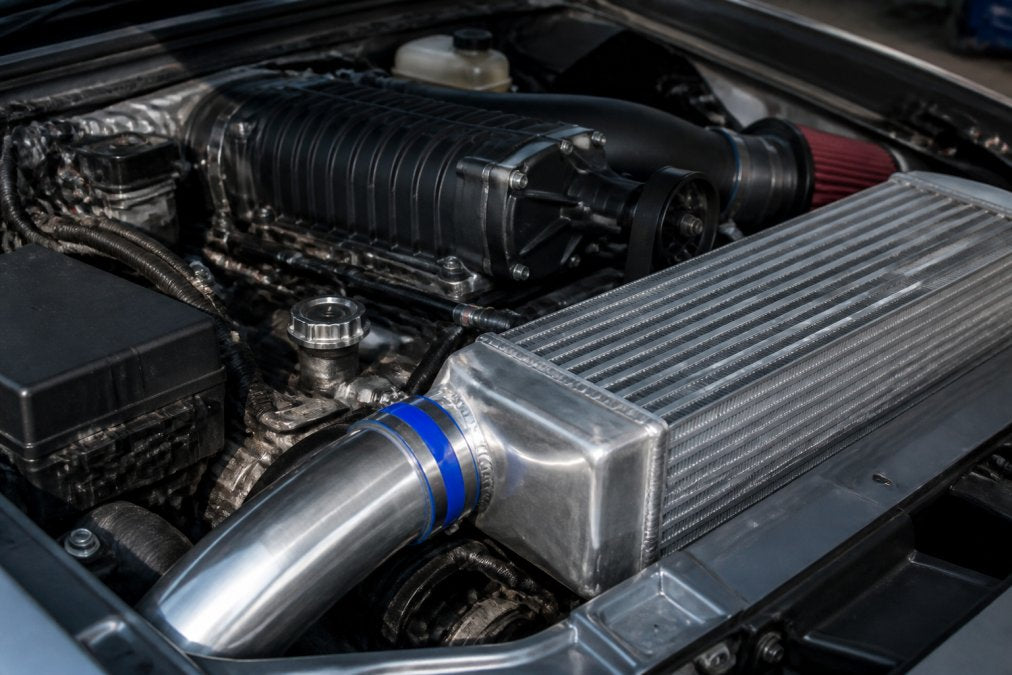
The trade-off is real: more boost also means more heat, which can push intake air temperatures beyond what the engine management system can compensate for. Many builds pair a smaller pulley with a larger intercooler or upgraded cooling. Expect a louder supercharger whine, which most enthusiasts consider a feature.
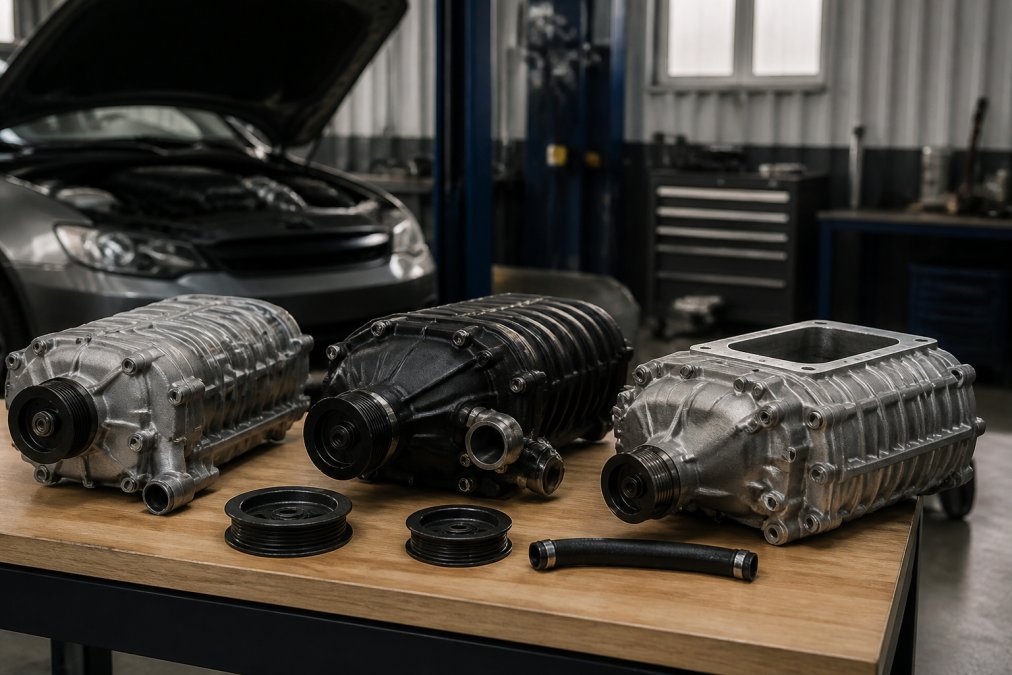
Choose a pulley size that matches your fuel system and engine management capabilities. VT Superchargers offers 61 mm and 63 mm pulleys for its Mazda kits; the wrong size can push the supercharger past its safe operating speed.
Best Practices for Pulley Installation and Common Mistakes
Beyond the basics of seating depth and threadlocker, the most common DIY failures are catastrophic and almost always stem from a lack of diagnostic discipline.
Failure Point 1: The Sheared Retaining Bolt
A sheared bolt usually happens when the bolt was over-torqued or the threads were not cleaned. If the head snaps off flush with the hub, stop. Remove the pulley first, then address the broken bolt on a bench with a left-hand drill bit and extractor set. If seized, heat the hub to 300°F. Always run a thread chaser (not a tap) through the shaft threads before installation.
Failure Point 2: The Cracked Pulley Hub
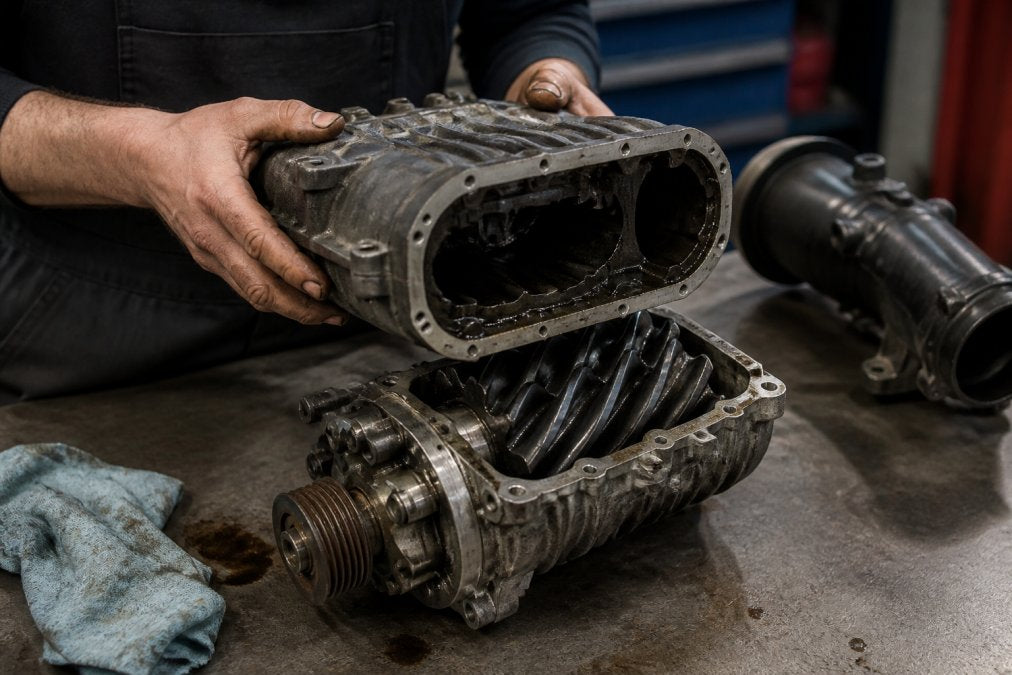
A cracked pulley hub is almost always caused by a puller gripping the outer ribbed surface. If you see a hairline crack after removal, discard the pulley; do not weld it. A cracked hub may also indicate a bent shaft. Check runout with a dial indicator; anything over 0.002 inches means the supercharger needs professional attention.
Diagnostic Checklist: Is It the Pulley or the Tensioner?
Before removal, confirm the pulley is the actual problem. A common misdiagnosis is replacing a good pulley when the issue is a worn belt tensioner:
- Noise Type: A chirping sound at idle that goes away when you spray a little water on the belt is usually belt slip, not a pulley issue. A deep rumbling or grinding noise that changes with engine speed points to a supercharger bearing or a failing tensioner pulley bearing.
- Visual Inspection: Look for a shiny, glazed surface on the pulley ribs. This indicates belt slip. If the pulley ribs are clean but the belt is frayed on one edge, the pulley is misaligned, which is a mounting issue, not a pulley wear issue.
- Tensioner Test: Remove the belt and rotate the tensioner pulley by hand. It should spin smoothly with no roughness. If it feels gritty, replace the tensioner assembly before you touch the supercharger pulley. A failing tensioner will cause the new pulley to fail prematurely.
- Pulley Wobble: With the belt off, grab the supercharger pulley and try to rock it front-to-back. Any movement indicates a worn supercharger shaft bearing, not a pulley problem. Replacing the pulley here will not fix the noise.
The Angle Competitors Miss: The 'Dry Run' Installation
Before applying heat and threadlocker, do a dry run. The pulley should require a firm push. If it slides on with zero resistance, the bore is too large. If it will not go on, dress the shaft with fine emery cloth (600 grit). This 30-second check prevents forcing a pulley that is slightly too small, which cracks the hub when torqued.
Key Takeaway
The difference between a successful pulley swap and a costly repair comes down to three things: using the correct puller, seating the new pulley fully, and torquing the retaining bolt with red threadlocker. Skip any of these and you risk damaging the supercharger shaft or throwing a belt at speed.
Final Steps and Belt Tension Check
Reinstall the serpentine belt by rotating the tensioner. Verify the belt tracks correctly in every pulley groove, especially on the supercharger pulley, since a misaligned belt will shred itself within minutes.
Check belt tension; it should deflect no more than about half an inch at its longest span. If loose, the tensioner may need replacement, or you may need a shorter belt if the pulley size change altered the belt path.
Reconnect the battery and start the engine. Listen for chirping (belt slip) or grinding (pulley not seated). Let it idle for a few minutes, then shut down and re-check the pulley bolts for proper torque.
Key Takeaway
The difference between a successful pulley swap and a costly repair comes down to three things: using the correct puller, seating the new pulley fully, and torquing the retaining bolt with red threadlocker. Skip any of these and you risk damaging the supercharger shaft or throwing a belt at speed.
Swapping a supercharger pulley is a rewarding job that delivers measurable performance gains, but it demands precision and the right tools. VT Superchargers designs its bolt-on supercharger kits for OEM-style fitment, which means the pulley and associated components are engineered to work together without guesswork. Whether you are upgrading a daily driver or an off-road build, our kits include the precise fitment and 24-month warranty that give you confidence in the work. Explore the complete VT Superchargers lineup and find the forced induction solution that matches your vehicle.
Frequently Asked Questions
What does putting a smaller pulley on a supercharger do?
A smaller supercharger pulley spins the supercharger faster for a given engine RPM. This increases boost pressure and results in higher horsepower and torque output, especially in the mid-range. The trade-off is added heat and stress on the supercharger and engine, so it's critical to use a quality pulley matched to your kit and consider supporting mods like upgraded intercoolers or tuning.
What tool do you use to remove a supercharger pulley?
You need a supercharger pulley removal tool, typically a 3-jaw puller with a forcing nut, or a vehicle-specific puller kit. These tools apply even, mechanical leverage to separate the press-fit pulley from the supercharger shaft without bending or damaging it. Using generic pullers or prying can ruin the shaft or bearing.
How do I ensure proper belt tension after a pulley swap?
After installing the new pulley and routing the serpentine belt, use the belt tensioner to set the correct tension. Most vehicles use an automatic tensioner, but you should verify the belt sits flush in the pulley grooves. A misaligned or loose belt causes slipping, squealing, and poor supercharger performance. Recheck tension after a short test drive.
What are the risks of improper pulley installation?
The biggest risks include damaging the supercharger shaft or bearings by using the wrong removal tool or excessive force. Cross-threading or overtightening the retaining bolt can strip threads. Failing to apply red threadlocker can allow the bolt to back out. A pulley installed at the wrong depth will cause belt misalignment and premature wear.
Related post


RECENT POSTS