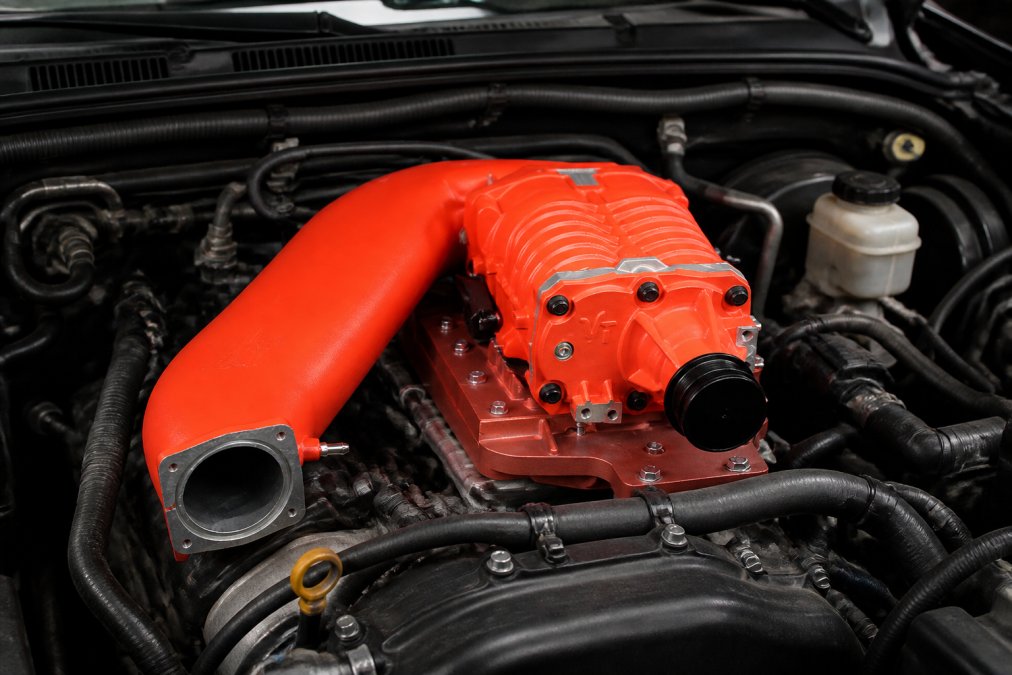
Nissan Frontier Supercharger Installation: Step-by-Step Guide
Table of Contents
- Why Supercharger Installation Matters for Your Frontier
- Best Tools for Supercharger Installation
- Pre-Installation Vehicle Preparation and Safety
-
Supercharger Installation Time Estimate and Process
- Step 1: Disconnect Battery and Drain Fluids
- Step 2: Remove Engine Bay Components
- Step 3: Install Mounting Brackets and Supercharger Assembly
- Step 4: Route Serpentine Belt and Adjust Pulley Alignment
- Step 5: Connect Intake Manifold and Throttle Body
- Step 6: Install Heat Exchanger and Intercooler
- Step 7: Reconnect Vacuum Lines and Fuel Injectors
- ECU Tuning for Nissan Frontier Supercharger Performance
- Warranty, Emissions Compliance, and Long-Term Maintenance
- Common Installation Mistakes to Avoid
- Conclusion
Last Updated: August 25, 2026
Why Supercharger Installation Matters for Your Frontier
A stock 2023 Nissan Frontier Pro-4X produces 220 horsepower and 278 lb-ft of torque, adequate until you add 33-inch tires, a steel bumper, or regular towing duties. Then the truck hunts gears constantly and struggles on highway merges. A supercharger installation transforms this. According to Z1 Off-Road's supercharger development data, a Level 2 supercharger kit for the 2022+ Frontier delivers 82-113 additional horsepower and 78-90 lb-ft of extra torque depending on fuel octane and tune. That torque improvement eliminates gear hunting, improves low-end acceleration, and makes your truck feel powerful.
This guide covers the complete supercharger kit installation for Nissan Frontier Pro-4X, from pre-installation prep to ECU tuning and maintenance.
Pro Tip
Most Frontier owners underestimate how much torque matters. Horsepower gets attention, but torque changes how your truck actually drives, especially with larger tires or when towing. Forced induction beats bolt-on upgrades for this platform.
Best Tools for Supercharger Installation
Essential Hand Tools and Equipment
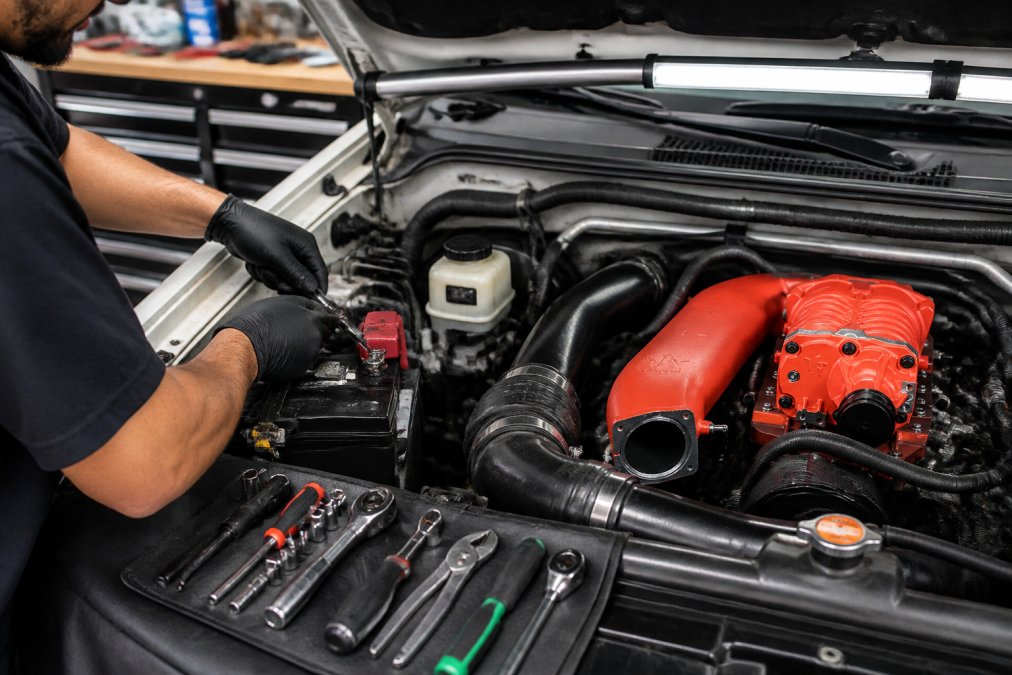
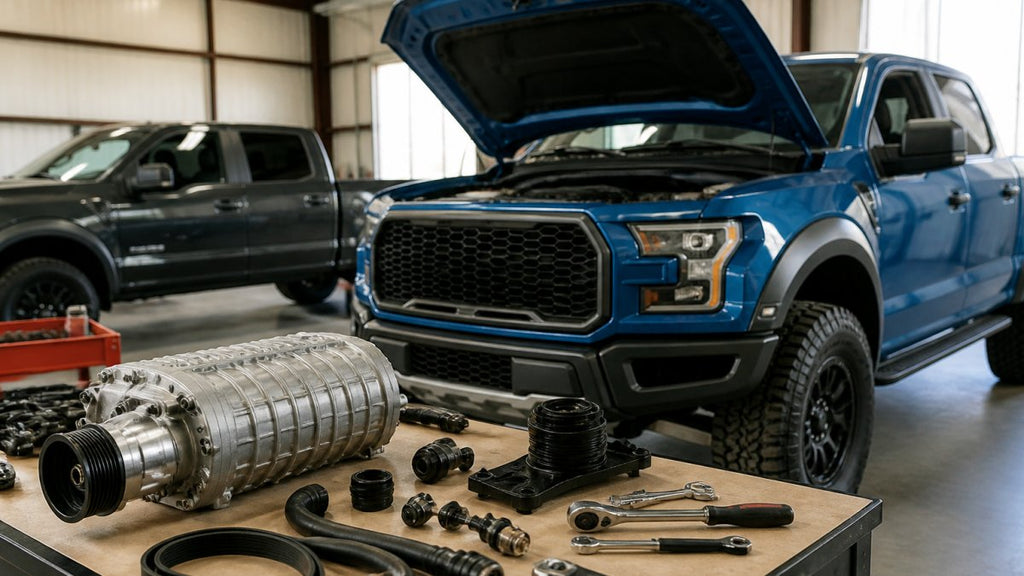
You'll need a complete socket set (1/4-inch, 3/8-inch, and 1/2-inch drives) covering 8mm to 18mm, combination wrenches, adjustable wrenches, and hex key sets (SAE and metric). Include Phillips head, flathead, and T-handle screwdrivers for vacuum lines, trim panels, and electrical connectors.
A torque wrench rated for 10-150 lb-ft and a second one for 20-250 lb-ft are non-negotiable, supercharger mounting bolts and engine fasteners have specific torque specifications. A quality jack and jack stands rated for at least 5,000 lbs per stand are mandatory. The Frontier weighs 3,600-3,900 lbs; always use two stands and never work under a vehicle supported only by a jack.
Additional essentials: drain pan (8+ quarts), clean rags, flashlight or headlamp, safety glasses, work gloves, and a battery terminal puller.
Specialty Tools You'll Need
A serpentine belt tension gauge (30-150 lbs range) ensures proper belt tension, typically 80-100 lbs on the Frontier. A pulley alignment tool or straight edge verifies that the crankshaft, supercharger, and alternator pulleys sit in the same plane. Misalignment causes belt wear and noise.
An engine hoist with 2-ton minimum capacity simplifies component removal; many shops rent these for $30-50 per day. For ECU tuning, you'll need a laptop with EcuTek tuning software (Windows-based). If you're not comfortable tuning yourself, professional shops charge $400-800 for complete supercharger tuning.
| Tool Category | Specific Tools | Purpose |
|---|---|---|
| Hand Tools | Socket sets, wrenches, screwdrivers, torque wrench | Remove components, secure fasteners to spec |
| Safety Equipment | Jack, jack stands, safety glasses, work gloves | Prevent injury and accidents |
| Specialty Tools | Belt tension gauge, pulley alignment tool, hoist | Ensure proper fitment and belt operation |
| Diagnostic Tools | Fuel pressure gauge, vacuum gauge, laptop with tuning software | Verify system performance and calibration |
Pre-Installation Vehicle Preparation and Safety
Park your truck on level ground with plenty of engine bay space. Engage the parking brake and place wheel chocks behind the rear wheels. Disconnect the negative battery terminal first, loosen the nut, remove the cable, and leave it disconnected throughout installation.
Drain the coolant system by locating the radiator drain plug at the bottom, placing a drain pan underneath, and opening the plug. Allow 10-15 minutes for complete drainage. The Frontier holds approximately 9-10 quarts of coolant. Recycle coolant at an automotive facility.
If your kit requires oil system modifications, drain the engine oil as well. Locate the oil drain plug on the pan bottom, place your drain pan underneath, and remove the plug. Allow 15-20 minutes for complete drainage. Replace the crush washer before reinstalling the plug.
Create a fastener organization system before removing components. Use a magnetic parts tray or labeled containers by location: "intake manifold bolts," "alternator bracket," etc.
Watch Out
Never work under a vehicle supported only by a jack. Always use properly rated jack stands in pairs, positioned under frame rails or solid suspension points. Test the setup by gently pushing on the truck before sliding underneath.
Supercharger Installation Time Estimate and Process
A complete installation typically requires 8-12 hours for an experienced DIYer. Professional shops usually charge 10-15 hours of labor ($1,500-2,500 depending on region). Breaking the work into stages across two or three days is more realistic than attempting everything in one afternoon.
Step 1: Disconnect Battery and Drain Fluids
Disconnect the negative battery terminal, then remove the positive battery cable (red terminal) by loosening its nut and sliding it off. Remove the battery hold-down bracket and lift the battery out. This creates engine bay space and eliminates electrical hazards.
Step 2: Remove Engine Bay Components
Remove the intake manifold cover and air intake tube running from the air box to the throttle body. Unbolt the air box and remove it. Remove the alternator by disconnecting its electrical connector and unbolting it from its mounting bracket. The Frontier alternator has three bolts; remove all three and slide the alternator out.
Remove the power steering pump if your kit requires it. Disconnect the power steering hoses at the pump and unbolt the pump. Cap the hose connections with shop towels to prevent spillage. Disconnect the radiator hoses from the radiator and thermostat housing. Mark hose locations with tape so you reinstall them correctly. Remove the radiator shroud bolts and lift the radiator assembly out.
Step 3: Install Mounting Brackets and Supercharger Assembly
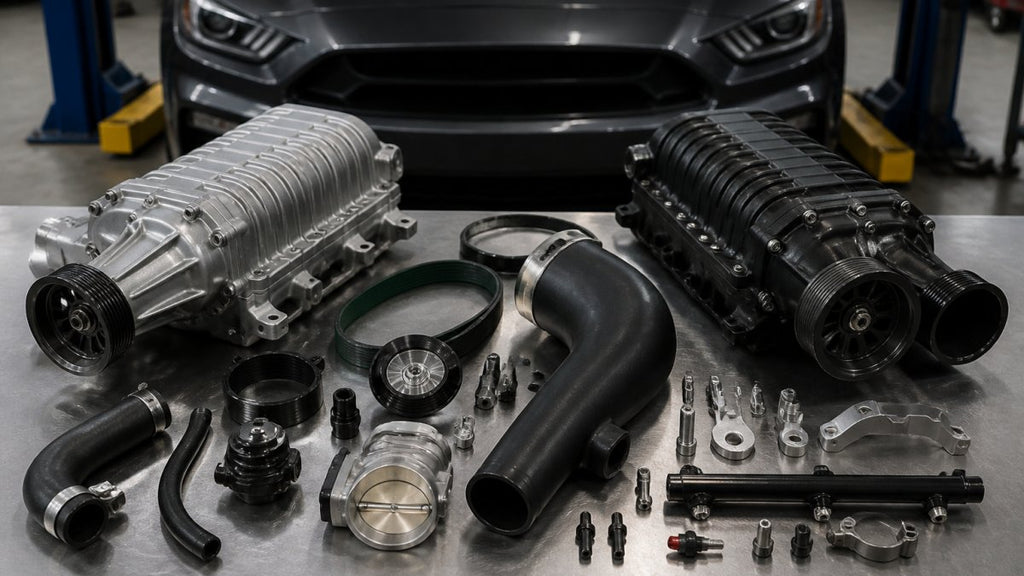
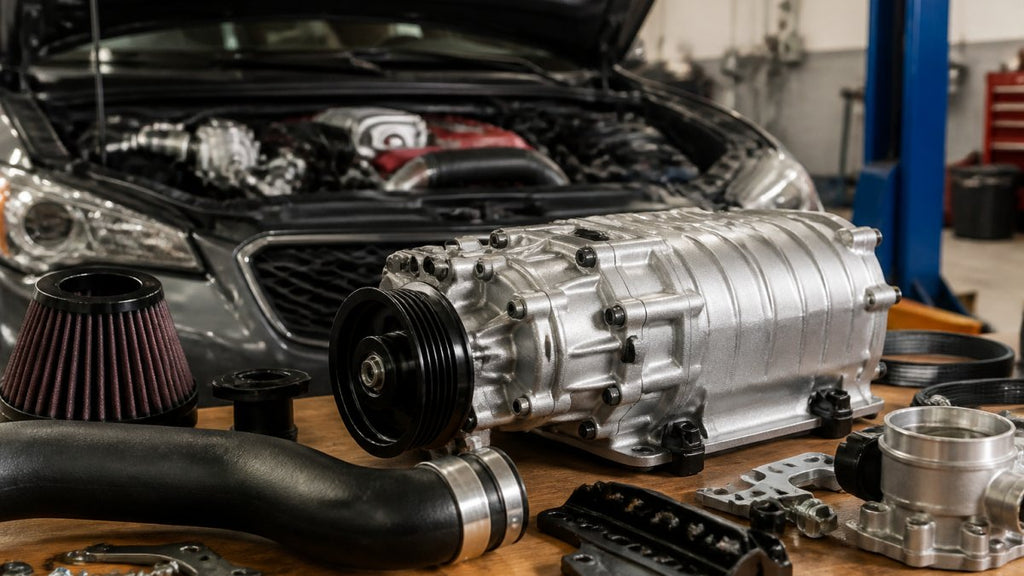
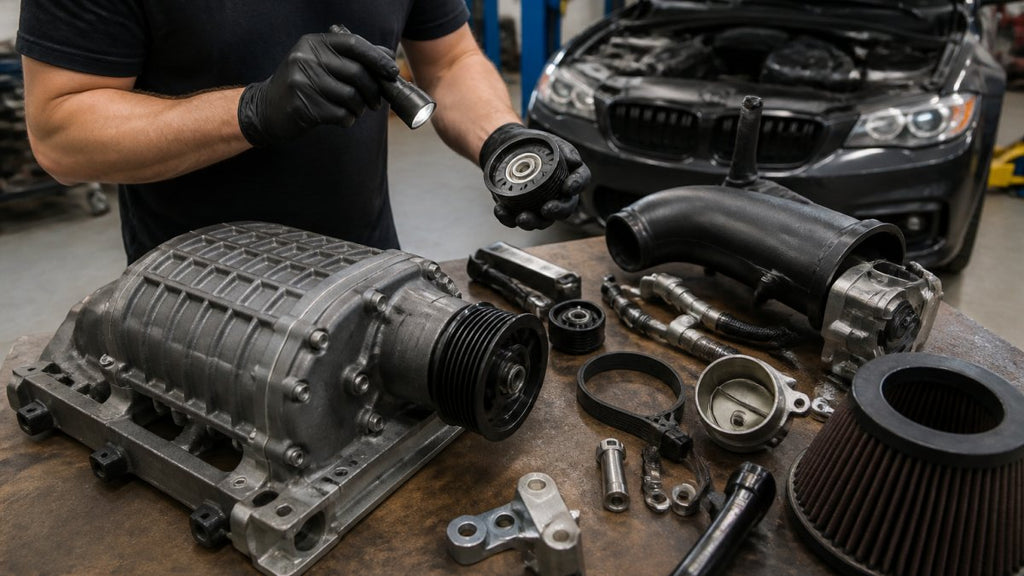
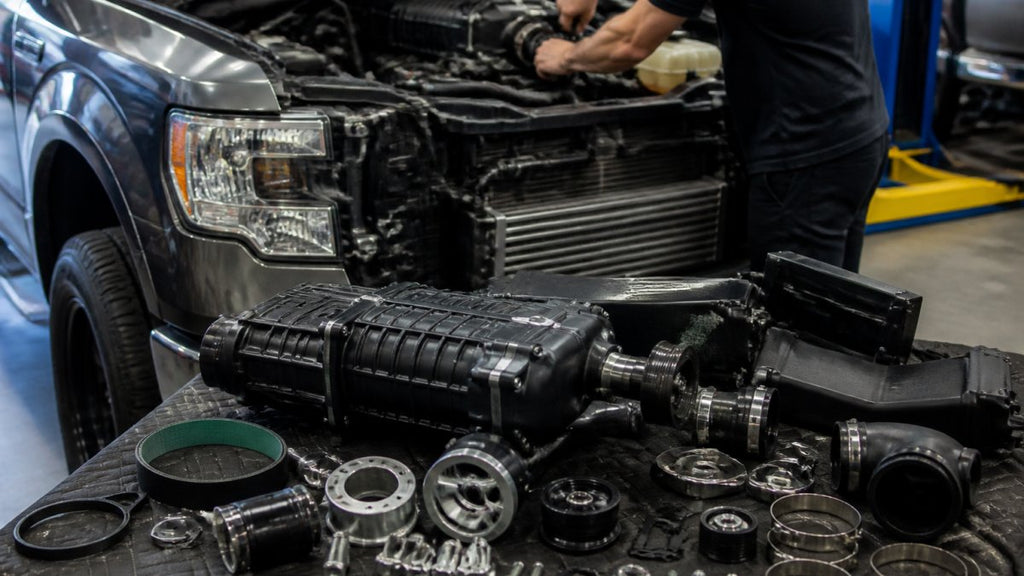
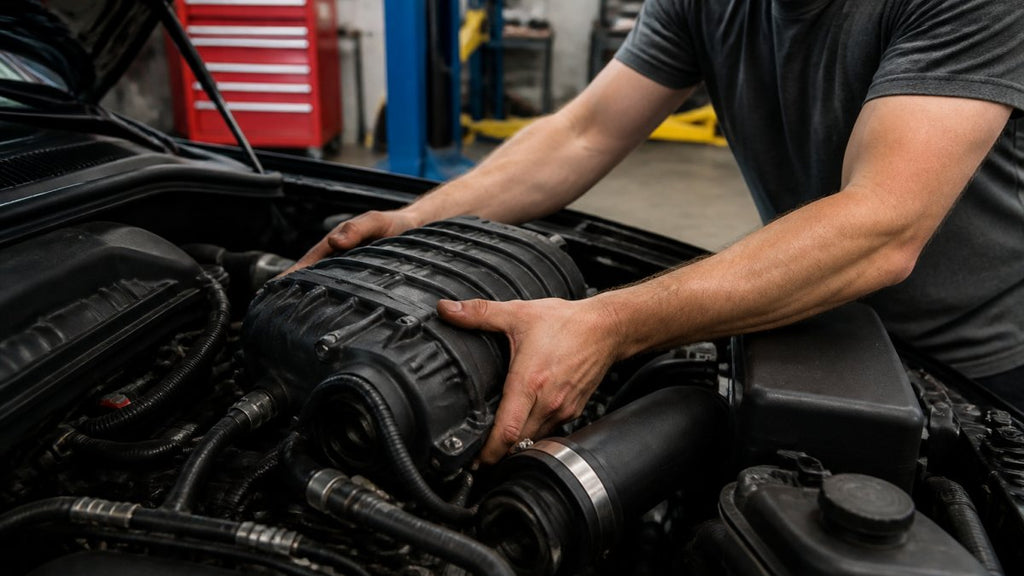
Examine your kit documentation carefully, mounting bracket configuration is specific to your kit and engine bay. VT Superchargers kits are engineered for OEM-style fitment, aligning with existing engine block mounting points. Install the mounting brackets first, using bolt holes in the engine block and cylinder head. Torque these bolts to your kit's specification, typically 25-35 lb-ft.

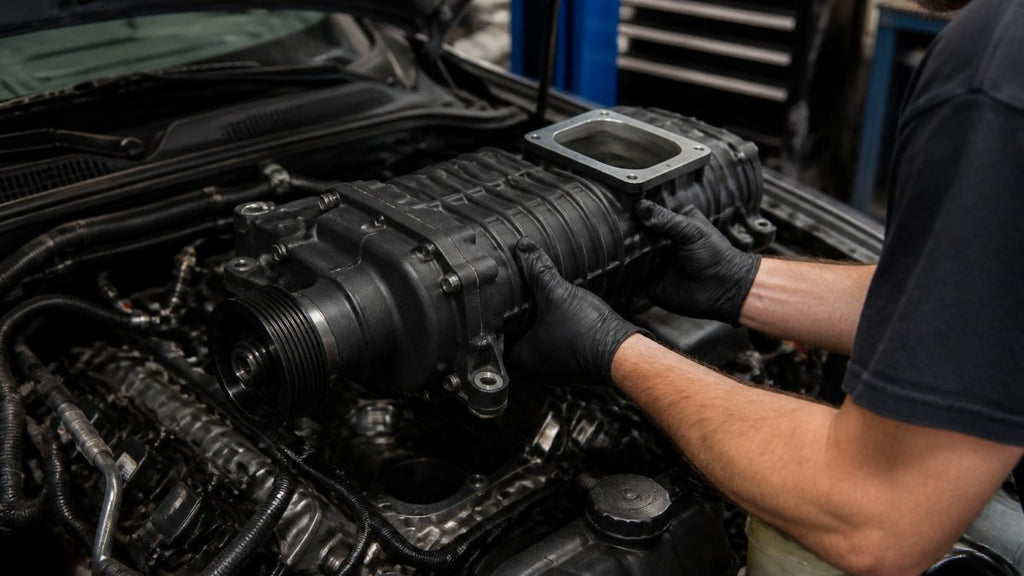
Position the supercharger assembly on the brackets. The housing should sit at a slight angle with the intake manifold connection pointing toward the throttle body. Install mounting bolts and torque them progressively in a cross pattern, starting at 15 lb-ft and working up to the final specification of 30-40 lb-ft. Check engine bay clearance, the supercharger housing should not contact the radiator support, engine bay walls, or any hoses.
Step 4: Route Serpentine Belt and Adjust Pulley Alignment
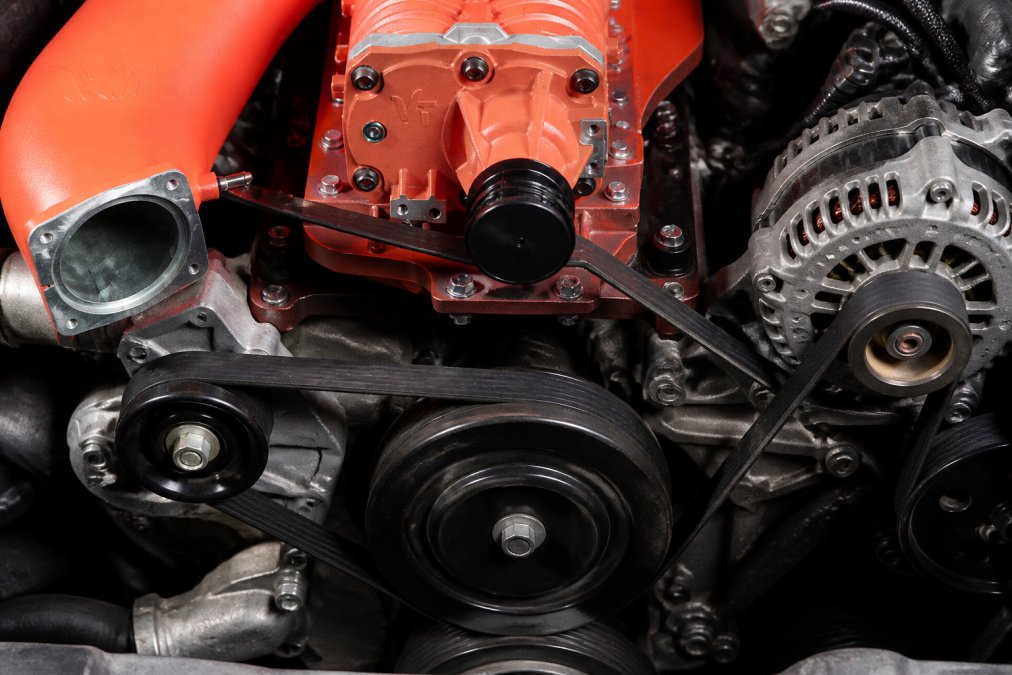
Serpentine belt routing is critical. Your kit documentation includes a belt routing diagram specific to your configuration. The belt typically routes from the crankshaft pulley around the supercharger pulley, then to the alternator, power steering pump, water pump, and idler pulleys. Follow the diagram exactly.
Before installing the belt, verify pulley alignment using a straight edge across the three main pulleys (crank, supercharger, and alternator). Check that all three sit in the same plane. Misalignment indicates a pulley is not seated correctly. Loosen mounting bolts slightly, tap the pulley into alignment, and retorque.
Install the serpentine belt by routing it around each pulley in sequence. The belt should sit fully in the grooves with no twisting. Once routed, install a new belt tensioner if your kit includes one, or adjust the existing tensioner. Use your belt tension gauge to measure tension on the longest belt span. Target tension is 80-100 lbs for a new belt.
Key Takeaway
Pulley alignment and belt tension are the two most common installation mistakes. Misaligned pulleys cause premature belt failure and noise. Incorrect tension causes slipping (too loose) or bearing damage (too tight). Spend extra time on this step.
Step 5: Connect Intake Manifold and Throttle Body
The supercharger intake manifold bolts directly to the supercharger discharge outlet. Install a new gasket between the manifold and supercharger body, then bolt the manifold in place. Torque the bolts to 20-25 lb-ft in a cross pattern.
Connect the throttle body to the intake manifold using the gasket and bolts provided. The throttle body must be perfectly aligned with the manifold opening to prevent air leaks. Torque the throttle body bolts to 15-20 lb-ft. Reconnect the throttle cable and any electronic throttle connectors. Reconnect all vacuum hoses to their original locations using the marks you made during disassembly.
Step 6: Install Heat Exchanger and Intercooler
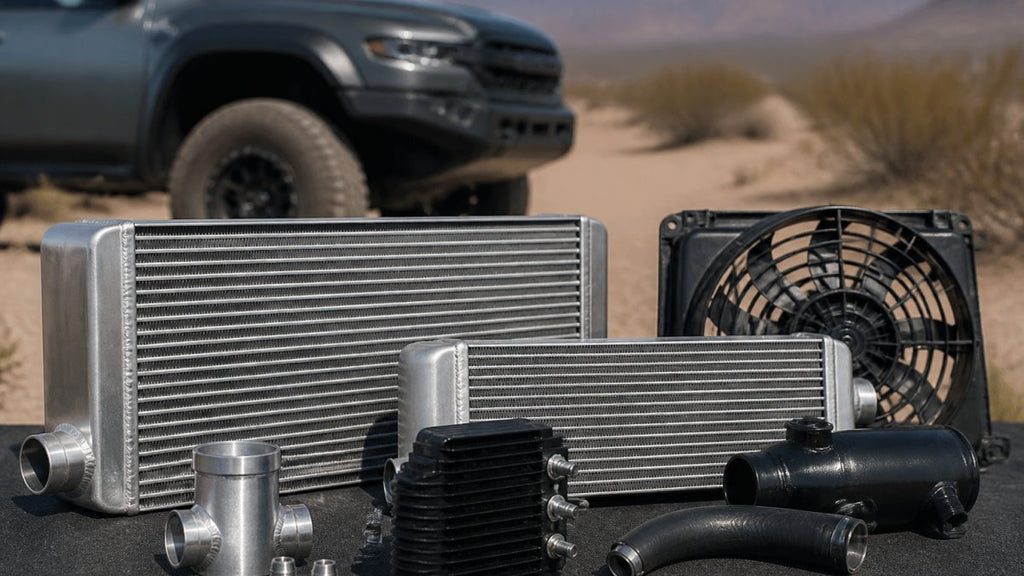
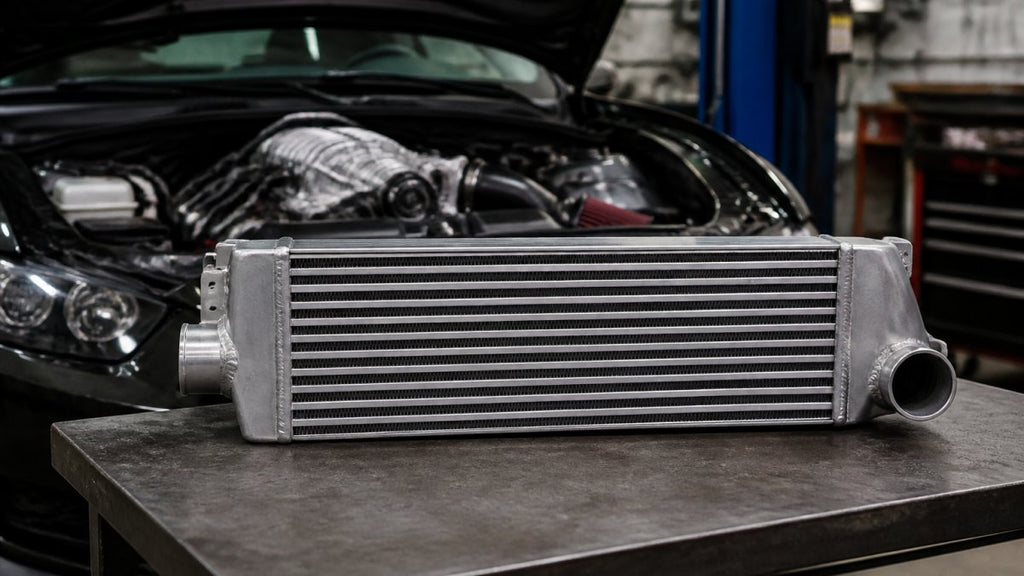
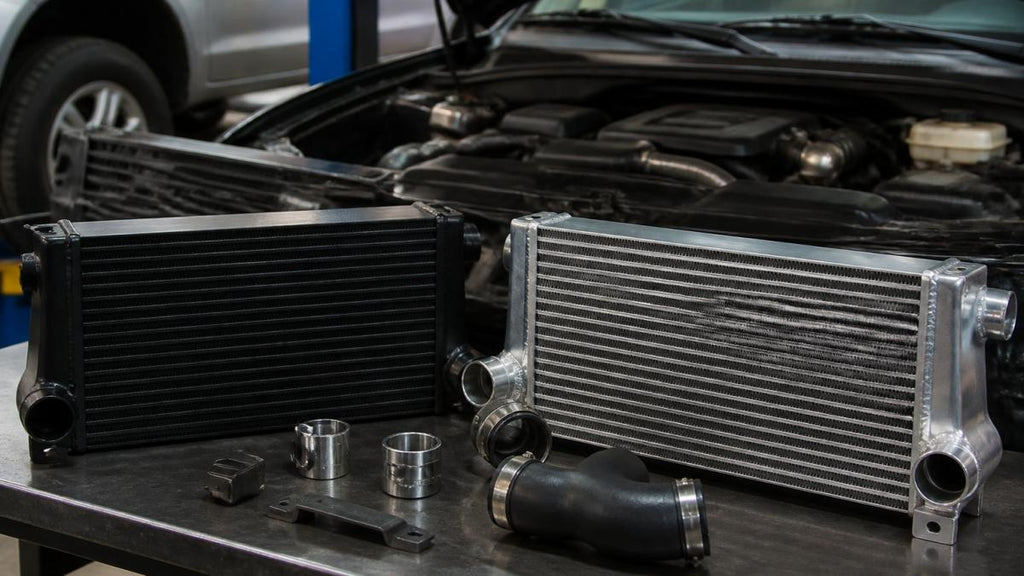
Most supercharger kits include an intercooler to cool the compressed air charge before it enters the engine. Install the intercooler in the location specified by your kit, typically in front of the radiator or on the driver's side. Secure it with the mounting brackets provided, torquing bolts to 25-30 lb-ft.
Install the inlet and outlet hoses, securing them with hose clamps. The inlet hose connects to the supercharger discharge; the outlet connects to the intake manifold. Use new hose clamps and tighten them firmly. If your kit includes a heat exchanger for the supercharger itself, connect it to the coolant system. The inlet hose connects to the engine block; the outlet returns to the radiator.
Step 7: Reconnect Vacuum Lines and Fuel Injectors
Reconnect all vacuum lines using the marks you made during disassembly. Verify that all fuel injector connectors are properly seated. Reinstall the radiator and radiator shroud, reconnecting the radiator hoses in their original locations. Reinstall the air box and intake tubing. Reconnect the alternator, power steering pump, and any other removed components. Double-check that all fasteners are tight and all connectors are seated firmly.
ECU Tuning for Nissan Frontier Supercharger Performance
ECU tuning is essential for safe, reliable supercharger operation. The factory ECU is calibrated for naturally aspirated engines. When you add boost pressure, the factory tune cannot adjust fuel injection and ignition timing appropriately, resulting in lean conditions and detonation risk.
A proper supercharger tune adjusts fuel injectors to deliver the correct amount of fuel for your boost pressure. According to Z1 Off-Road's performance data, a Level 2 supercharger with EcuTek tuning produces 351 rear-wheel horsepower and 307 lb-ft of torque on 93-octane fuel, a 131 horsepower and 29 lb-ft torque gain over stock. This improvement depends entirely on proper ECU calibration.
EcuTek is the primary tuning platform for the Nissan Frontier. The software runs on Windows and connects via the OBD-II port. If comfortable with tuning software, you can tune yourself; EcuTek provides detailed documentation. If not confident, professional shops charge $400-800 for complete tuning, including dyno testing. During tuning, the software adjusts fuel injection timing and duration, ignition timing, boost pressure target, and air-fuel ratio (AFR). Most supercharger tunes target an AFR of 11.5:1 to 12:1 under boost, balancing power with reliability.
After tuning, take your truck to a dyno to verify power output and drivability. A dyno test provides objective confirmation that the tune works correctly and your supercharger produces expected power gains.
Pro Tip
Don't skip the dyno test. A dyno run costs $100-150 and catches problems invisible on the street. A boost leak reducing power by 20 horsepower shows immediately on the dyno. Spend the money and drive home knowing your system works correctly.
Warranty, Emissions Compliance, and Long-Term Maintenance
Supercharger installation voids your factory powertrain warranty. Nissan will not cover engine damage, transmission failure, or drivetrain issues if the supercharger was the cause. Most owners accept this trade-off because performance gains justify the warranty loss.
VT Superchargers provides a 24-month warranty on their kits, covering defects in materials and workmanship. This warranty does not cover installation labor or damage from improper installation, but protects against manufacturing defects. Keep your receipt and documentation.
Emissions compliance varies by state. Federal regulations prohibit removing emissions control systems, but adding a supercharger to an otherwise stock vehicle is generally legal. Some states require emissions testing and may fail vehicles with superchargers if exhaust emissions exceed standards. Check your local regulations before installation.
Long-term maintenance differs slightly from naturally aspirated engines. Reduce oil change intervals to every 3,000 miles instead of 5,000. Use full synthetic oil (Mobil 1, Amsoil, or equivalent) for better protection under boost. The supercharger and intercooler add heat load. Ensure your radiator is clean and cooling fans operate correctly. Check coolant level monthly. Flush and replace coolant every 30,000 miles instead of 60,000. Inspect the serpentine belt every 10,000 miles for wear, cracking, or glazing. Plan to replace it every 30,000-40,000 miles instead of 60,000.
| Maintenance Item | Stock Interval | Supercharged Interval | Reason |
|---|---|---|---|
| Oil changes | 5,000 miles | 3,000 miles | Increased oil temperature and pressure |
| Coolant flush | 60,000 miles | 30,000 miles | Increased cooling system load |
| Serpentine belt replacement | 60,000 miles | 30,000-40,000 miles | Increased belt load and heat |
| Fuel filter replacement | 30,000 miles | 20,000 miles | Increased fuel flow demand |
| Spark plugs | 30,000 miles | 20,000 miles | Increased combustion pressure |
Common Installation Mistakes to Avoid
The most frequent mistake is improper pulley alignment. Owners install the supercharger without verifying that the crankshaft, supercharger, and alternator pulleys sit in the same plane. This causes the belt to run at an angle, accelerating wear and causing noise. Use a straight edge across all three pulleys before installing the belt.
Incorrect serpentine belt routing is equally common. The belt path is specific to your kit and cannot be improvised. Follow the routing diagram exactly. Incorrect routing causes belt slipping, reducing boost pressure and power output.
Loose hose clamps on the intercooler inlet and outlet cause boost leaks, reducing supercharger effectiveness and triggering check engine lights. Tighten all hose clamps firmly and check them again after the first 50 miles of driving.
Skipping the ECU tune is critical. Some owners think they can drive a supercharged Frontier on the stock tune to "break it in" before tuning. This is dangerous. The stock tune cannot compensate for increased boost pressure, leading to lean conditions and detonation.
Incorrect torque specifications damage fasteners and cause leaks. Use your torque wrench for every critical fastener: supercharger mounting bolts, intake manifold bolts, throttle body bolts, and pulley fasteners. Not tracking fasteners by location causes problems during reassembly. Use a magnetic parts tray or labeled containers to organize bolts by location.
Failing to verify boost leaks before driving is another oversight. After installation and before tuning, spray soapy water around all hose connections, clamps, and manifold gaskets while the engine idles at 2,000 RPM with the supercharger engaged. Any bubbles indicate a leak.
Installing a supercharger on your Nissan Frontier transforms the truck from a competent daily driver into a genuinely quick vehicle. The process is complex but achievable for a motivated DIYer with mechanical aptitude and the right tools. A properly tuned supercharged Frontier with quality maintenance delivers consistent, reliable performance that justifies the time and investment.
VT Superchargers offers bolt-on supercharger kits engineered specifically for your Frontier, with OEM-style fitment that minimizes installation complexity. Our 24-month warranty and worldwide shipping ensure you get the right kit, backed by support when you need it. VT Superchargers financing options make performance upgrades accessible without straining your budget. Register with VT Superchargers today and join thousands of Frontier owners who've unlocked the real potential of their trucks.
===
Frequently Asked Questions
Is it difficult to install a supercharger on a Nissan Frontier Pro-4X?
Installation complexity depends on your mechanical experience. VT Superchargers kits are designed with OEM-style fitment for bolt-on installation. However, the process involves multiple systems: mounting brackets, serpentine belt routing, intake manifold connections, and ECU tuning. Professional installation is recommended for proper torque specifications and ECU calibration.
What is the estimated time to complete a supercharger installation?
A complete supercharger installation on a Nissan Frontier typically takes 8-16 hours depending on your experience level and whether you're working solo or with a helper. Breaking it down: engine bay prep (2-3 hours), mounting the supercharger assembly and brackets (3-4 hours), belt routing and pulley alignment (1-2 hours), intake and cooling system connections (2-3 hours), vacuum lines and fuel injectors (1-2 hours), and final checks (1 hour). ECU tuning adds another 1-2 hours at a shop.
Does installing a supercharger void the vehicle warranty?
Factory warranty coverage becomes complicated with forced induction modifications. Most manufacturers void engine and drivetrain coverage once a supercharger is installed, though some coverage may remain on unrelated systems. This is where VT Superchargers' 24-month warranty on the kit itself becomes valuable, it protects your investment in the supercharger components. Before installation, review your specific vehicle's warranty terms with your dealer. For emissions compliance, check your state's regulations; some states allow modified vehicles if they pass emissions testing, while others restrict aftermarket forced induction systems.
How much horsepower does a supercharger add to a Nissan Frontier?
Power gains depend on the kit level and tune. A stock 2023 Nissan Frontier Pro-4X produces 220 horsepower on a dyno. VT Superchargers kits for the 4.0L VQ40DE engine deliver 40-60% horsepower gains and 30-50% torque increases with proper ECU tuning. Real-world examples: Z1 Off-Road's Level 2 kit produced 320 rear-wheel horsepower on 87 octane fuel (82 whp gain) and 351 rwhp on 93 octane (113 whp gain). A supercharged 2024 Frontier with EcuTek tuning made 401.76 rear-wheel horsepower on the dyno. Actual gains depend on fuel octane, tune aggressiveness, and supporting modifications like intake upgrades.
This article was written using GrandRanker
Related post
09
Oct

RECENT POSTS